Wishing you all the joys of the season

Hello friends!

I’m so excited to announce that I’ve joined the design team of Amanda Jayne Designs!!

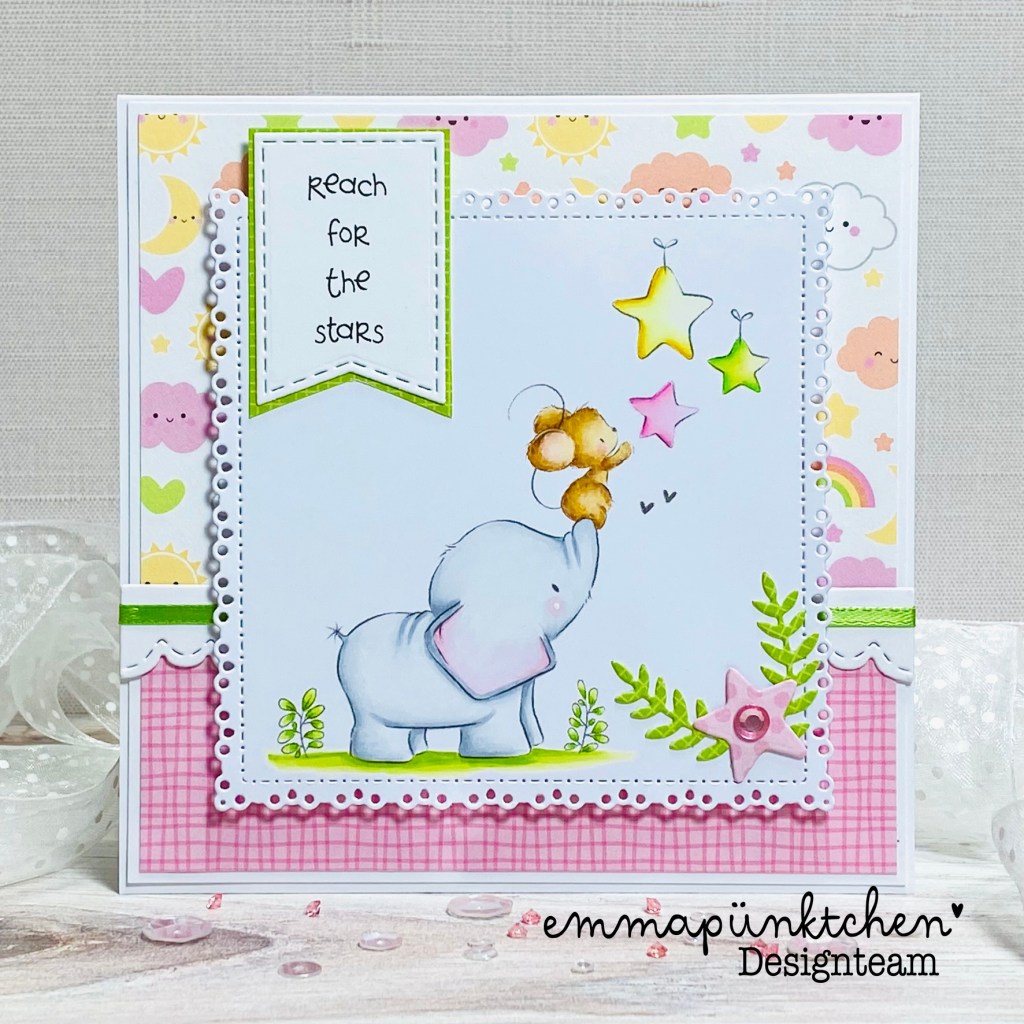
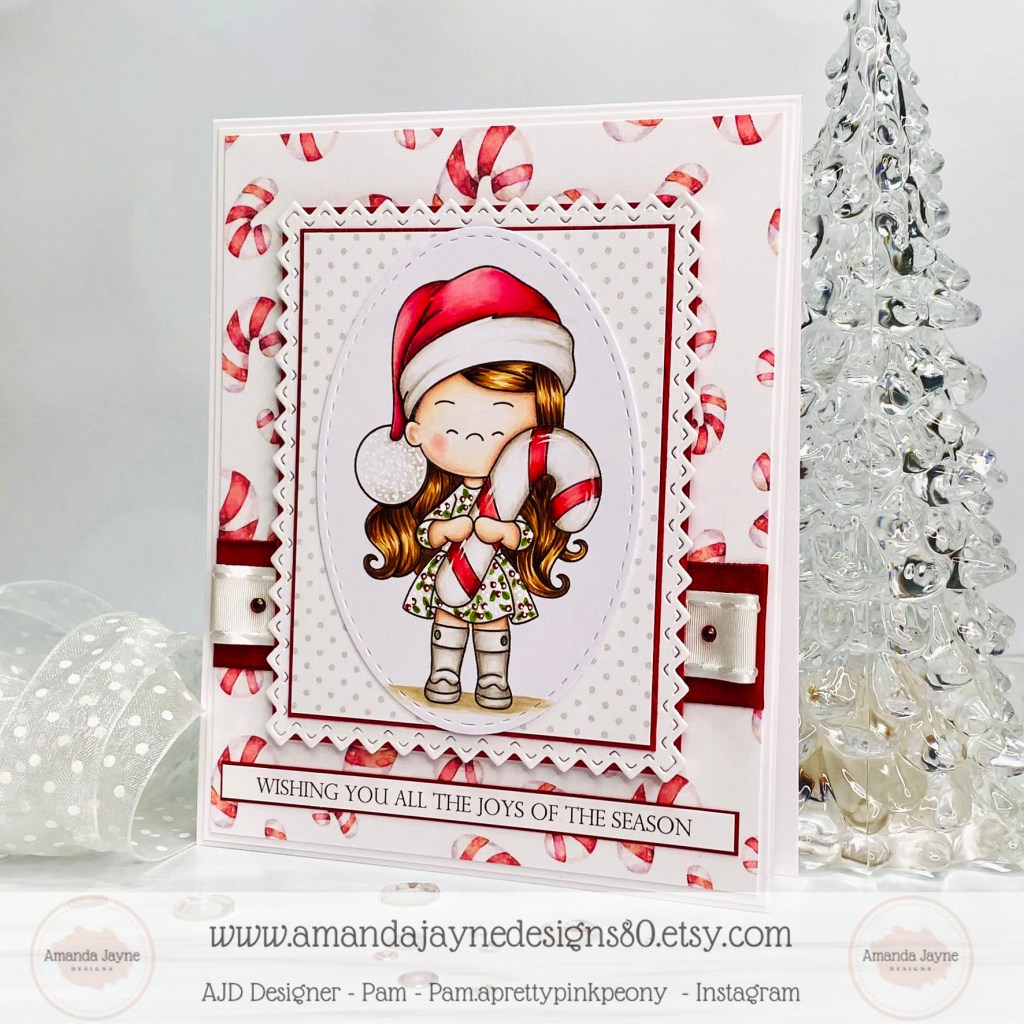
My first project was created with this super adorable digital stamp called Candy Cane Lane. This digital stamp also comes with a cute little boy holding a candy cane.


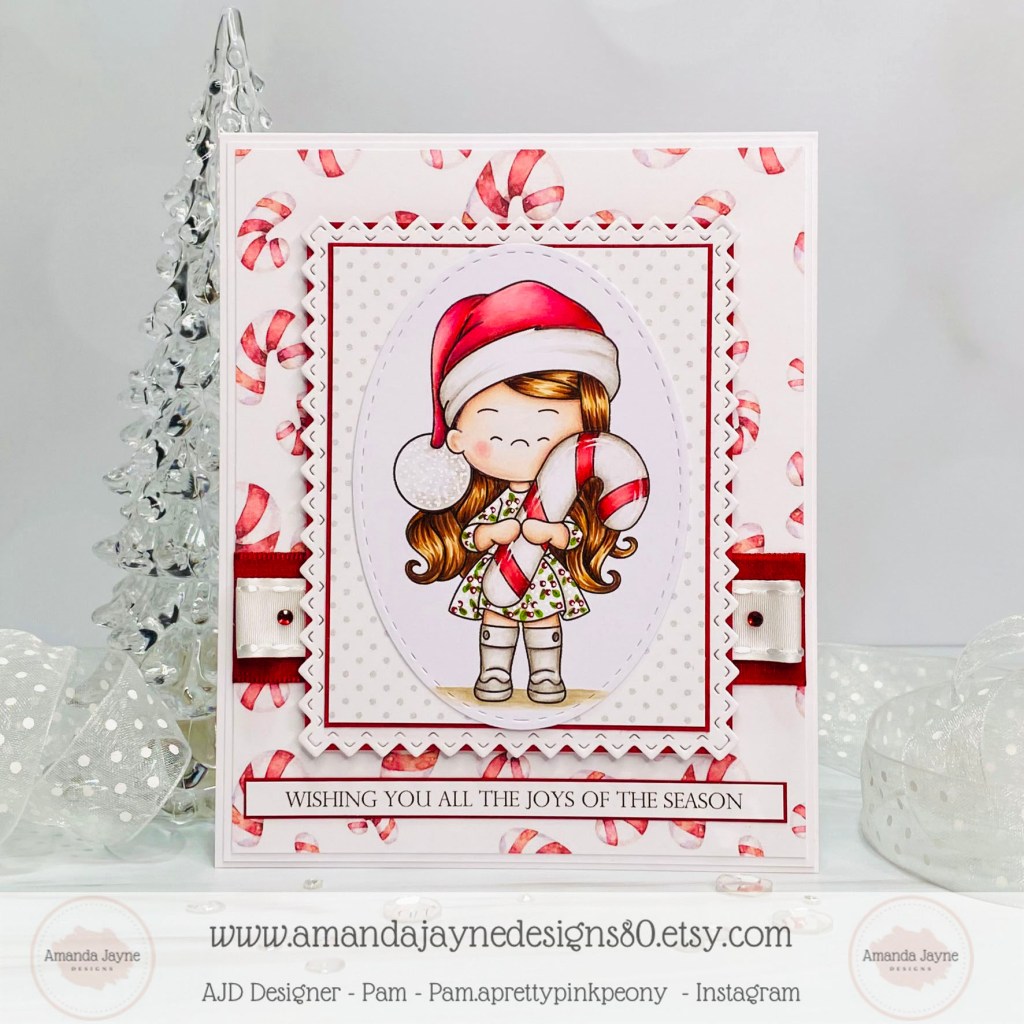
I printed this sweet girl on X-Press It Blending Card and colored her with the following markers.

~Copics~
Skin: E04, E11, E21, E00, E000, E0000, R20, R30, R00
Hair: E59, E57, E55, E53
Grays: W4, W3, W2, W1, W0, W00
Red: R59, R37, R35, R22
Green: YG67, YG99
White Gel Pen
Details added with colored pencils


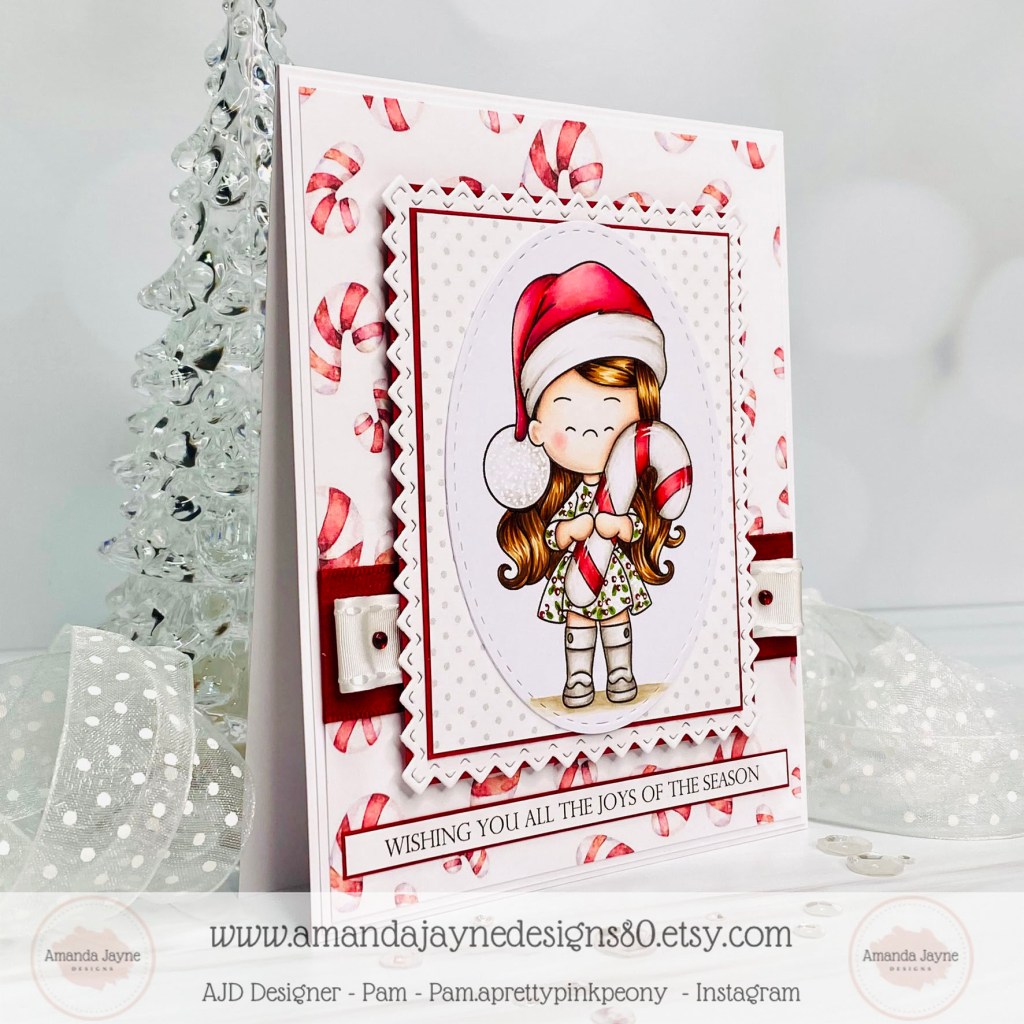
I started by digging through my Christmas paper and found this candy cane paper that matched her so perfectly. I had recently purchased a new die from Papertrey Ink called ‘Love to Layer: Pinked Edge Squares’ that I love and wanted to use, but as it’s square it wasn’t going to work without making some modifications. To create a rectangle I partially die cut it from both ends re-adjusting the die to stretch it. From there I added a few layers and two colors of ribbon.


As always you can find lots of adorable inspiration images here.

Thanks for visiting today!

Crafty Hugs ~ Pam xx

You can also follow me on Instagram or my facebook page!

Reach for the Stars

I have some exciting news to share! I have joined the Emma Punktchen Design Team!!

The website is filled with LOTS of adorable digital stamps for inspiration. The website is written in German, however Google will translate to English for you. I found the translation symbol to the far right of the Google search bar.

My first card as a design team member features this super sweet digital image called Sternchen.

I printed this sweet image on X-Press It Blending Card and colored it with the following Copic markers.

~Copics~
Gray: C2, 1, CO, COO
Pink: RV55, RV10, RV02, RV00, RV000, RV0000
Yellow: Y15, Y11, Y00, Y000, Y0000
Green: YG07, YG05, YG03, YG01, YG00, YG0000
Brown: E55, E31, E30, E50


The background was created with two coordinating pieces of patterned paper from my scrap bins. I added a die cut border with a thin piece of ribbon glued on top to cover up where the background paper is seamed.

The image was die cut with a square die from Gina K Designs and was attached with foam squares.

As always, you can find an abundance of gorgeous inspiration images for sale here.

Thanks for visiting today!

Crafty Hugs ~ Pam xx

You can also follow me on Instagram or my facebook page!

You make my heart smile

Hello and welcome!

I am back today after a little break away from crafting. I have been working on setting up some more crafty space to work in. Hoping it will be done soon.

Imagine how excited I was when Altenew asked if I would be interested in working on a collaborated post with them. I have always loved their beautiful products, so of course I said yes…how exciting!!!

For today’s project I focused on these gorgeous flowers from the Craft-A-Flower: Cistus Layering Die Set. The extra greenery is from the die set called Leaf Mix Die Set.

All the flower and leaf pieces were die cut from watercolor paper and then colored with Altenew Watercolor 36 Pan Set. Once these pieces were dry, I added some accents with gold craft paint.


I knew I wanted the flowers to be dimensional so I only glued them in the center portion. This would allow me to bend and curl the layers of petals.

I stamped the stripe background with the stamp set called Pinstripe Stamp Set. The eye catching shape I used for the sentiment base is from the Labels & Tags 2 Die Set. This piece was ink splattered with the same watercolor paints and gold craft paint that I used above.

The sentiment is from the Bold Bouquet Stamp Set. I also used the matching Bold Bouquet Die Set.

The black lacy border is from the Creative Edges: Scalloped Scallops Die Set.

I really love how this project turned out!!

Thank you so much for visiting today!

Crafty Hugs – Pam xx

You can also follow me on Instagram or my facebook page!