Hi friends!
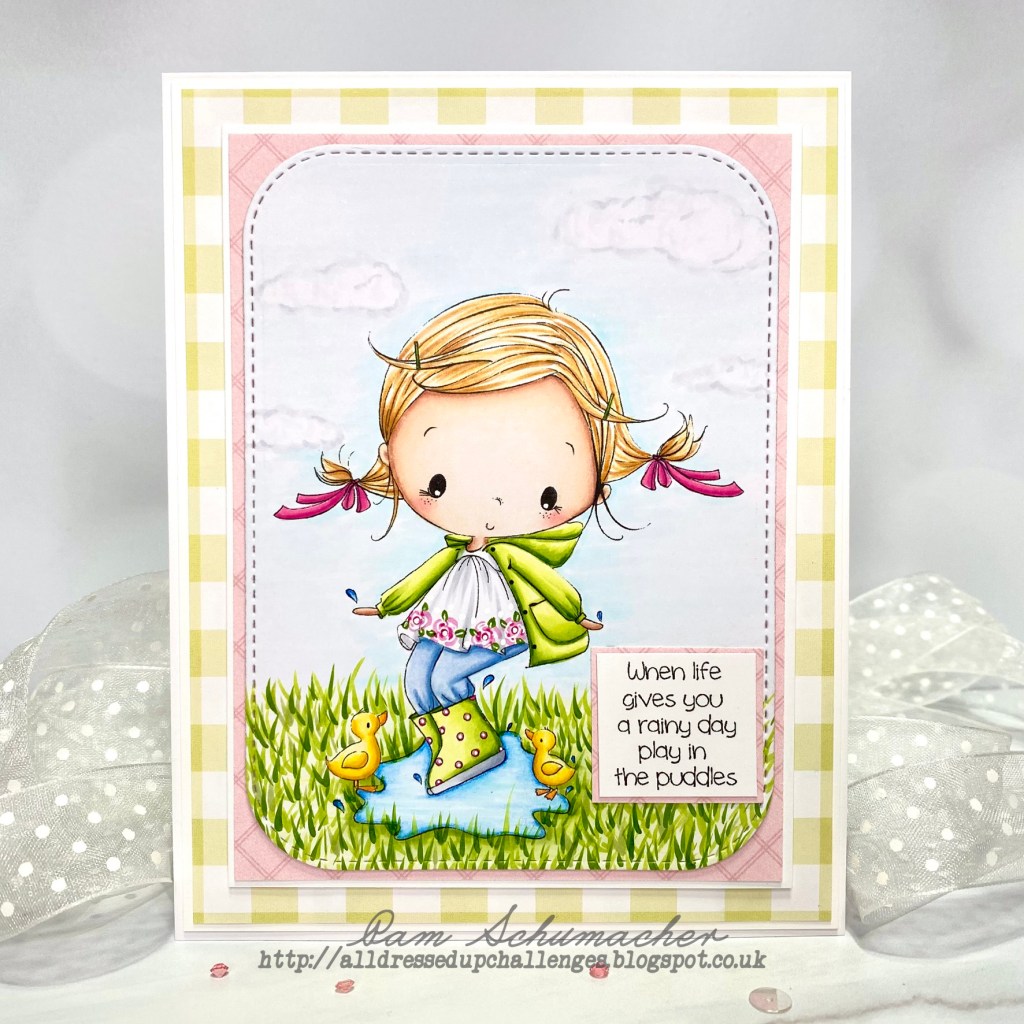
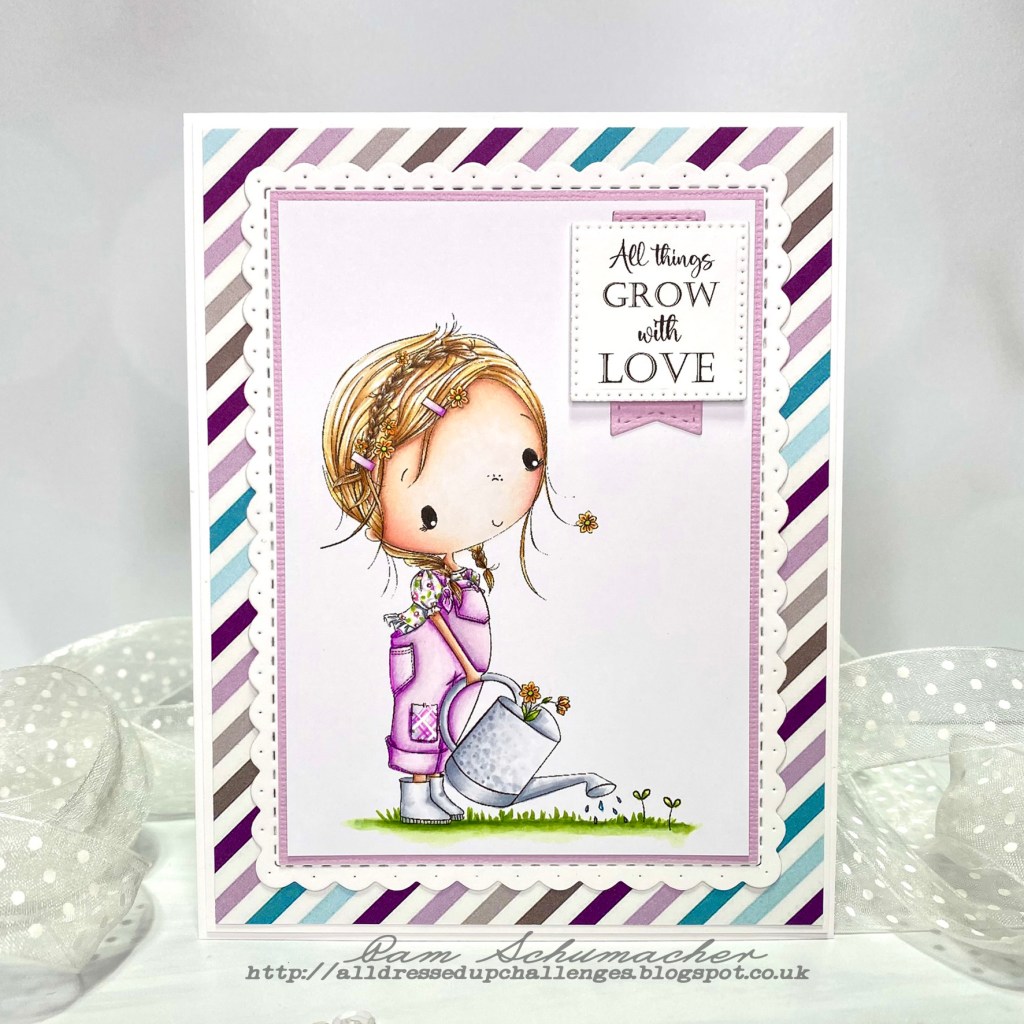
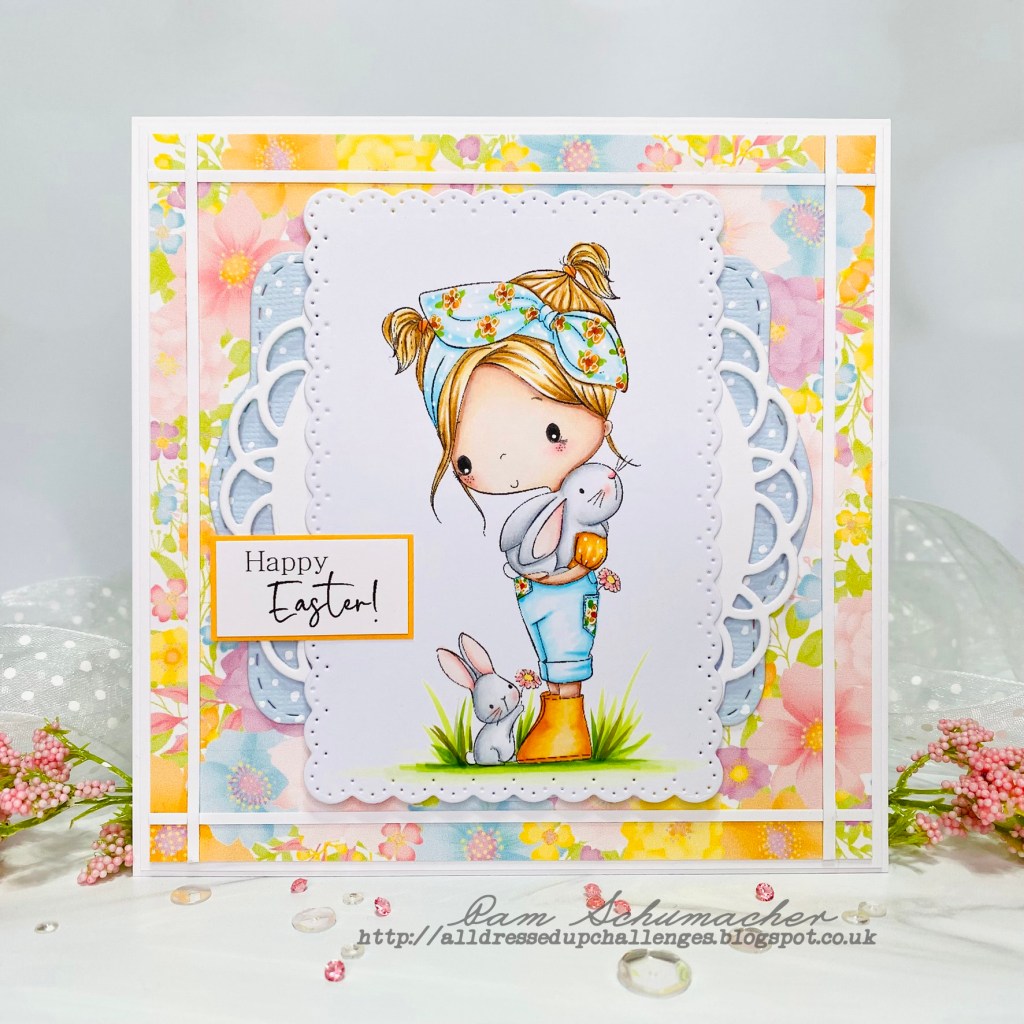
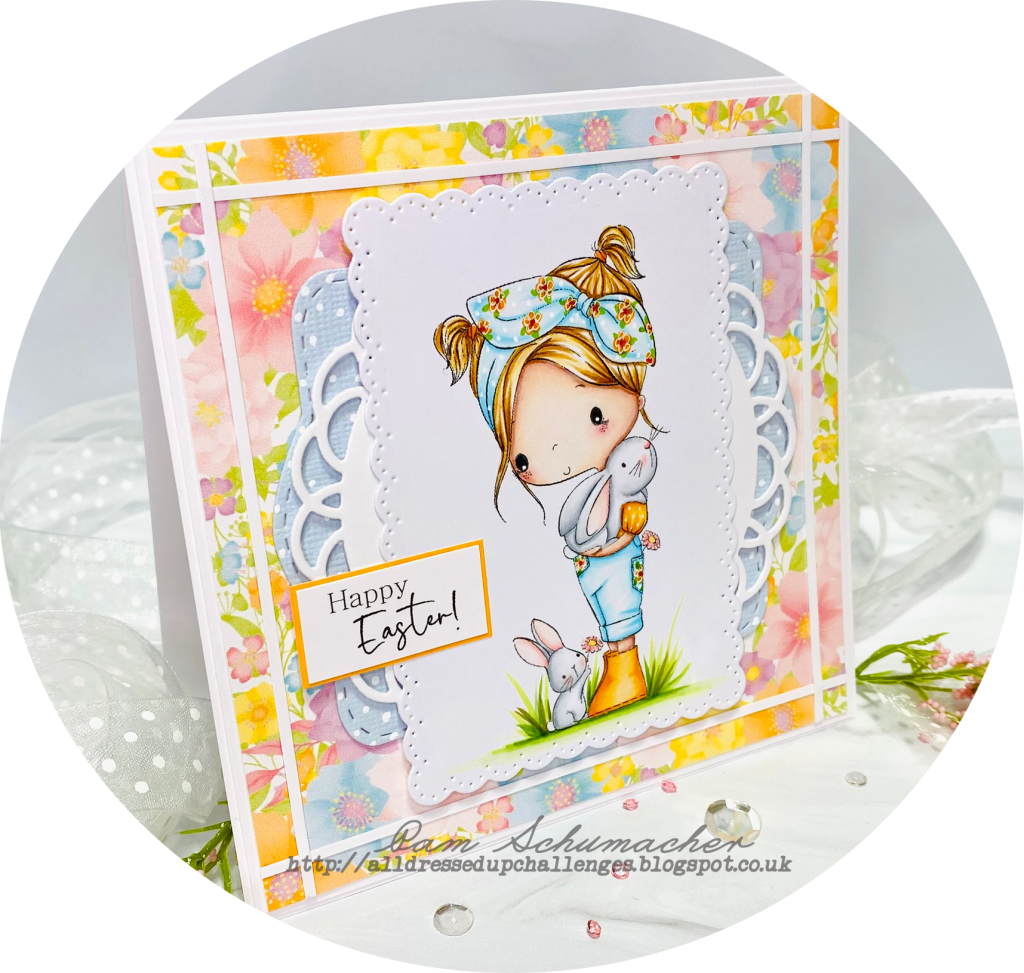
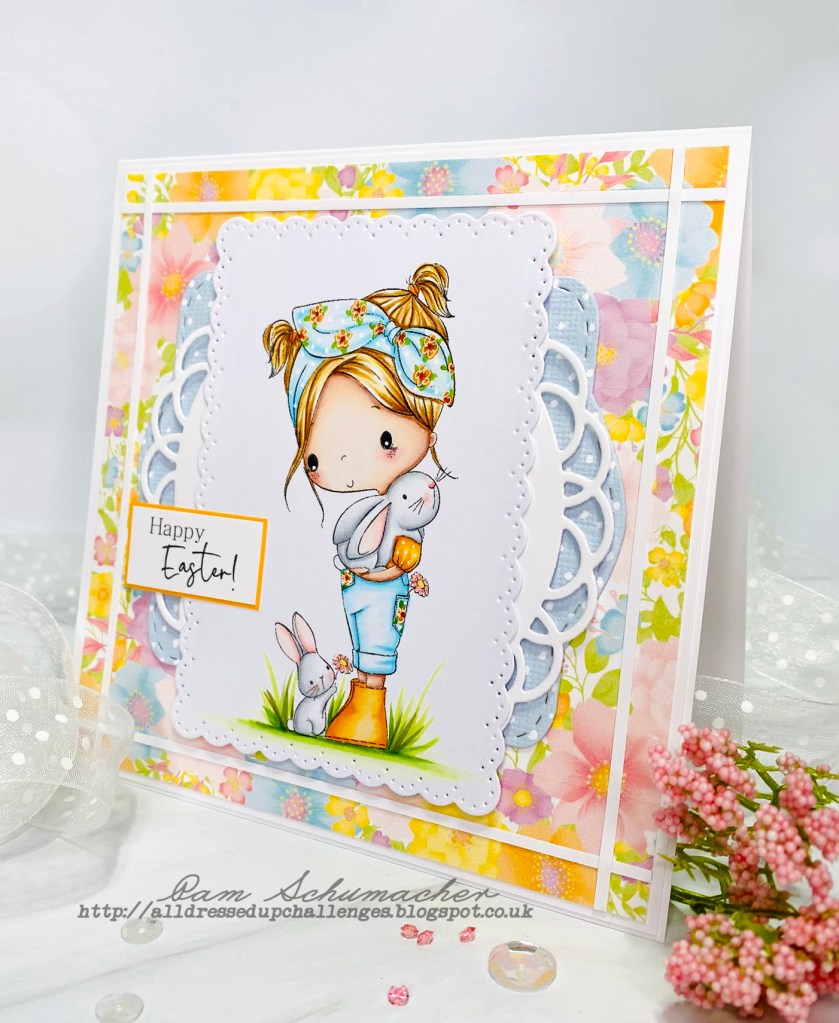
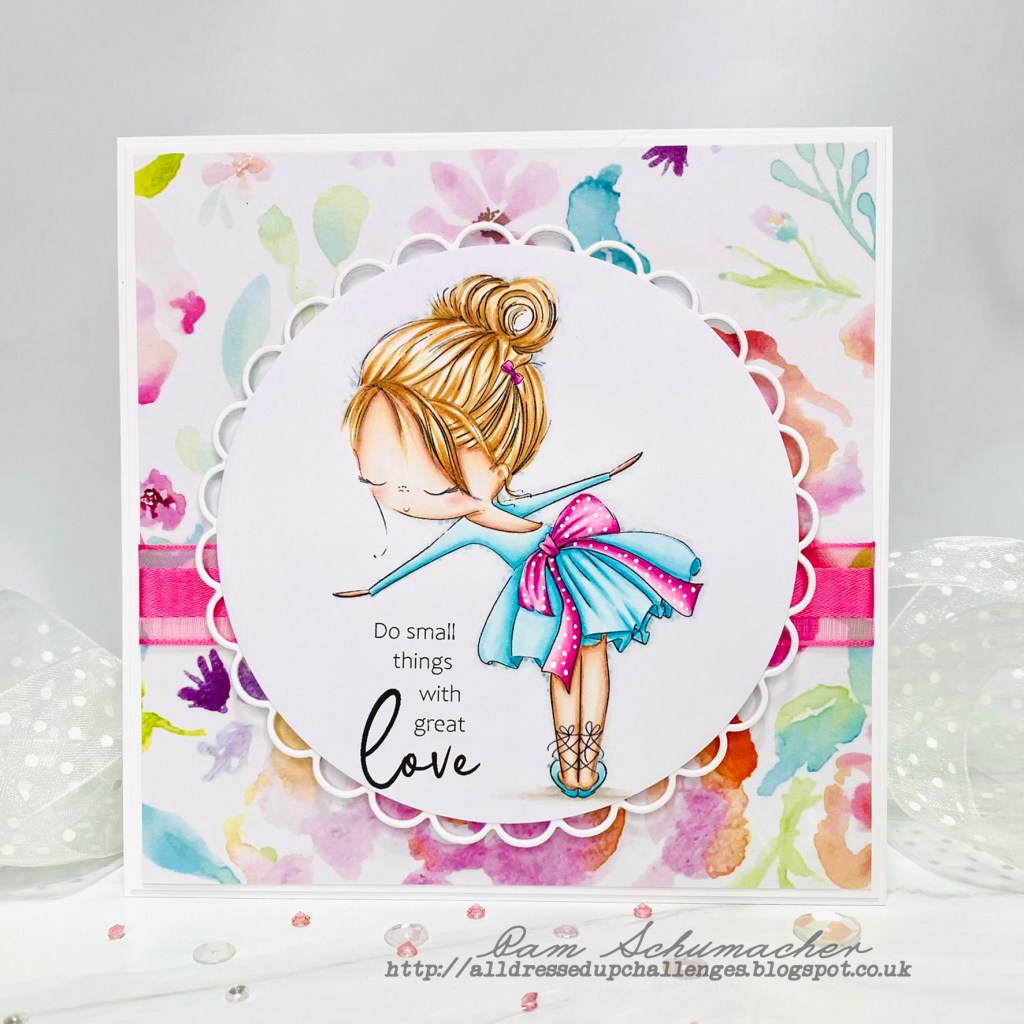
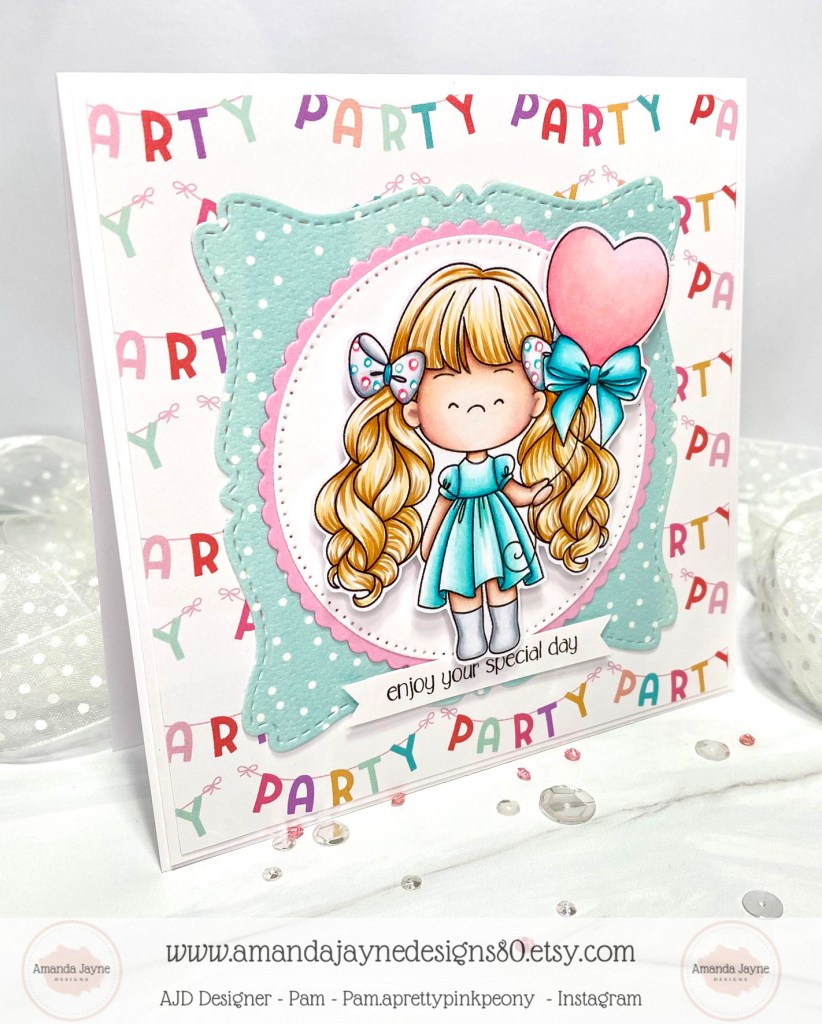
Today I am sharing my design team card for Amanda Jayne Designs featuring this adorable digital image called Heart Balloon Girl.
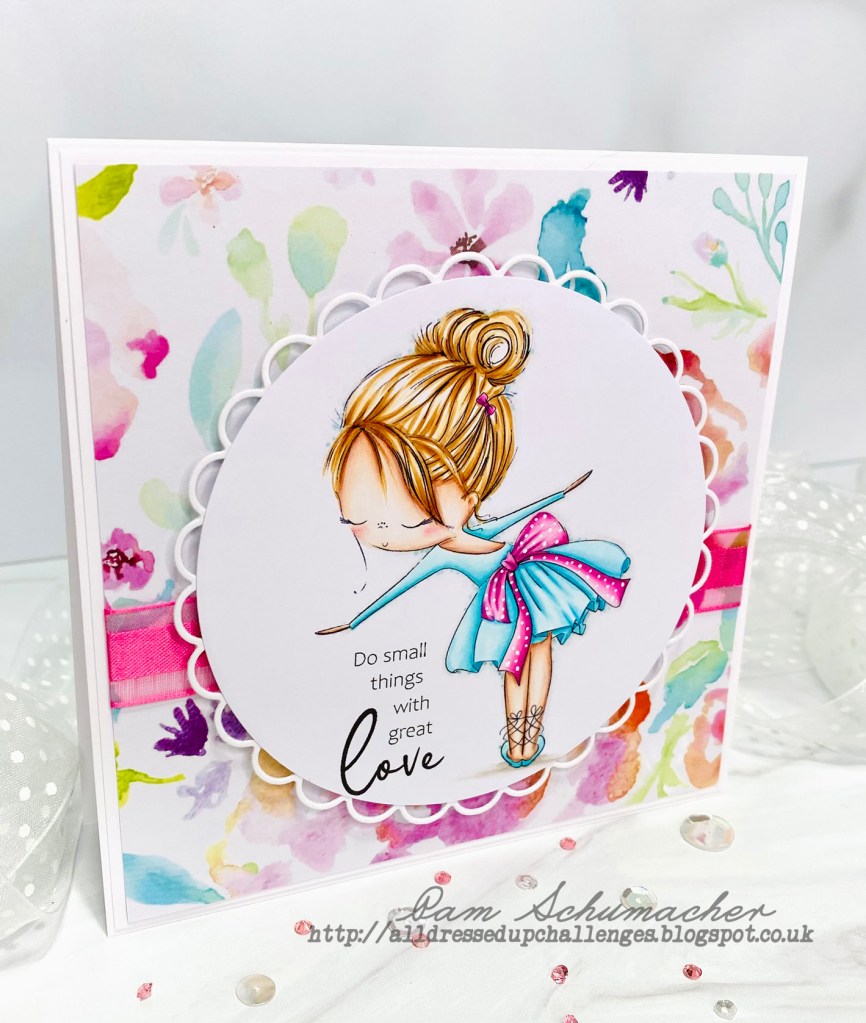
I chose to create a birthday card with her, however you could create other occassion cards with her as well.
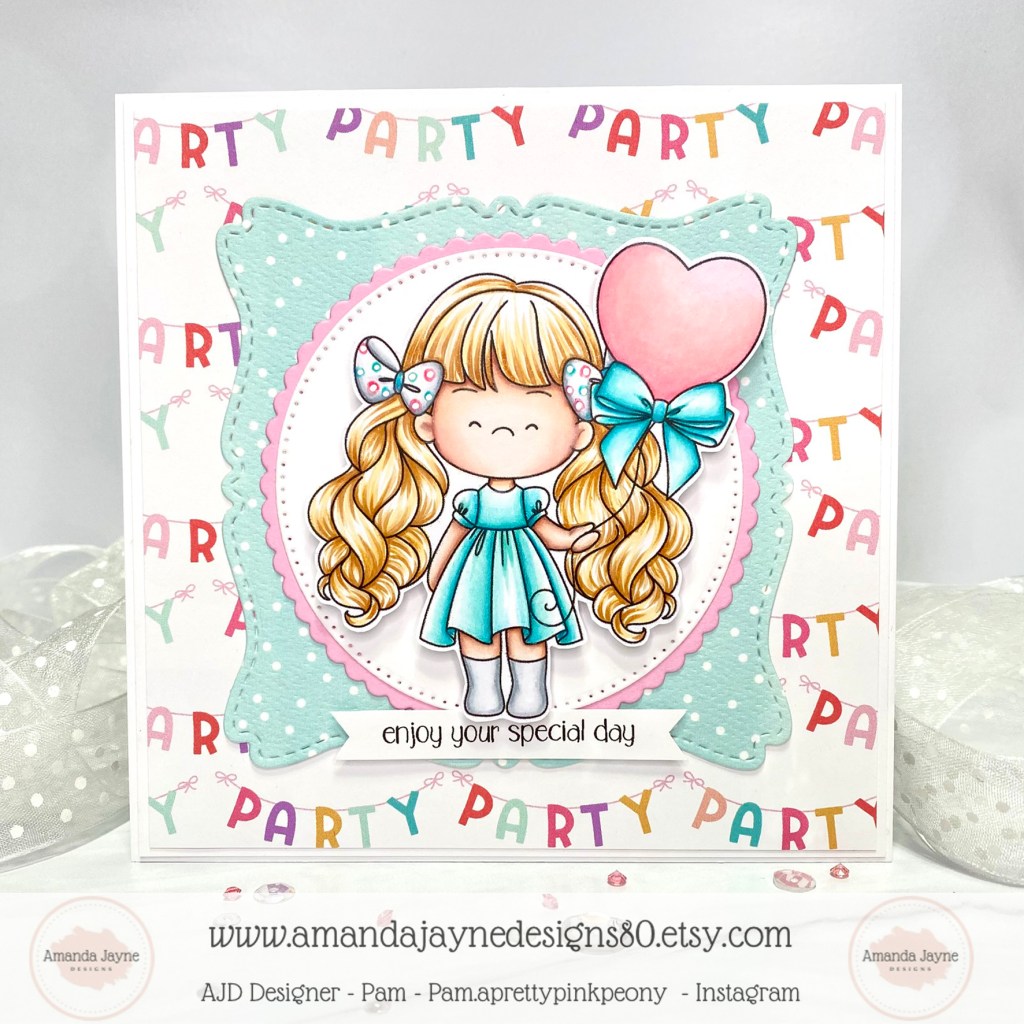
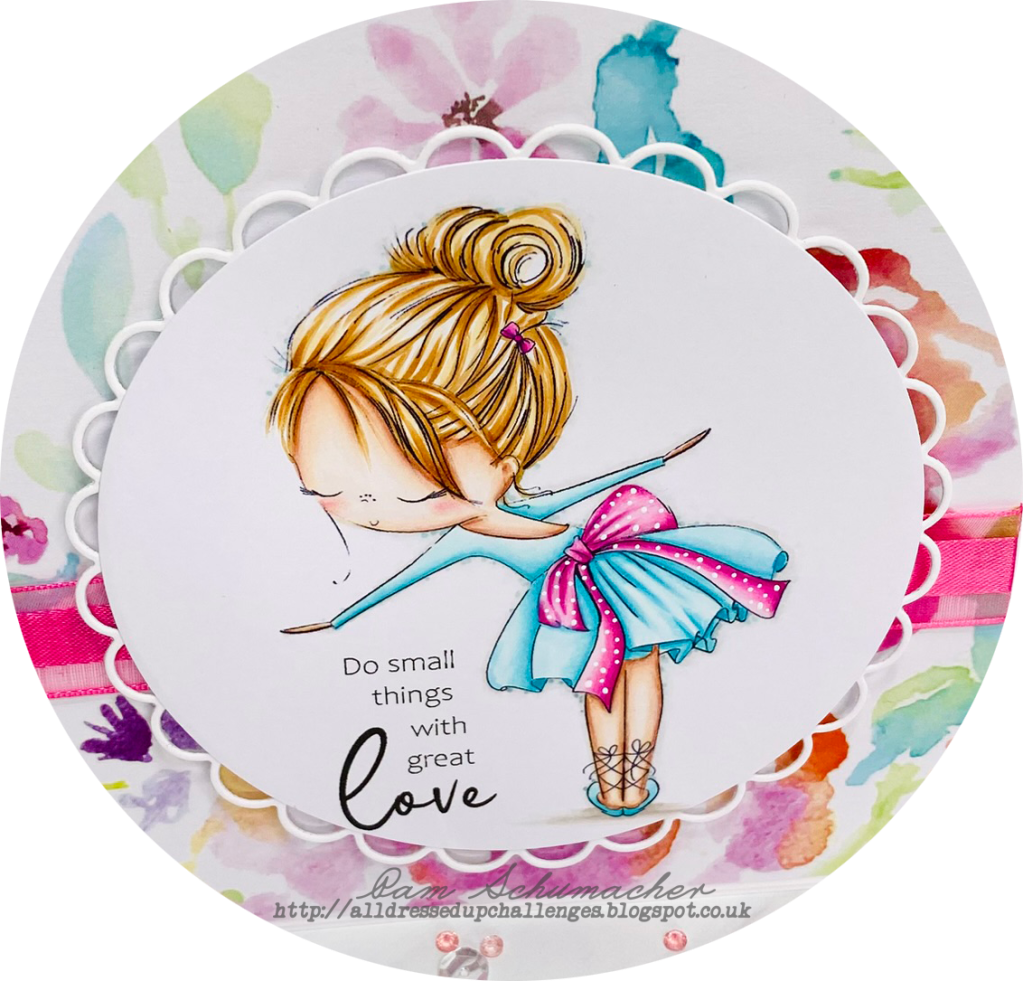
I printed this little sweetie on x-Press It Blending Card and colored her with the following markers.
~Copics~
Skin: E04, E11, E21, E00, E000, E0000, R20, R30, R00
Hair: E55, E31, E50, YR31
Ribbons: C2, C1, C00, BG13, RV14, White Gel Pen
Heart Balloon: RV13, RV23, RV21, RV11, RV000
Dress & Bow: BG13, BG11, BG10
Boots: C2, C1, C00
Fine details were added with Prismacolor Pencils
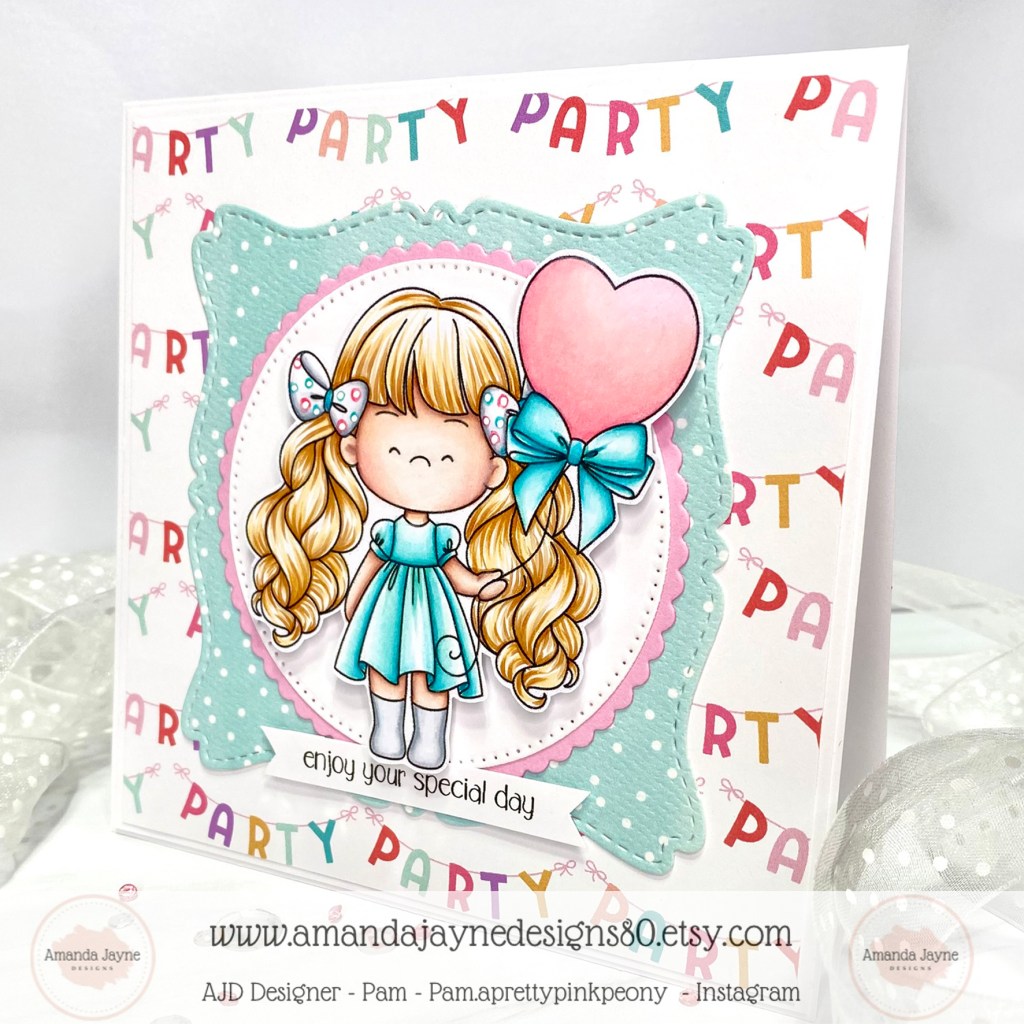
I fussy cut her out so I could add layers of colors behind her which I think makes the image show up better.
As always you can find lots of adorable inspiration images here.
Thanks for visiting today!
Crafty Hugs ~ Pam xx
You can also follow me on Instagram or my facebook page!