World Card Making Day Blog Hop with Ink n’Splatter

Happy World Card Making Day!!

I am so excited to join with Ink n’Splatter’s Design Team for World Card Making Day!!

Ink N’ Splatter is celebrating this creative occasion with a Halloween, Fall & Christmas/Winter themed blog hop.

The fun part for you is getting the chance to win a $25 gift certificate to the Ink N’ Splatter store.

To be eligible for the prize:

Leave a comment at all the stops listed below (clicking on their name will take you to their blog)

All comments must be left by midnight on Thursday, October 12th (EST).

The winner will be announced on the Ink N’ Splatter blog on Friday, October 13th.

Have fun and enjoy!

Let’s start the fun and get this hop started!
We have a wonderful line up from the design team.

Kitty
Meghan
Cindy
Tania
Julie
Pam (you are here)
Vanessa
Dina
Ink n’Splatter

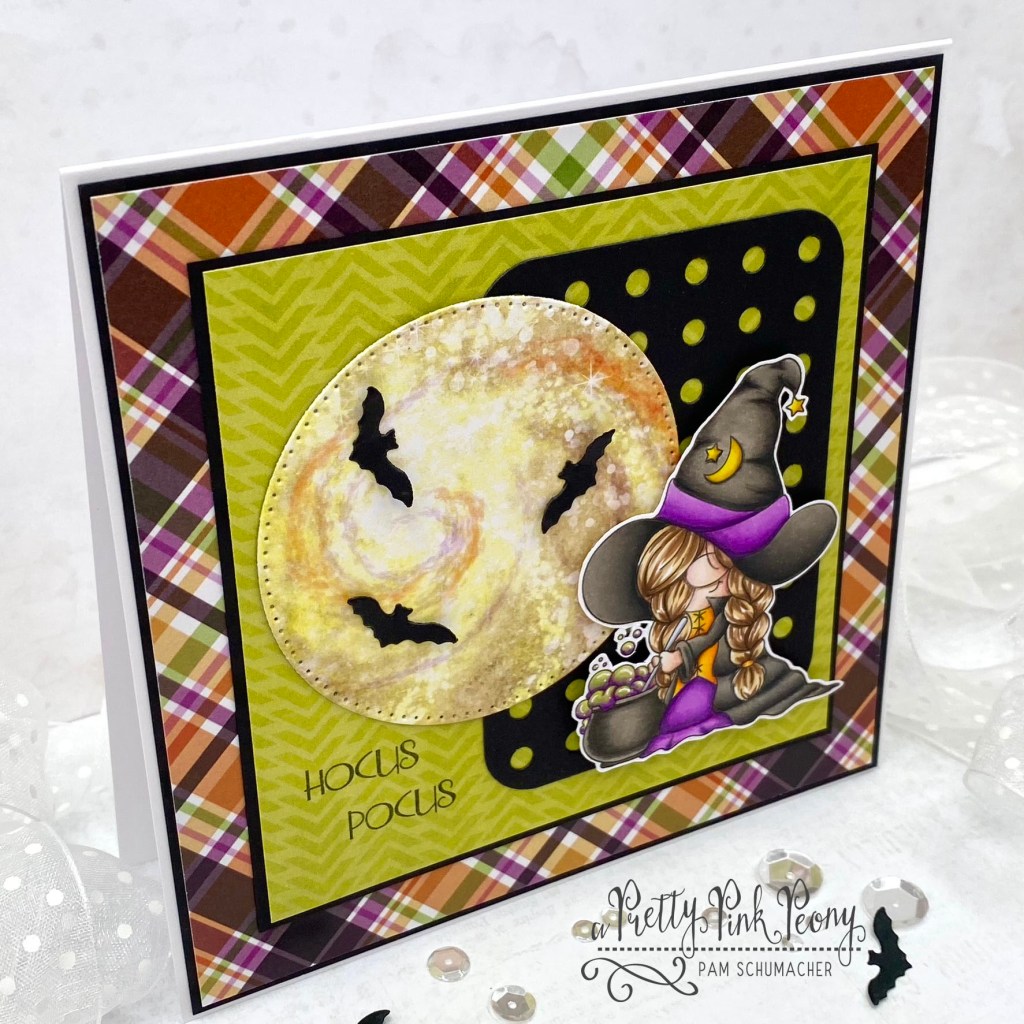
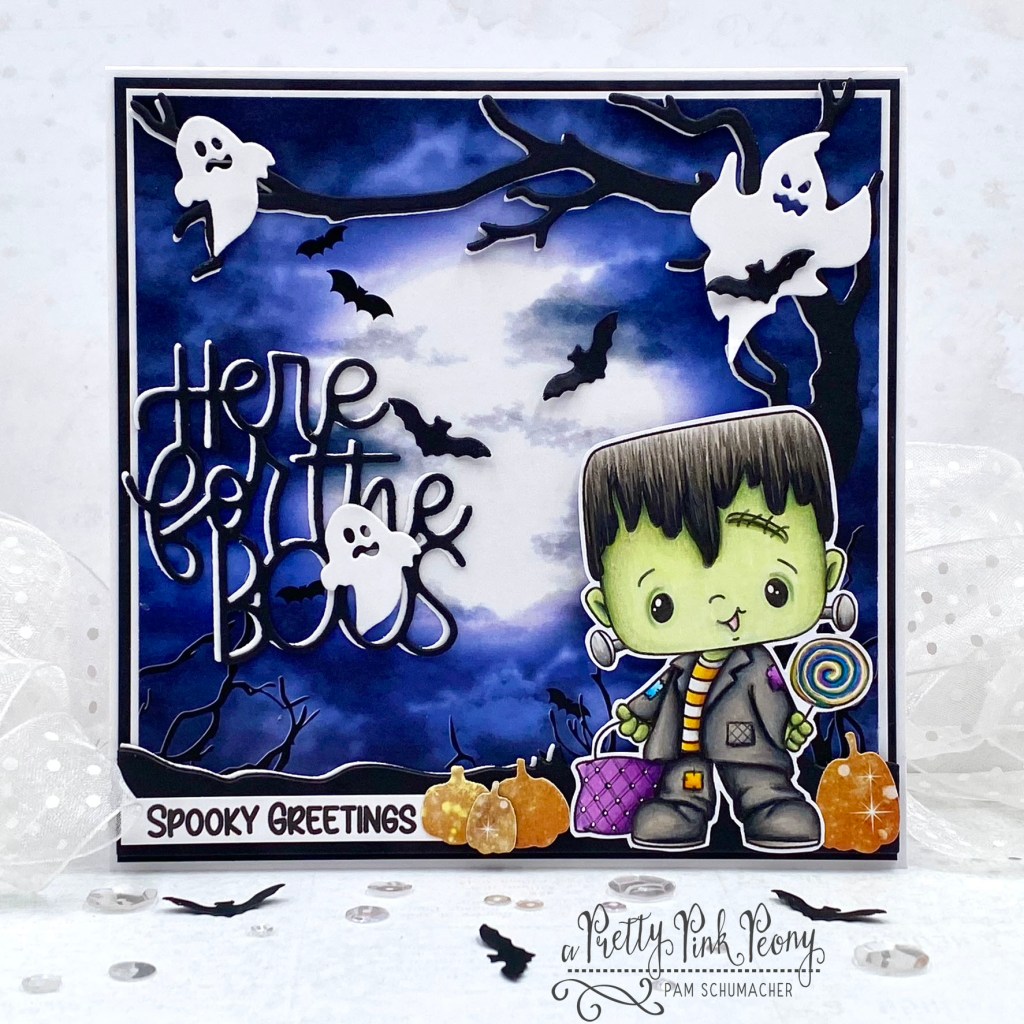
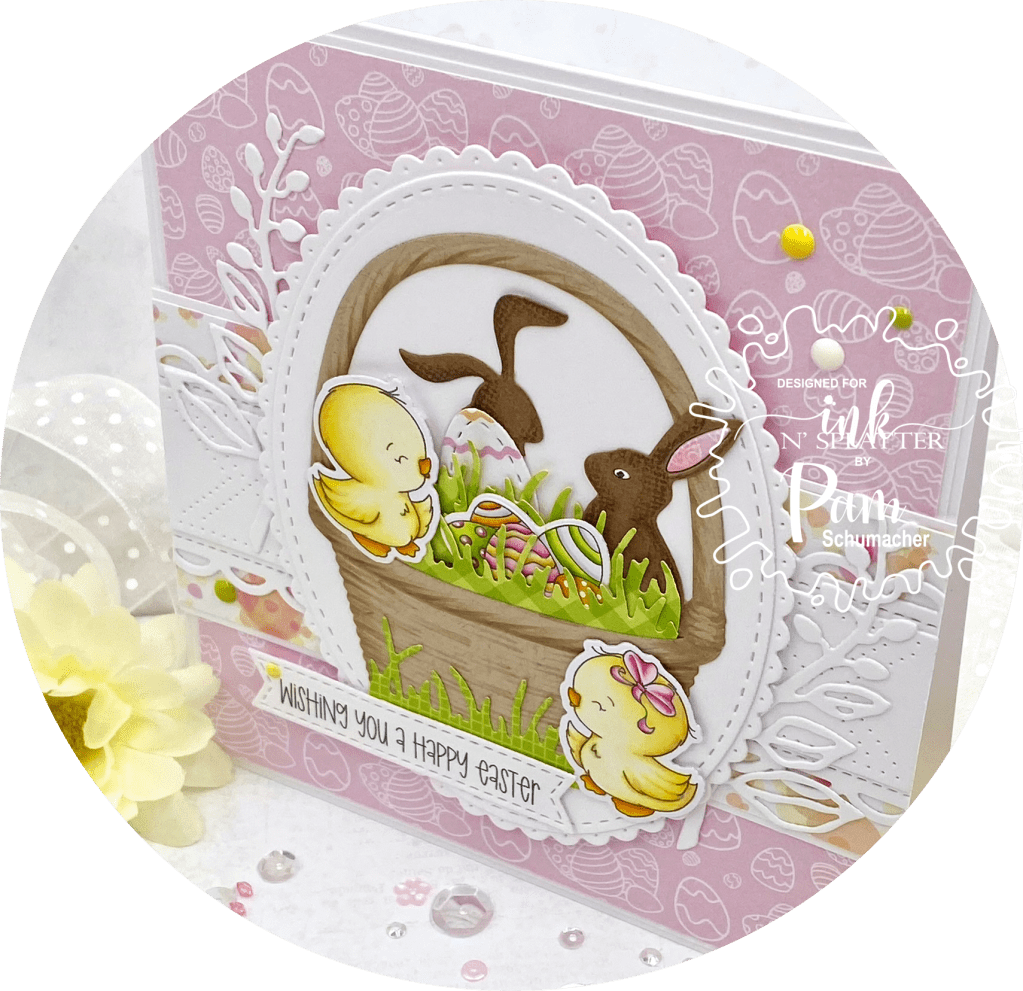
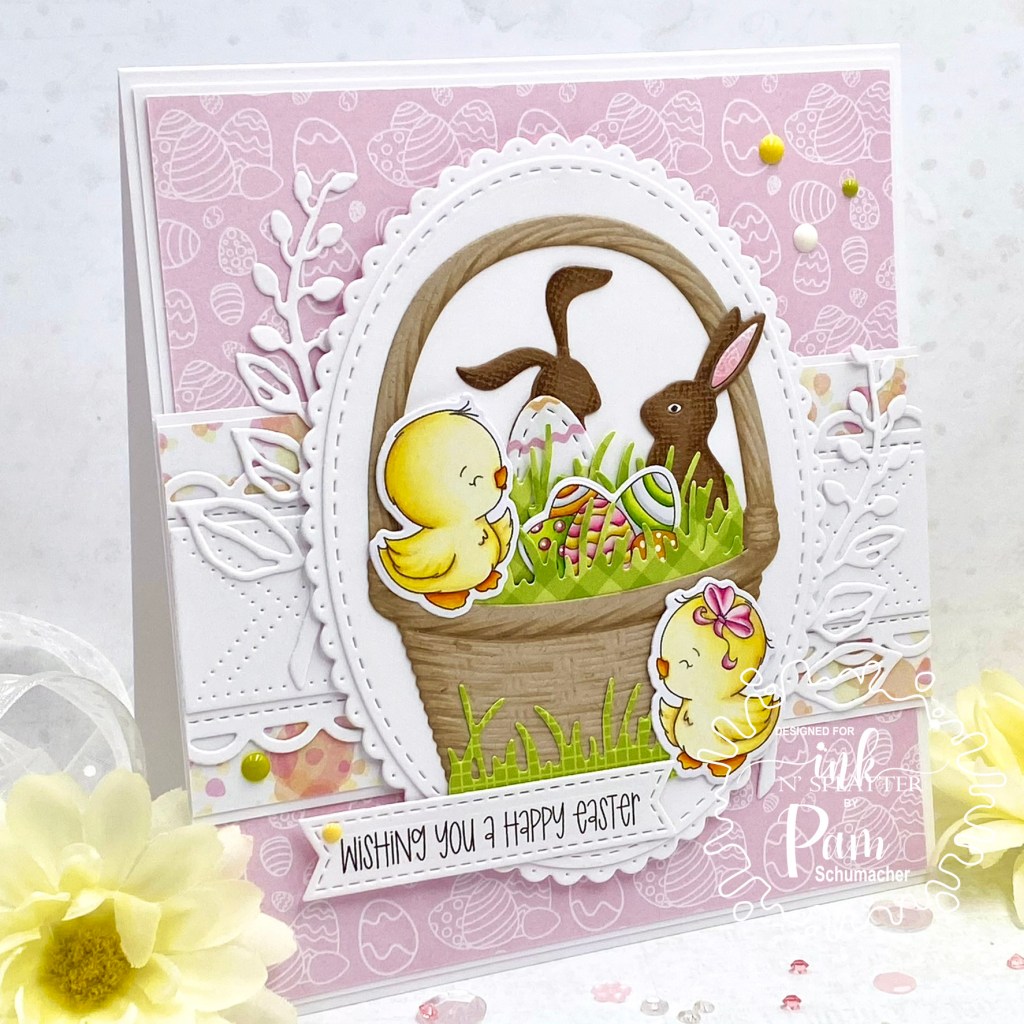
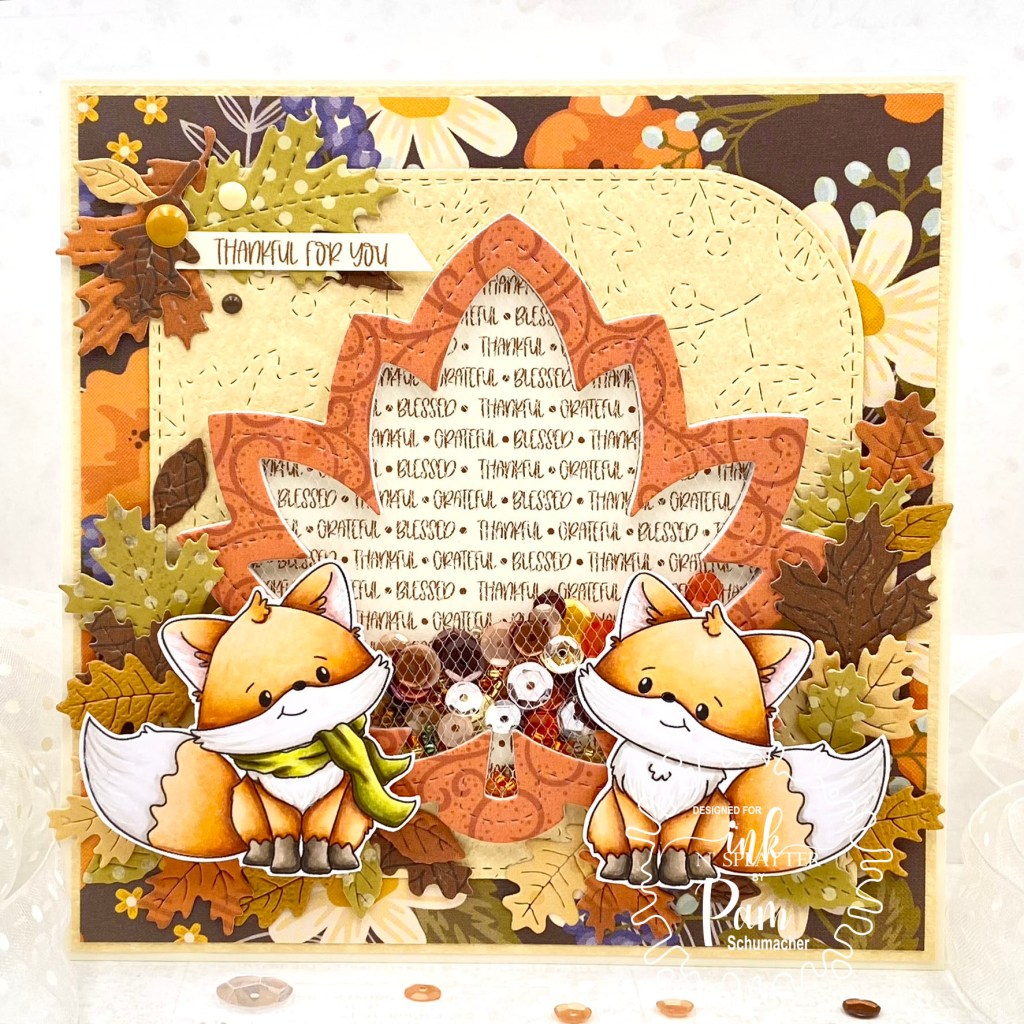
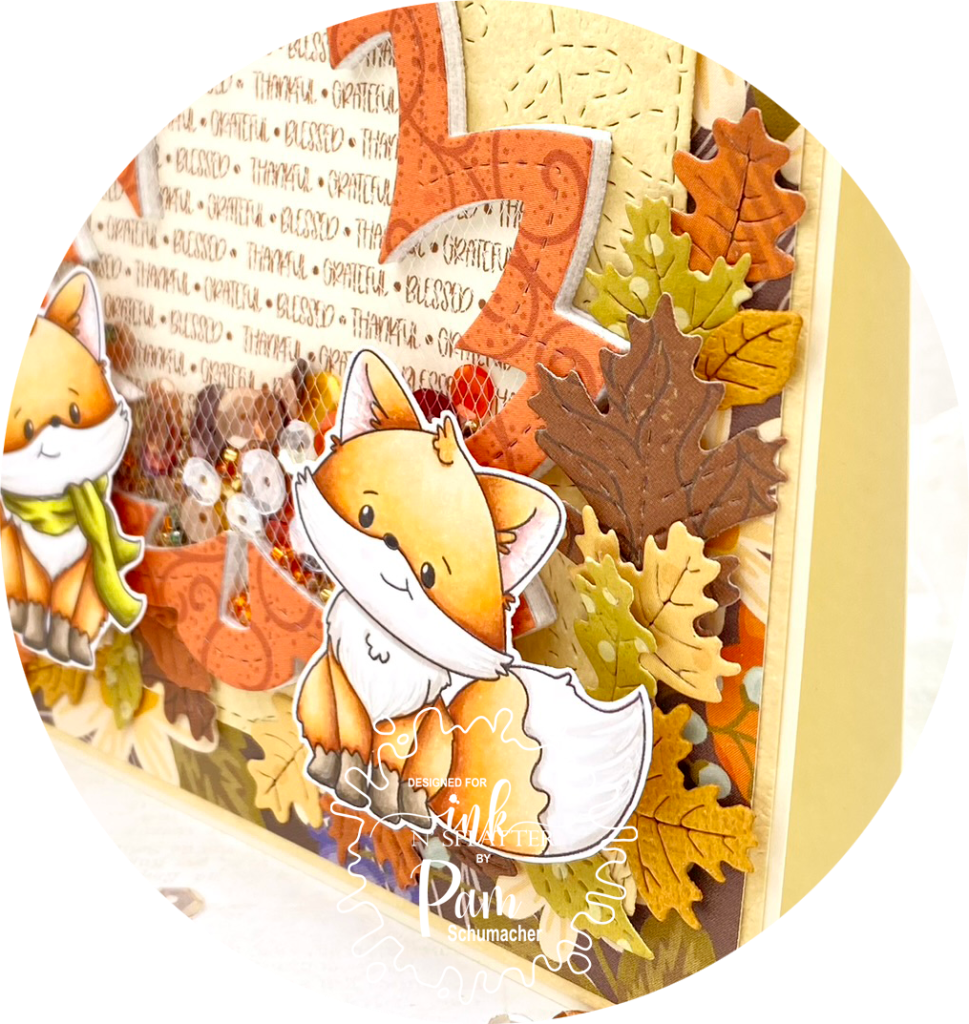
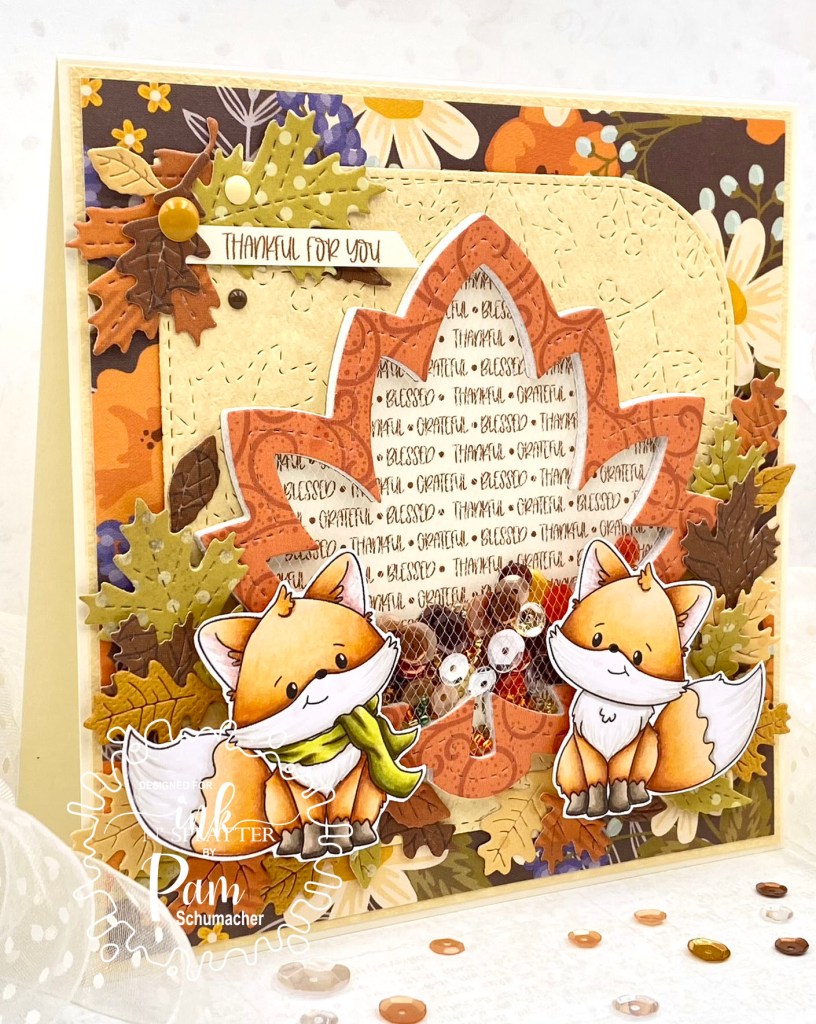
I chose a fall theme card that features these super adorable little foxes from the Happy Fall Foxes Stamp Set. I couldn’t resist…just look at those sweet faces and big fluffy tails!!

I stamped these little sweet little furballs on X-Press It Blending Card with Memento Tuxedo Black Ink and colored them with the following markers.

~Copics~
Foxes: YR27, E99, E97, YR21, Y21, E51, E93, W1, W00
Feet: W7, 5, 2 – E44, E43, E42
Green: YG97, YG95, YG93, YG91, YG21

I started with a 5×5 card base with the top two layers being 1/8″ smaller each layer.

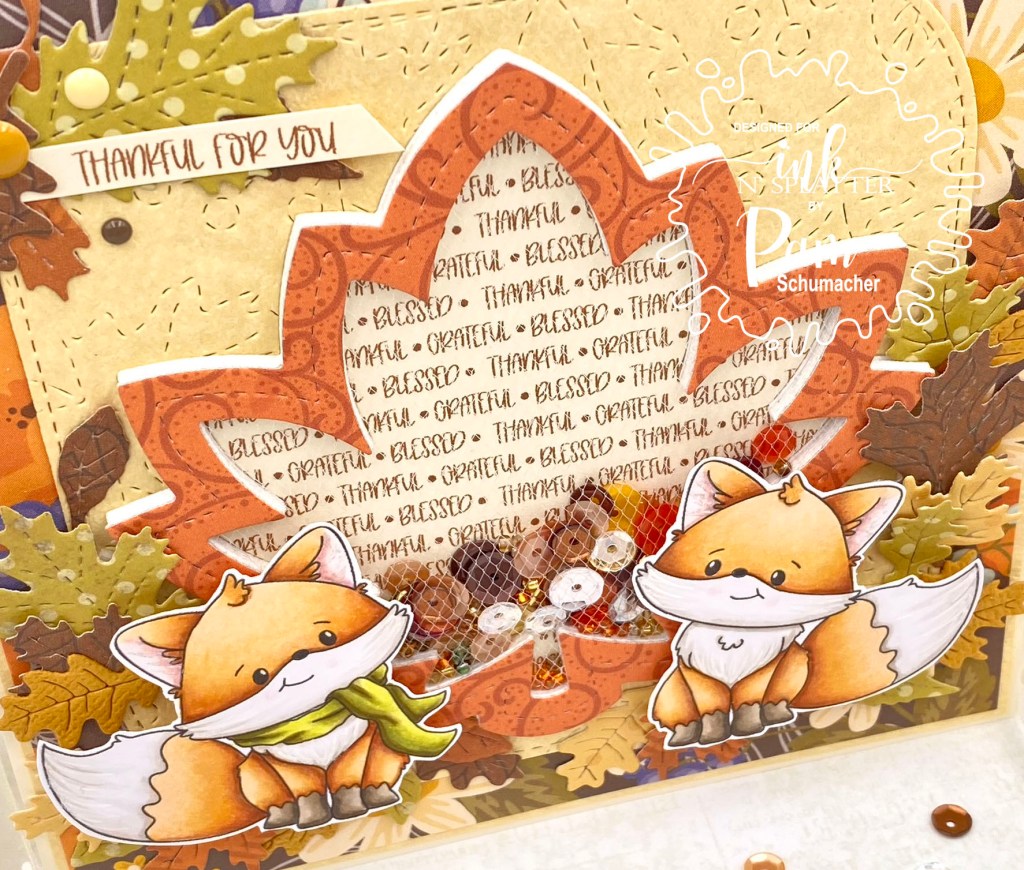
To create the shaker element I die cut the leaf shape once out of the orange print paper, the word paper, and 5 times out of thick white card stock. When you cut this die it gives you a frame and a plain leaf from the center. I used the inside portion of the leaf frame die for the background of the shaker frame.

I attached the white tulle to the back of the orange leaf frame with double sided scor-tape and then attached the first white frame with more scor-tape. The remaining 4 white frames were glued to the tulle ‘sandwich’ one layer at a time. I then added my shaker bits on top of the word print leaf and carefully glued the orange frame stack to the card front making sure that it was lined up perfectly. I used white tulle for the shaker front instead of acetate so I didn’t have a glare on the front.

The dies used on my card:

Concord & 9th – Stitched Leaves Card Front Die
Lawn Fawn – Stitched Maple Leaf Frame
Lawn Fawn – Stitched Leaves
Spellbinders – Mini Fall Blooms


As always you can find an abundance of Ink n’Splatter products for sale here.

Thanks for visiting today!

Crafty Hugs ~ Pam xx

You can also follow me on Instagram or my facebook page!

Hocus Pocus

Hello witchy friends!!

Think she can really cast a spell from that cauldron??

I am back today to share a fun Halloween card with you featuring products from the new release at Ink n’Splatter Stamps.

This cute little witch is from the Halloween Gnomes Stamp Set. There are also coordinating dies available here.

~Copics~
Skin: E04, E11, E21, E11, E000, E0000, R20
Hair: E57, E55, E53, YR21
Yellow: YR23, Y15, Y11
Gray: W7, W6, W5, W4, W3
Orange: YR18, YR16, YR15, Y35
Purple: V09, V15, V04, V01
Stirring Stick: C4, C1
White Gel Pen


The spooky moon was cut out of the Tonight We Ride 6×6 Paper Pad. I carefully chose the part of the paper that would closely resemble the moon surface. The plaid background is from the Tricks n’Treats 6×6 Paper Pad.

As always you can find an abundance of Ink n’Splatter products for sale here.

Thanks for visiting today!

Crafty Hugs ~ Pam xx

You can also follow me on Instagram or my facebook page!

Batty to the Bone

Hi friends!

Aren’t these bats just the cutest little things?

These sweet bats are from the this month’s new release at Ink n’Splatter Stamps. These little cuties are from the Little Boy Boos Halloween Stamp Set. Coordinating dies are available here.

The sentiment that I used on my card is from the Sweet and Spooky Halloween Stamp Set, which also has coordinating dies available here.

These little cuties were stamped with Memento Tuxedo Black Ink on X-Press It Blending Card and and were colored with the following markers.

~Copics~
Bats: W6, W5, W4, W3, W2, W1, W0, R20, R30, R00, R000 – White Gel Pen
Pumpkins: W4, W2, W1, W0, R20, R00
Moon: W4, W3, W2, W0, W00, YR30, E40
Fine details were added with Prismacolor Pencils

I had the coloring done and images cut out before I even knew what I was going to do with them. I had recently purchased the Lawn Fawn Platform Pop Up Die and the coordinating Platform Pop-Up Add-on and decided I would try a box card for a change.

The paper I chose had an orange print on the opposite side, so I had to come up with some creative thinking so that wouldn’t show…orange kind of clashes with pink…lol! Once I had that all figured out I dug through my dies to find things that would go together and that would fit inside the box.

With the box, grass, fence, and tree being all black I decided to cut out some cloud shapes to resemble a creepy ground fog.

To create the moon, I die cut a circle with the X-Press It Blending Card and just started blending colors together until I thought it looked like a moon.

As always you can find an abundance of Ink n’Splatter products for sale here.

Thanks for visiting today!

Crafty Hugs ~ Pam xx

You can also follow me on Instagram or my facebook page!

Here for the boos

Hello and welcome!

I am playing along with the Ink n’Splatter Stamps design team this month with the fun and spooky ‘Haunting Halloween Release’.

For my card today I have used cute little ‘Frankie” from the Little Boy Boos Stamp Set.

The little dude was stamped with Memento Tuxedo Black Ink on X-Press It Blending Card and was colored with the following markers.

~Copics~
Skin: G20, BG90, BG93, BG96, YG91, YG61
Orange: YR18, YR16, YR15, Y35
Blue: B05, B04, B02, B01
Purple: V17, V15, V12
Grays: 100, W8, W7, W5, W4, W3
Fine details were added with Prismacolor Colored Pencils.

The bckground for my card is from the ‘Tonight We Ride 6×6 Pattern Paper Pad‘. The papeer was the perfect backdrop for this little cutie!

Some of the die cut pieces were cut out of black and white to make them stand out a little more against the dark blue.

As always you can find an abundance of Ink n’Splatter products for sale here.

Thanks for visiting today!

Crafty Hugs ~ Pam xx

You can also follow me on Instagram or my facebook page!

Easter

Hello friends!

Can you believe Easter is right around the corner? All those bunnies will be hopping around delivering baskets to all the kiddos…lol!

I am back today to share a fun and bright Easter card with you featuring products from the new release at Ink n’Splatter Stamps. These darling bunnies are from the Hoppy Bunnies Stamp Set.

I stamped these cuties on X-Press It Blending Card and colored them with the following markers.

~Copics~
Bunnies: W3, W2, W1, W0, W00, R30, R00, R000
Egg: YG17, YG03, YG01, White Gel Pen

I used my Cameo Silhouette to cut out the letters. I used two layers of white and one colored layer to give the letters a little bit of dimension. I added a fun frame and a couple die cut flowers to add a little brightness to the corners. The bunnies were cut out with the coordinating Hoppy Bunnies Die Set. I added a few embellishments to the letters to make them pop.

As always you can find an abundance of Ink n’Splatter products for sale here.

Thanks for visiting today!

Crafty Hugs ~ Pam xx

You can also follow me on Instagram or my facebook page!

Wishing you a Happy Easter

Hello friends!

I don’t know about you, but I am SO over the snow and just want Spring to hurry up and get here!!

My card today features these two ADORABLE little ducklings from Ink n’Splatter Stamps new release. The ducklings are part of the Easter Bunnies Stamp Set, and the bunch of Easter eggs are from the Hoppy Bunnies Stamp Set.

I stamped these super sweet ducklings and eggs on X-Press It Blending Card with Memento Tuxedo Black Ink. One the ink was dry I colored them with the following markers.

~Copics~
Yellows: YR23, Y15, Y11, Y00
Oranges: YR18, YR15, Y38, Y15
Pinks: RV19, RV17, RV55, RV02, RV00
Greens: YG17, YG03, YG00
Whites: C2, C1, C00
White Gel Pen

After my coloring was done, I die cut the ducklings and the bunch of Easter Eggs using the coordinating Easter Bunnies Die Set. The background was created using papers from the Easter Egg Explosion 6×6 paper pad.

I couldn’t resist adding chocolate bunny die cuts to add in the basket for the ducklings to munch on.

As always you can find an abundance of Ink n’Splatter products for sale here.

Thanks for visiting today!

Crafty Hugs ~ Pam xx

You can also follow me on Instagram or my facebook page!

Just a Little Monkey Love

Hi everyone!

These two cuties were monkeying around and fell in love…lol!

Seriously though…how adorable are these two cutie pies from Ink n’Splatter Stamps called Monkey Love? I think they are just the sweetest little things!!

I stamped these little sweethearts on X-Press It Blending Card with Memento Tuxedo Black Ink and colored them with the following markers.

~Copics~
Browns: E59, E57, E39, E37, E35, E33
Tans: E31, E30, E50
Greens: YG17, YG03, YG01
Grays: C3, C2, C0, C00
Pinks: R43, RV42, RV11, R30

I added a hand drawn plaid print to his shirt for something a little different, and added a few tropical leaf die cuts for a splash of color.

Images were cut out with the coordinating Monkey Love Die Set.

As always you can find an abundance of Ink n’Splatter products for sale here.

Thanks for visiting today!

Crafty Hugs ~ Pam xx

You can also follow me on Instagram or my facebook page!

All of Me Loves All of You

Hi friends!

Aren’t these mice just the cutest little couple? These little sweethearts are from the latest new release from Ink n’Splatter and are called the Kissing Mice Stamp Set.


I stamped these sweethearts on X-Press It Blending Card with Memento Tuxedo Black Ink and colored them with the following markers.

~Copics~
Mice: W4, W3, W2, W1, W0, W00, R20, R30, R00
Girls Dress: C2, C1, C0, C00, RV66, RV52, YG17, YG03
Boys Bow: W8, W7, W5
Greens: YG17, YG03, YG01, YG00
Pinks: RV66, RV63, RV52
White Gel Pen


I hand colored flowers on the little dress with markers and a white gel pen. Once all the coloring was finished I cut out the sweet couple with the matching Kissing Mice Die Set. The patterened paper is from the Raspberry Crush 6×6 Paper Pad.

As always you can find an abundance of Ink n’Splatter products for sale here.

Thanks for visiting today!

Crafty Hugs ~ Pam xx

You can also follow me on Instagram or my facebook page!

Hi

Hello and welcome everyone!

Today I am sharing my inspiration for the NEW Color Challenge at Ink n’Splatter Stamps.

My card today features one of the super adorable bears from the Beary Whishes Pairables Stamp Set.

I stamped this little cutie on X-Press It Blending Card and colored her with the following markers.

~Copics~
Bear: E55, E33, E31, E30, E50
Pot: BG49, BG15, BG23, BG11, BG10
Greens: YG17, YG03, YG01
Pinks: RV14, RV13, RV11, RV21
White Gel Pen


I bought this large font die a while ago and thought this image would fit perfectly with it. I couldn’t resist making it into a shaker card with lots of pretty sparkles.

To help fill some of the white space I die cut lots of little flowers and added dimension to the center of the flowers with sparkly bits.


As always you can find an abundance of Ink n’Splatter products for sale here.

Thanks for visiting today!

Crafty Hugs ~ Pam xx

You can also follow me on Instagram or my facebook page!

HUGS for my sweetheart

Hello everyone!

Can you believe Valentine’s Day is just around the corner?

This darling little Panda from Ink n’Splatter’s Loveable Panda Stamp Set was busy collecting beautiful flowers for her sweetie.


I printed this little cutie on X-Press It Blending Card and colored her with the following markers and colored pencils.

~Copics and Prismacolor Pencils~

Dark Gray: W8, W6, W5, W4, W3, W1 – Pencils: 1067, 1065, 1063, 1061, 938
White: E41, E40, CB – Pencils: 1063, 1061, 938
Light Pink: R22, R20, R00, R000
Red: R89, R46, R27, R24, R05 – Pencils: 925, 924, 923, 922, 938
Yellow: YR23, Y15, Y11, Y00
Green: YG17, YG03, YG01
Nose: 100, W9, W7
Inside of Ears: R000 – Pencils: 929, 928, 1013
Mouth: 1017
White Gel Pen


After I had her all colored, I cut her out with the coordinating Loveable Pandas Die Set and then set her aside to work on my card.


The gorgeous dies I used in my design are from Papertrey Ink. I started by stamping the word HUGS from the Lots of Hugs Stamp Set and then used the coordinating Lots of Hugs Die to cut it out. I cut the die cut in half to give room for the cute little Panda to be in the center of the card. The two white layers are from the Love to Layer: Rectangle Dies.

As always you can find an abundance of Ink n’Splatter products for sale here.

Thanks for visiting today!

Crafty Hugs ~ Pam xx

You can also follow me on Instagram or my facebook page!