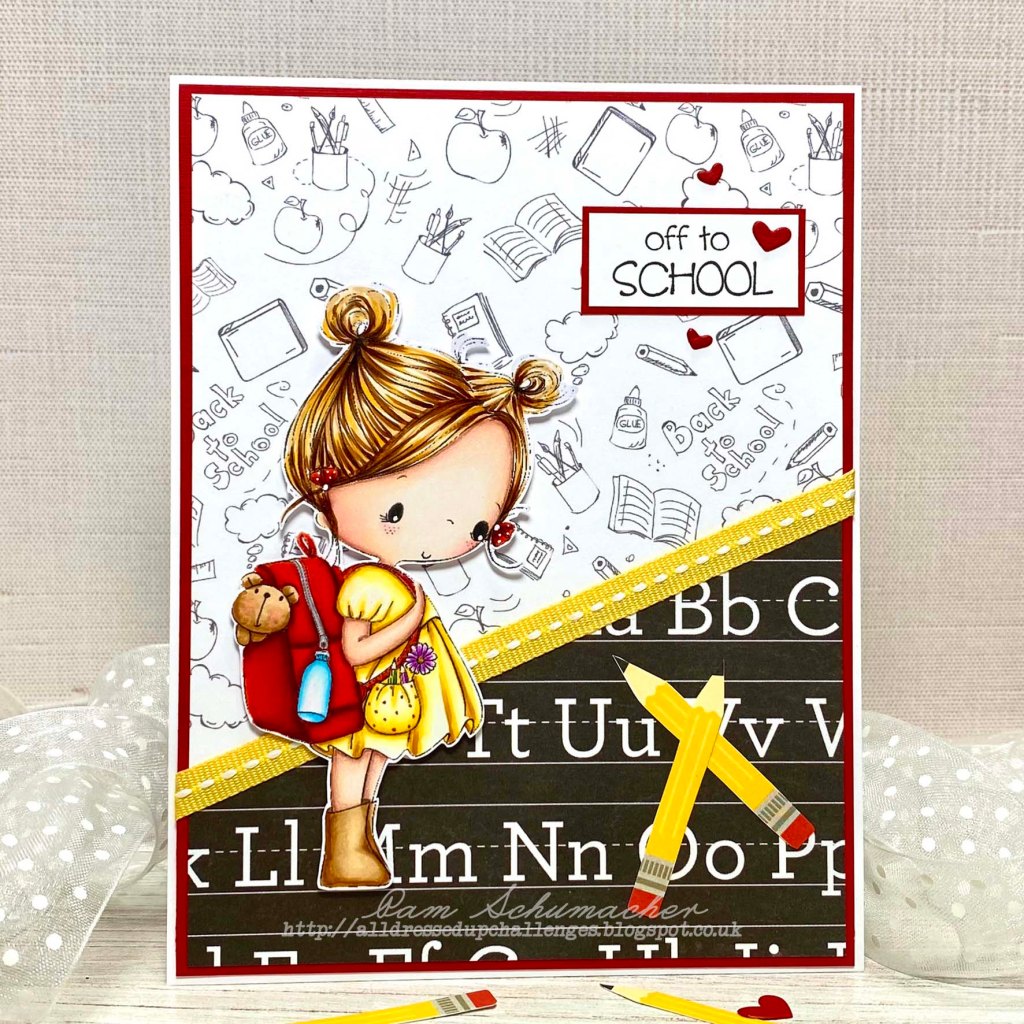
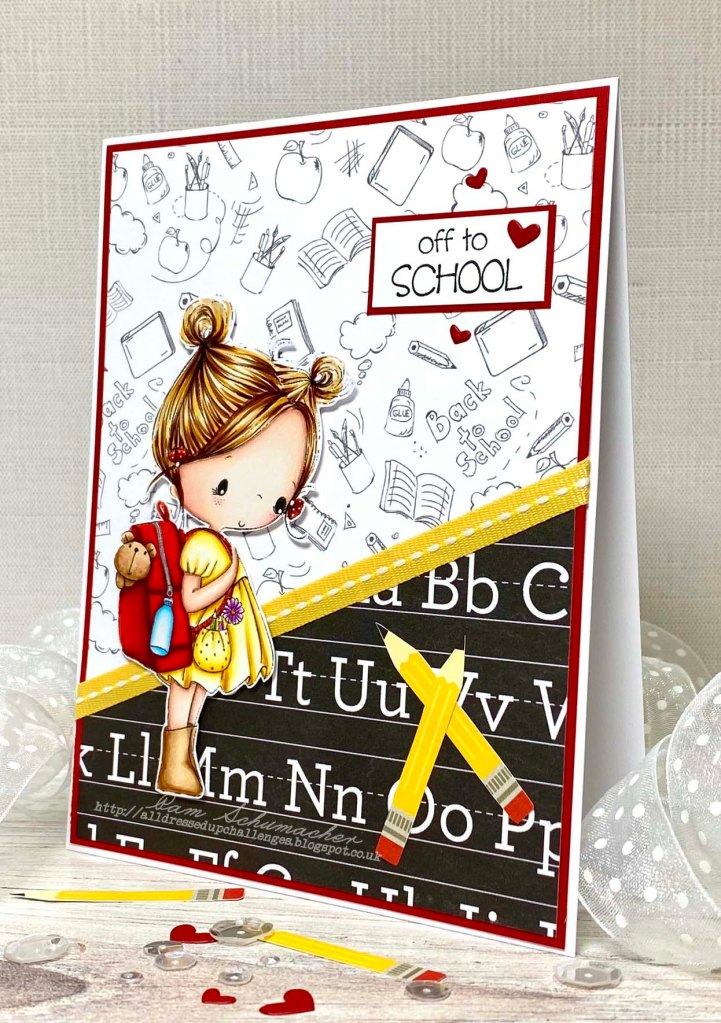
It took me a little bit to figure out the perfect paper and the right design for this darling image. I ended up using paper from Bella Blvd, Echo Park and digital paper. The pencils were fussy cut from the paper I chose.
As always, you can find an abundance of gorgeous inspiration images for sale here.
Remember to join in the fun and enter your All Dressed Up projects in the All Dressed Up Challenge Blog. We would love to see your creations.
I’ve joined in with the All Dressed Up Stamps Facebook Design Team for the September challenge. The months theme is ‘Layers or Clean and Simple’. I struggle with the ‘Clean and Simple’ theme designs, so layers it is!
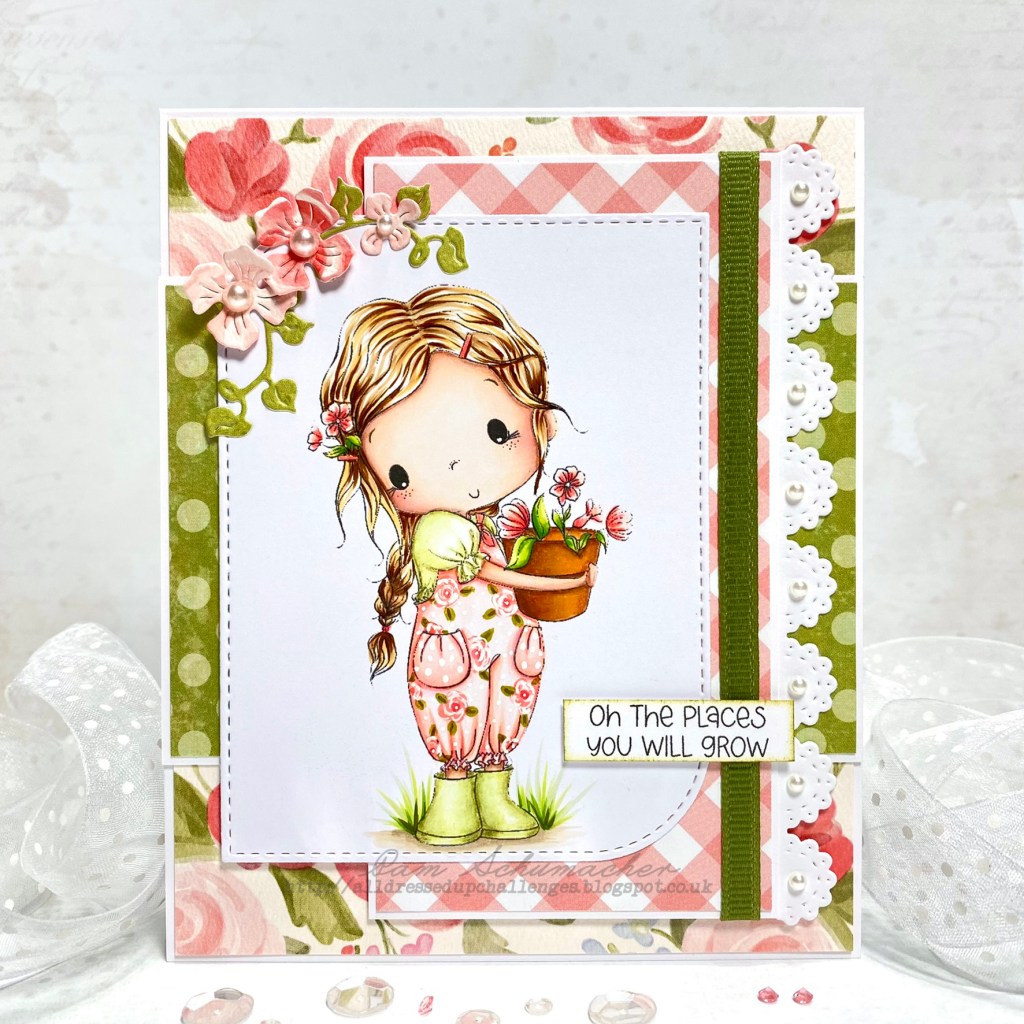
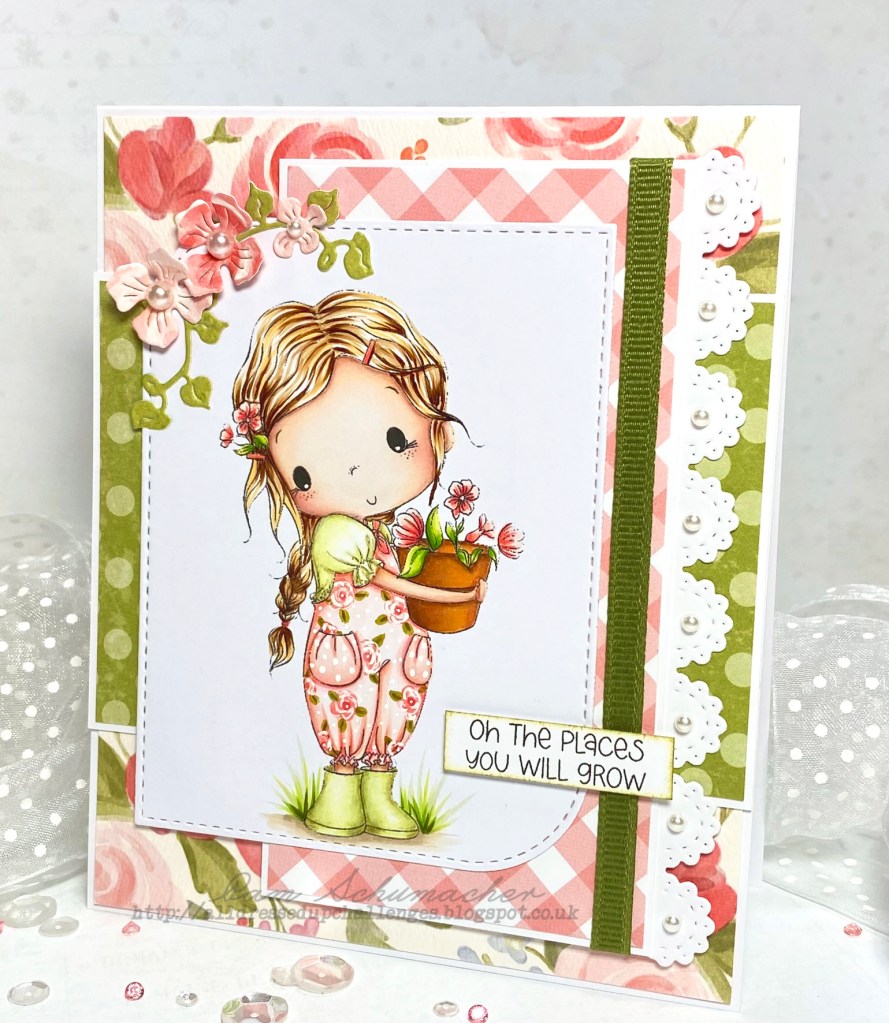
My card today was created with this ever so adorable cutie from All Dressed Up Stamps called Potted Plants. I couldn’t resist giving her cute gardening clothes with flowers on them…and they are the perfect color…PINK!!
I printed this little sweetheart on X-Press It Blending Card and colored her with the following markers.
Picking this image to create with was a very easy choice for me as I love growing plants and flowers. The dies are from La-La Land Crafts, My Favorite Things, and Magnolia.
As always, you can find an abundance of gorgeous inspiration images for sale here.
I’m finally back after some much needed time off…and I’m excited to say I will be designing for All Dressed Up Stamps once again!!
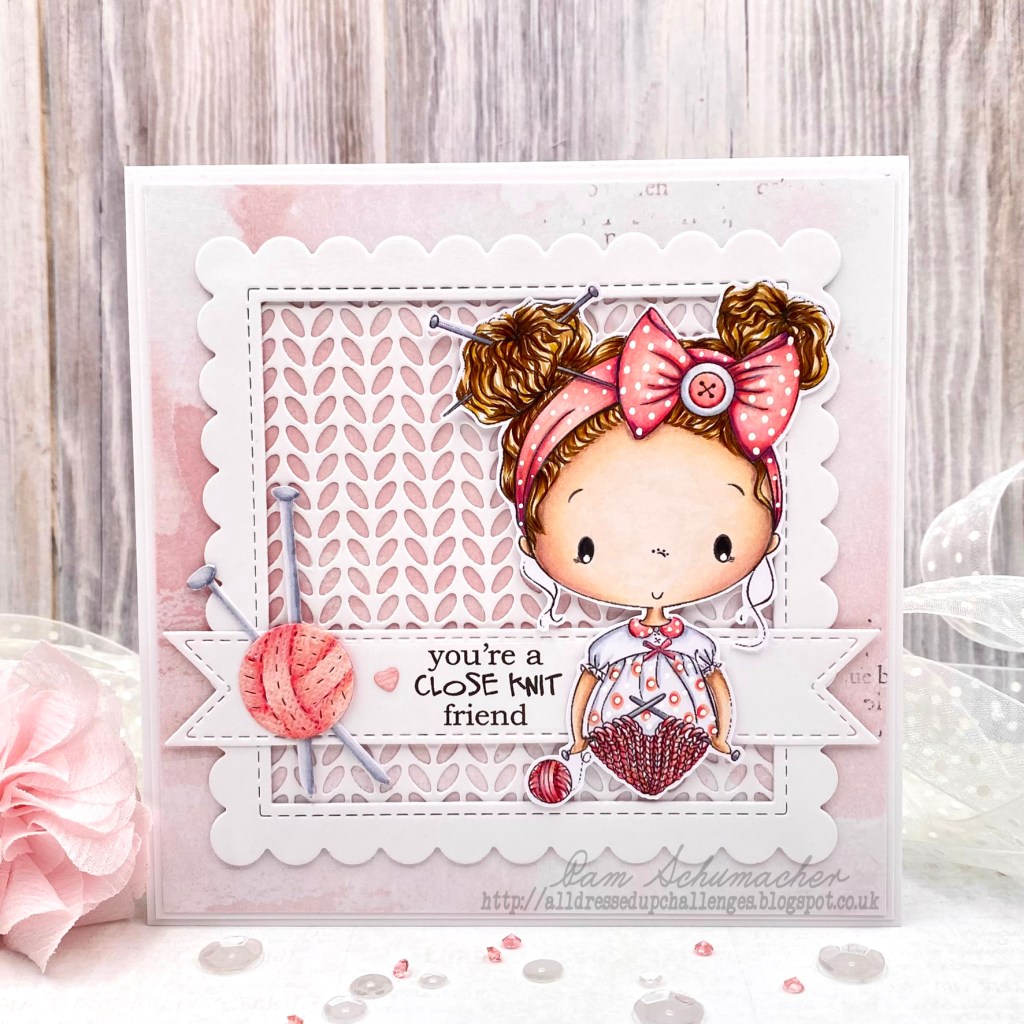
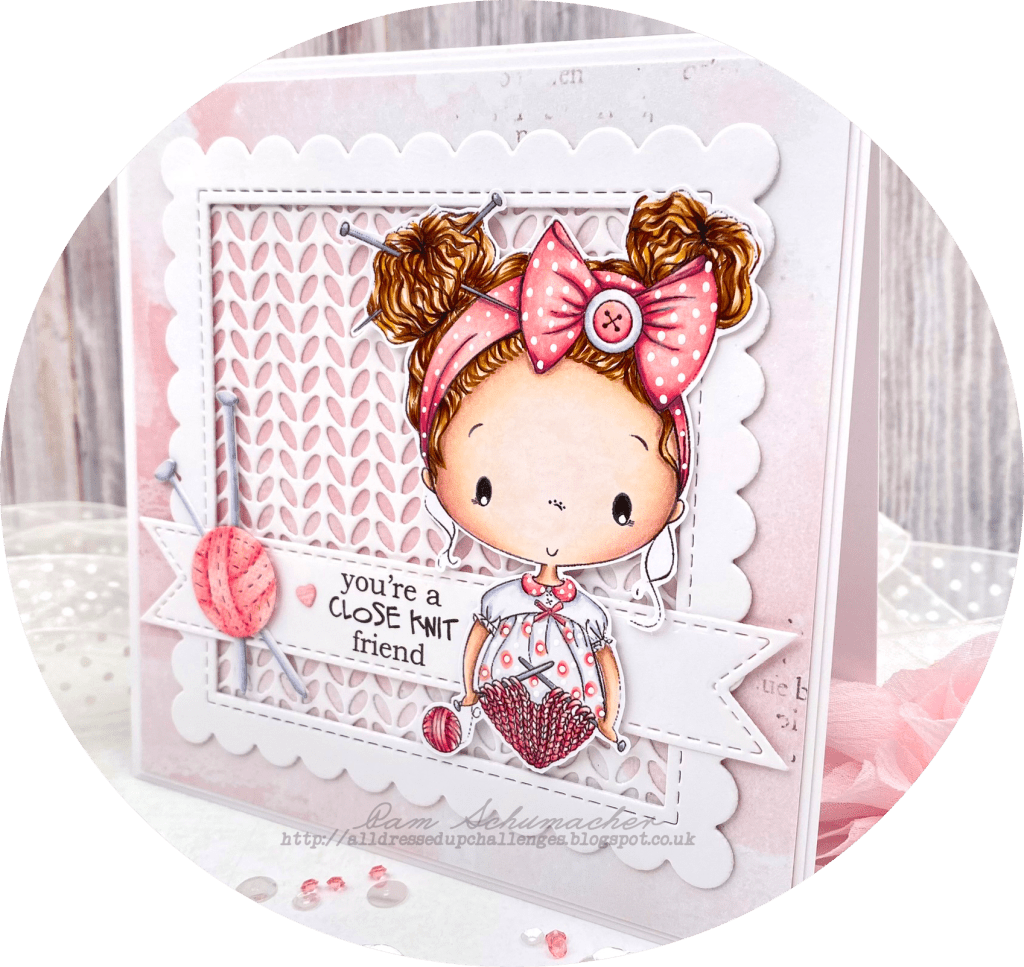
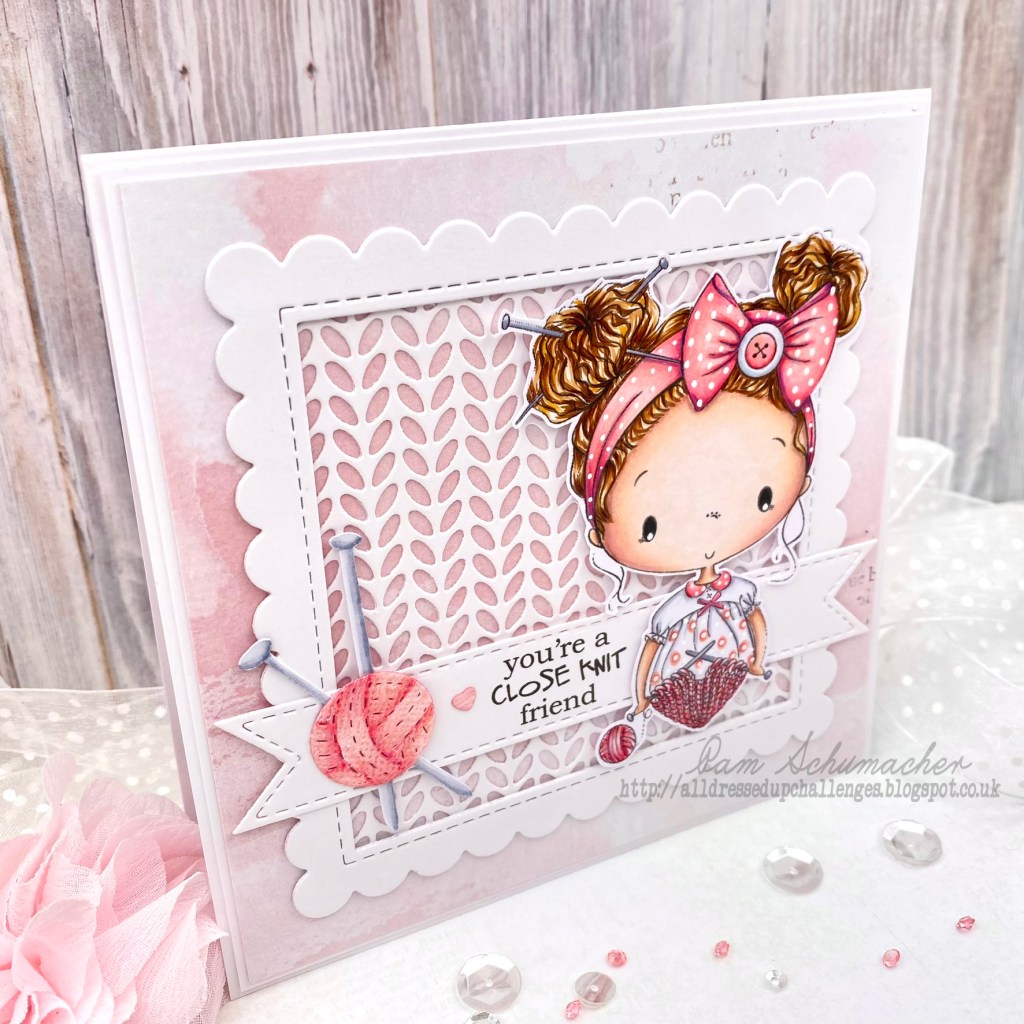
Today I am sharing this super adorable image from All Dressed Up Stamps called ‘Love to Knit‘. I am a knitter at heart, and this seriously makes me want to start a new sweater for winter!!
I printed this sweetheart at a height of 3.5″ on X-Press It Blending card and colored her with the following markers.
~Copics~ Skin: E04, E11, E21, E00, E000, E0000, R20, R30, R00 Hair: E57, E55, 31, E30, YR23 Pinks: RV14, R43, R32, R20, RV10 Grays: C4, C3, C1, C0, Colorless Blender White Gel Pen Fine details added with Prismacolor Colored Pencils
I was lucky enough to find a few knit theme dies in my stash. The knit stitch die worked perfect for the background and how adorable is that little ball of yarn? The knitting needles are a cut file from the Silhouette Online Store. I created the sentiment on my computer.
As always, you can find an abundance of gorgeous inspiration images for sale here.
Remember to join in the fun and enter your All Dressed Up projects in the All Dressed Up Challenge Blog. We would love to see your creations.
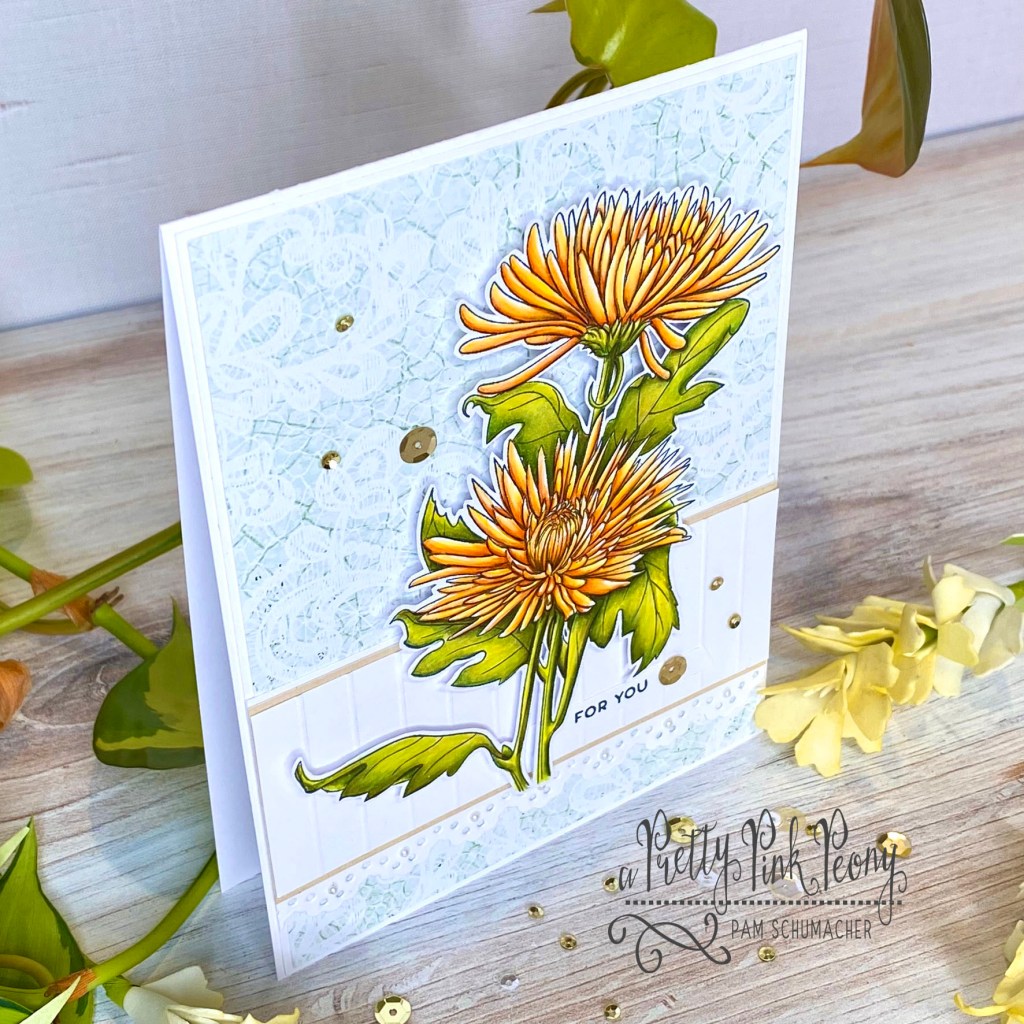
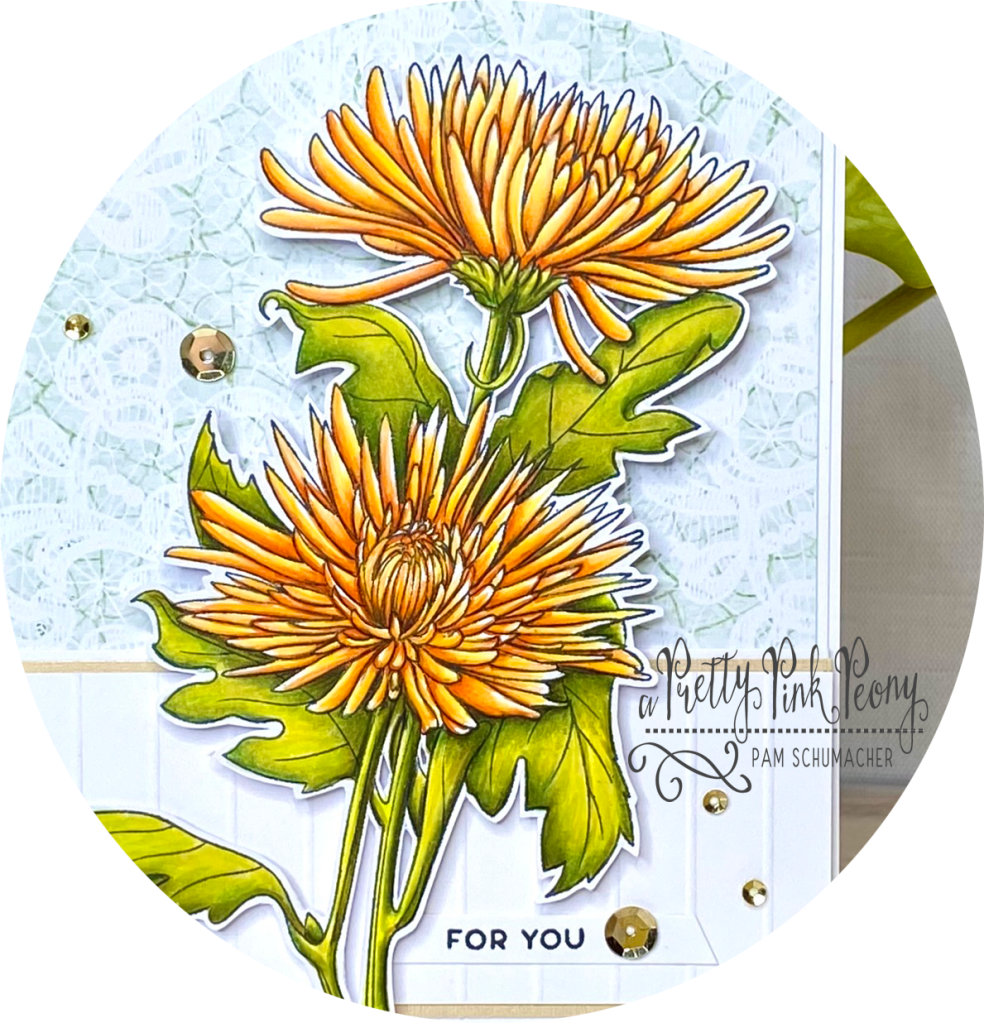
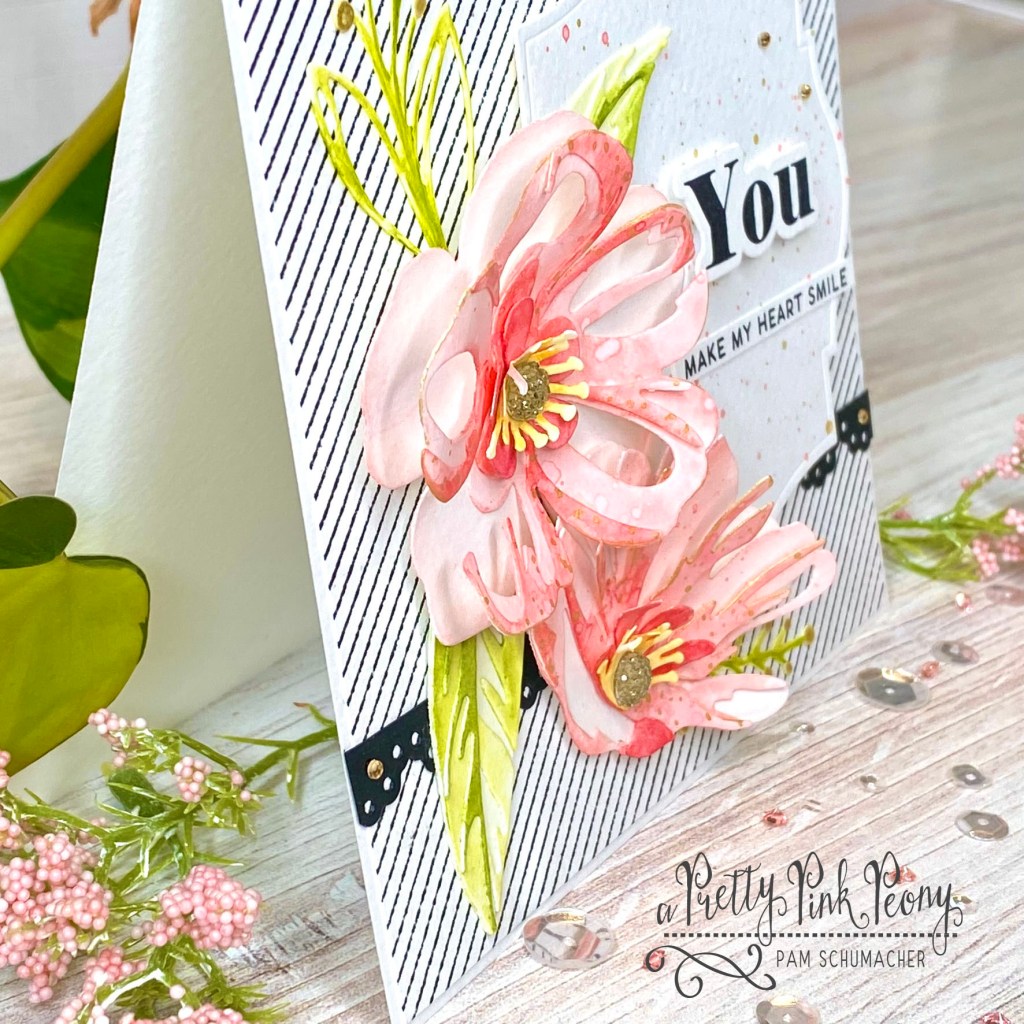
I had a hard time choosing a color for these beauties! I always seem to reach for the pinks…oops!!
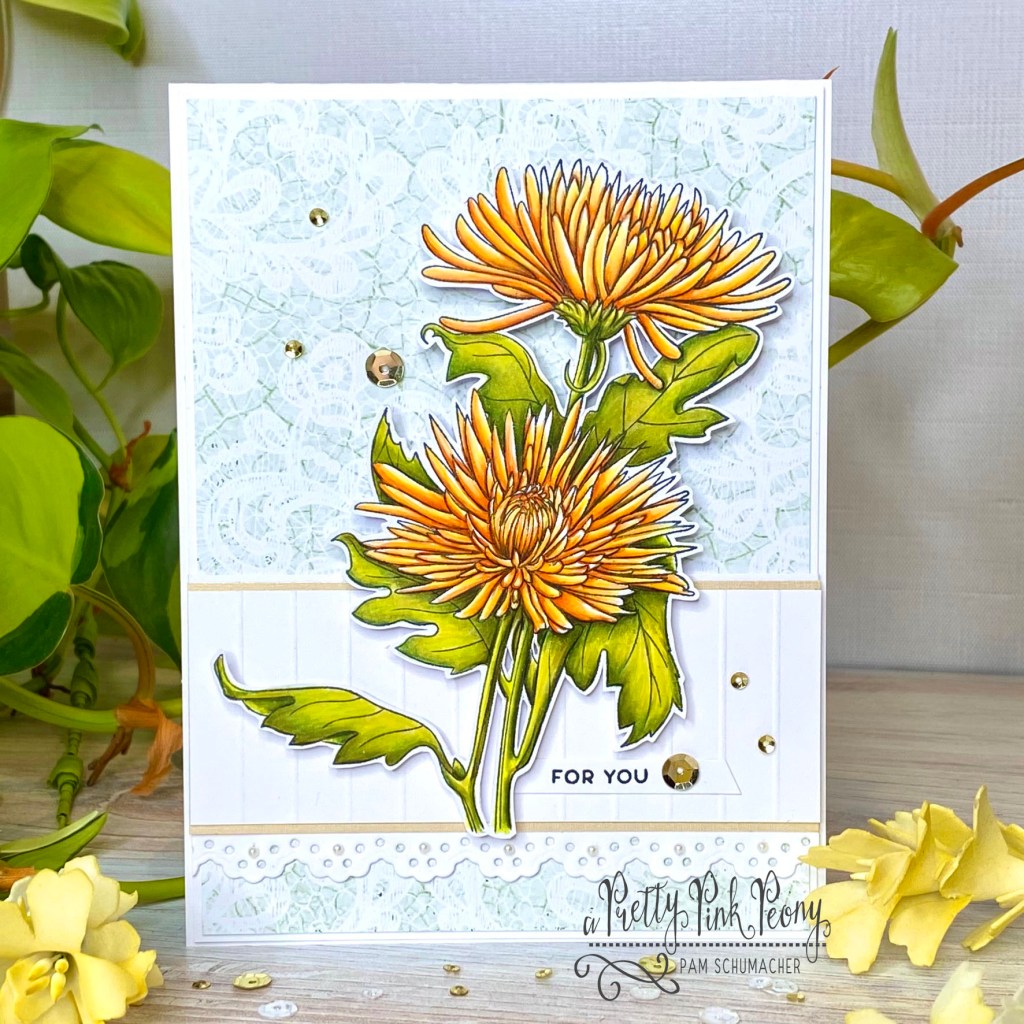
I stamped these beautiful flowers on X-Press It Blending Card and colored them with Copic Markers and Prismacolor Pencils.
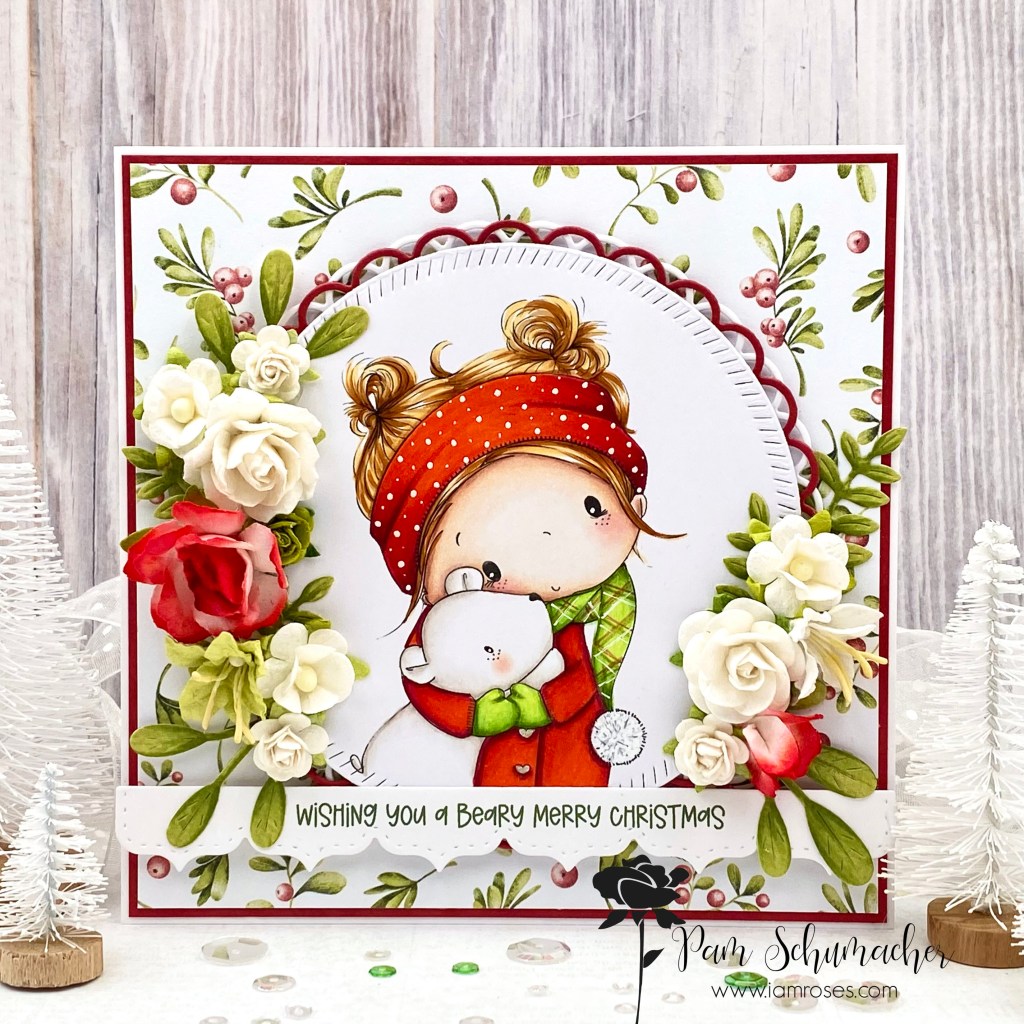
I used the pretty border die called Creative Edges: Scalloped Scallops Die Set as the base for the bottom band. I added a layer of gold card stock as the second layer, carefully measuring just above the detail from the scallop side to where I wanted it from the top edge. For the top layer I used a slightly smaller piece of white cardstock scored in the middle, and then every 3/8″ in both directions.
A few tiny white pearls from my stash were added to the scallop detail. Lastly, I added a few gorgeous Altenew’s Satin Gold Sequins to my card. The sparkle is the perfect final touch.
I am back today after a little break away from crafting. I have been working on setting up some more crafty space to work in. Hoping it will be done soon.
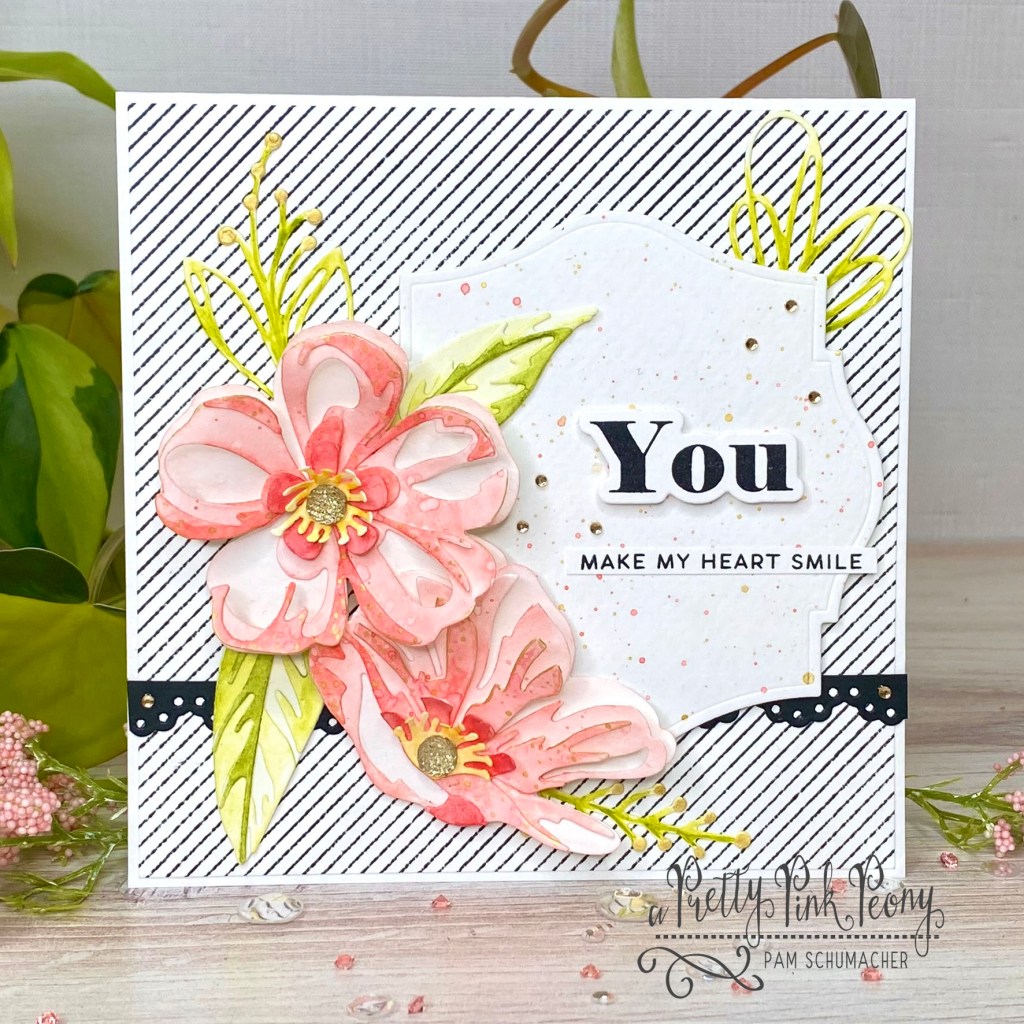
Imagine how excited I was when Altenew asked if I would be interested in working on a collaborated post with them. I have always loved their beautiful products, so of course I said yes…how exciting!!!
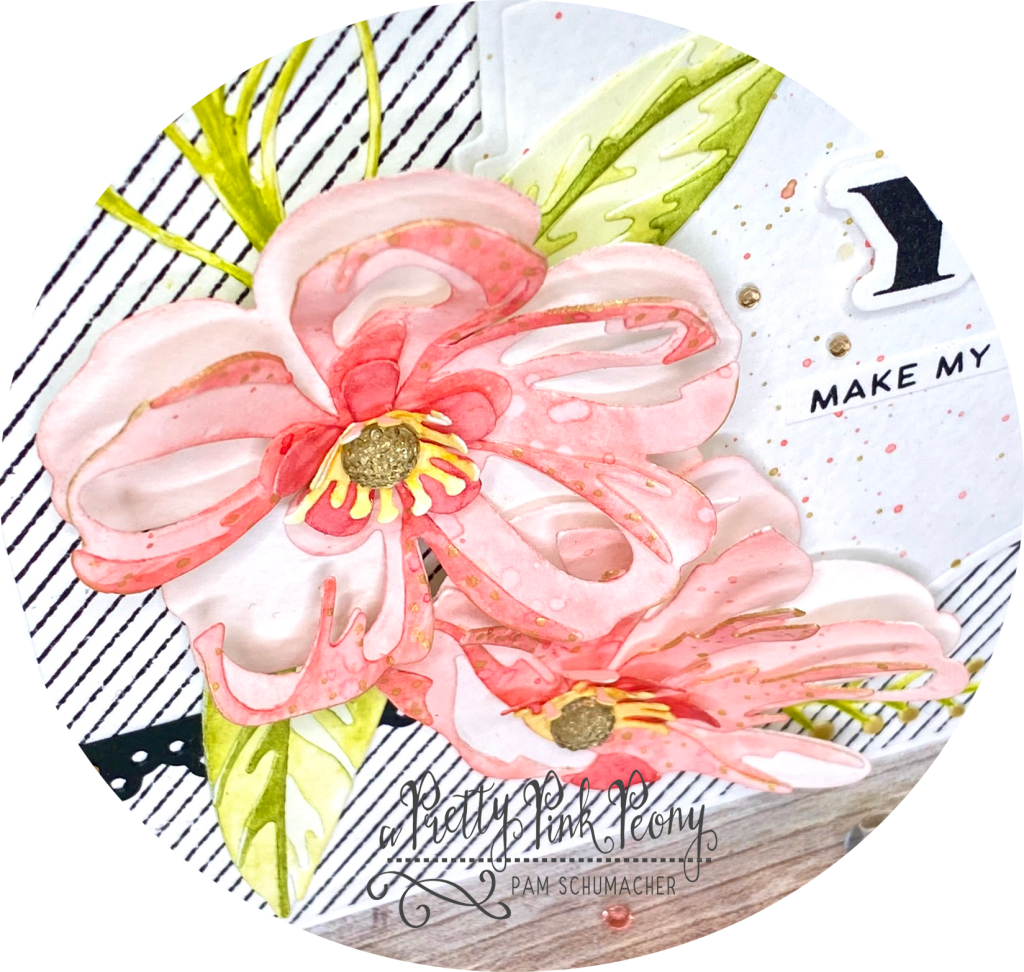
All the flower and leaf pieces were die cut from watercolor paper and then colored with Altenew Watercolor 36 Pan Set. Once these pieces were dry, I added some accents with gold craft paint.
I knew I wanted the flowers to be dimensional so I only glued them in the center portion. This would allow me to bend and curl the layers of petals.
I stamped the stripe background with the stamp set called Pinstripe Stamp Set. The eye catching shape I used for the sentiment base is from the Labels & Tags 2 Die Set. This piece was ink splattered with the same watercolor paints and gold craft paint that I used above.
I trimmed and cut portions of die cuts so they are just peeking out the top and the right side of the main image piece. It adds just a little bit of something extra to the card.
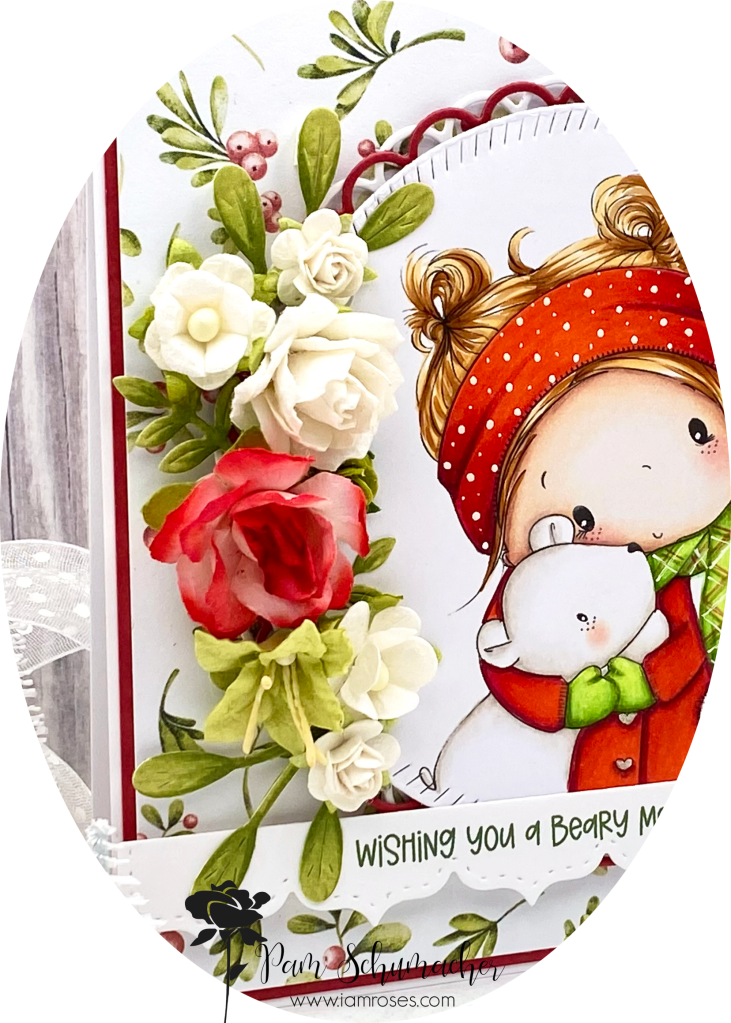
To make the red balance out on both sides I needed a small amount of red in the flowers above her , however I didn’t have any smaller flowers that were a soft red. To accomplish this I removed the yellow stamen out of the center of the little white flower and glued in a red sticky back gem…just the right amount of red!
As always, you can find an abundance of gorgeous flowers for sale here.
Remember to join in the fun and enter your I Am Roses creations in the I Am Roses Challenge Blog. Amazing prizes are available! We would love to see your creations.
When it came to arranging the flowers I decided I didn’t want the large red flower quite so big, so I took the bottom row of petals off and glued the green leaves back on. For the right side I used that row of red petals that I removed, and glued them together to appear like a small flower bud.
As always, you can find an abundance of gorgeous flowers for sale here.
Remember to join in the fun and enter your I Am Roses creations in the I Am Roses Challenge Blog. Amazing prizes are available! We would love to see your creations.
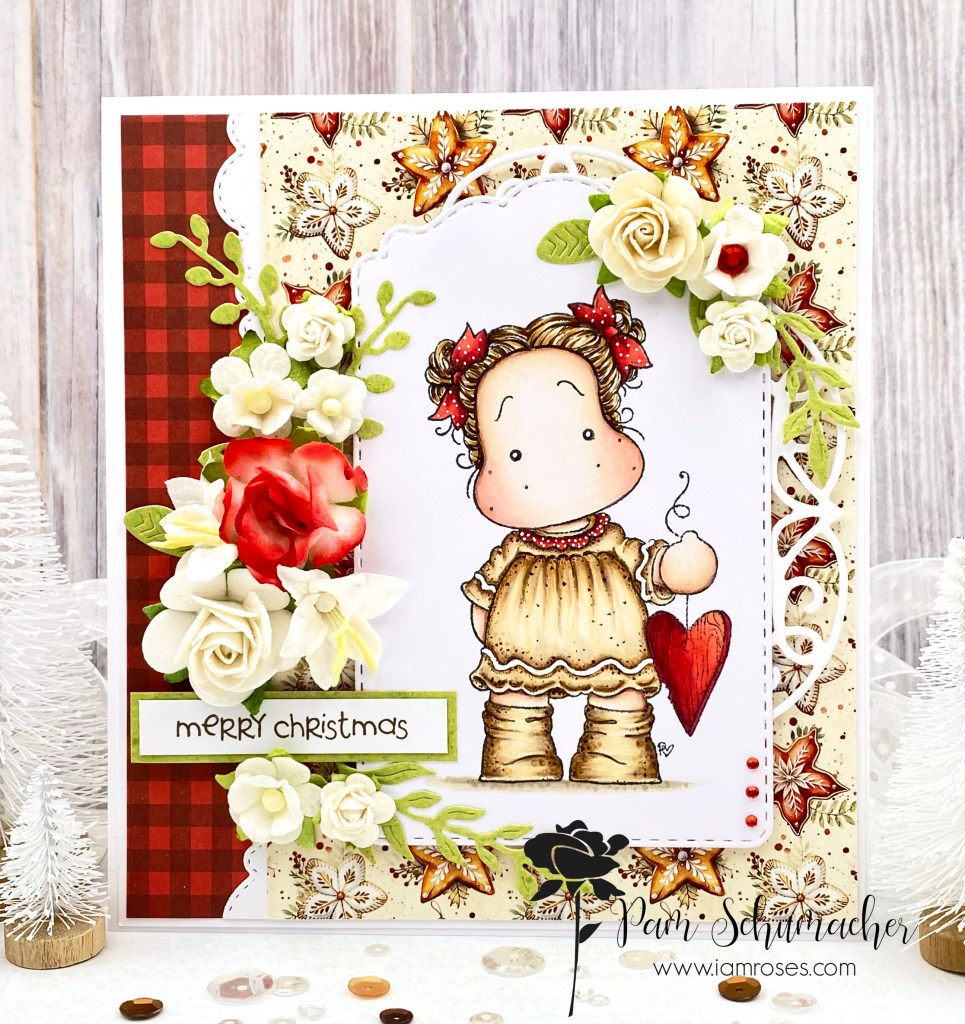
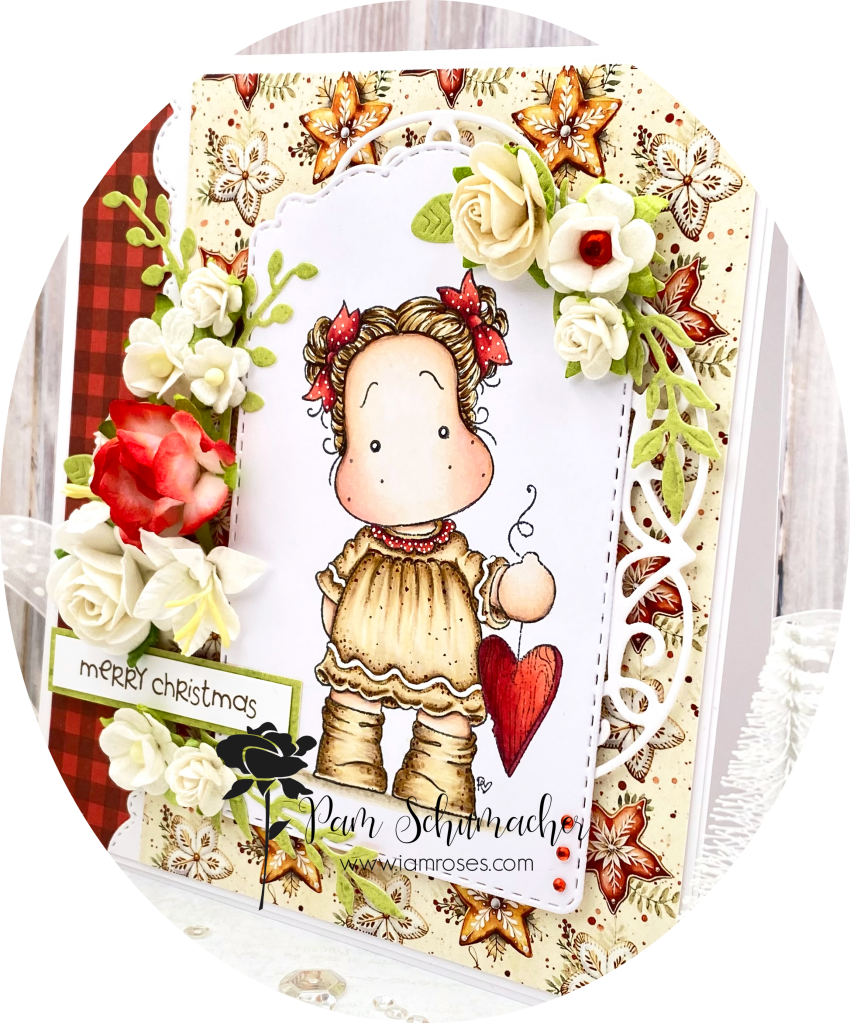
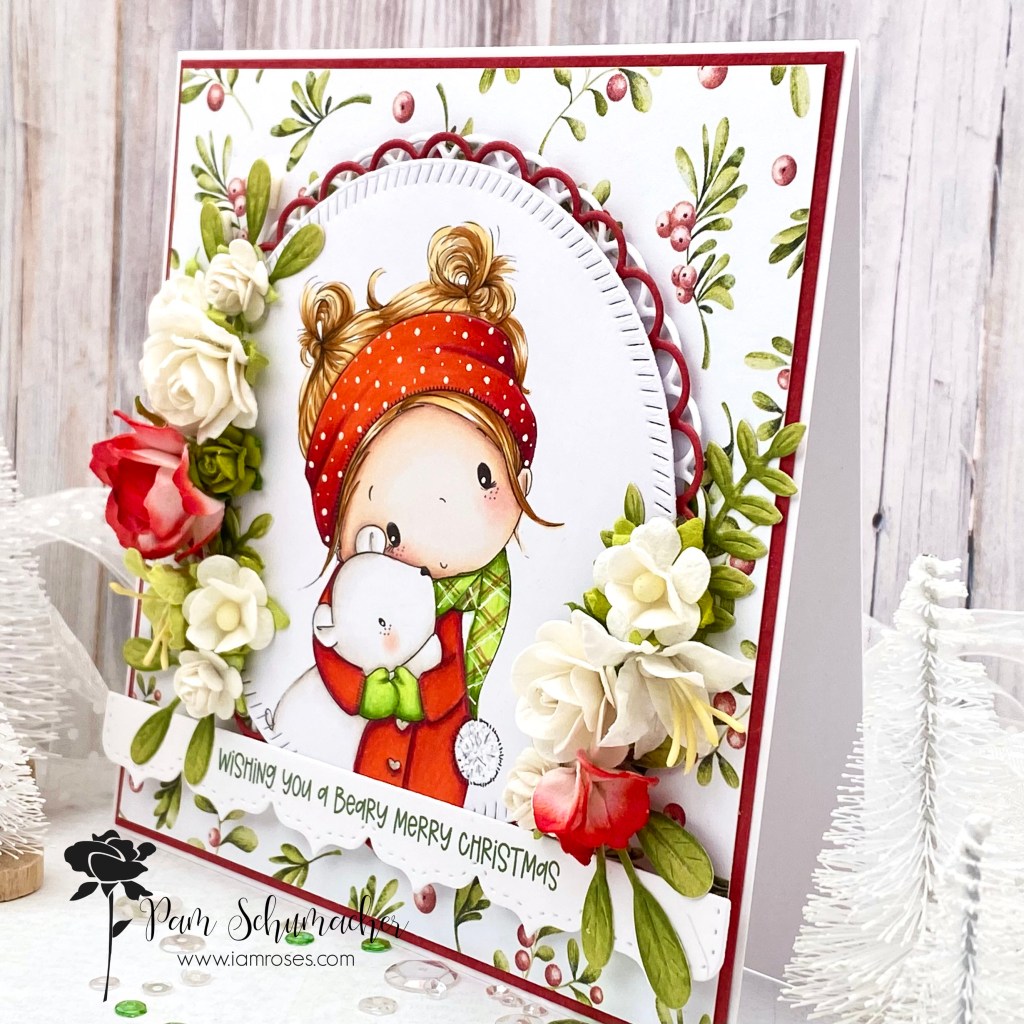
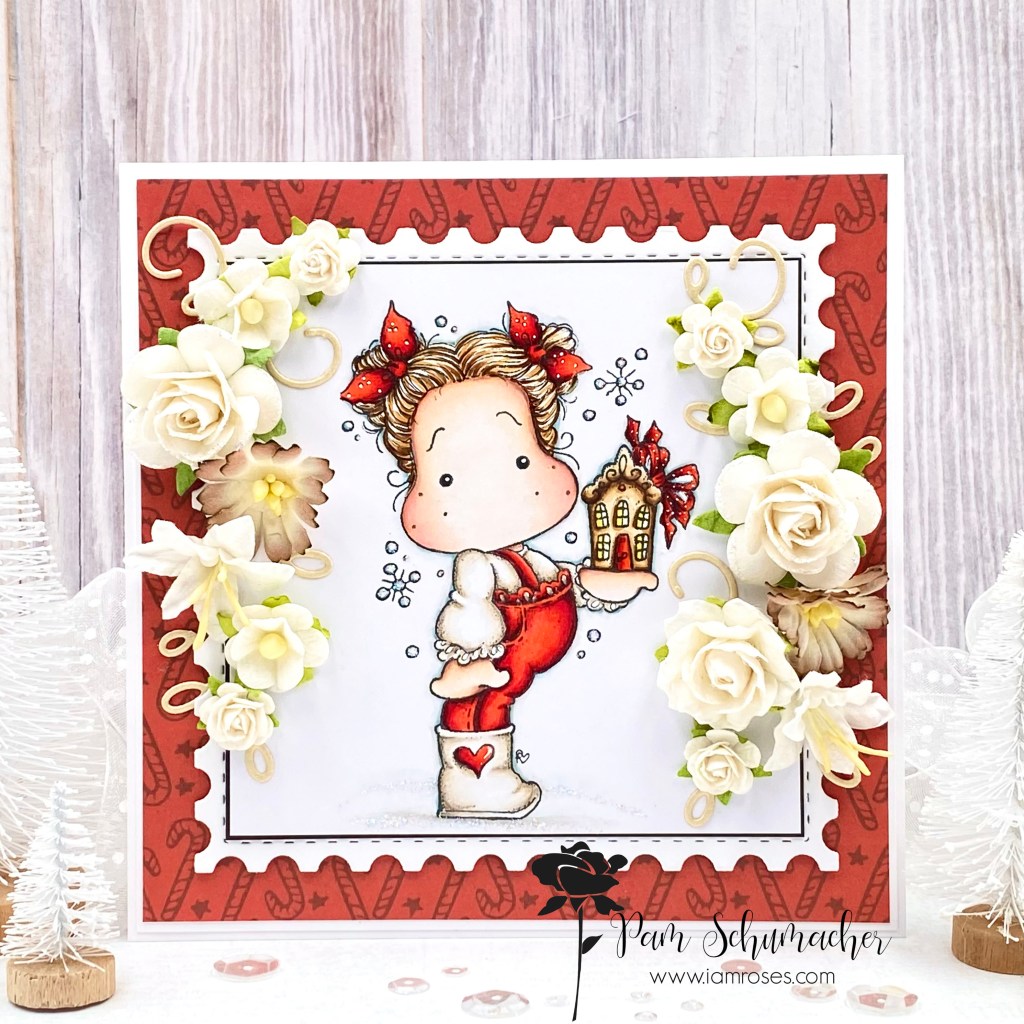
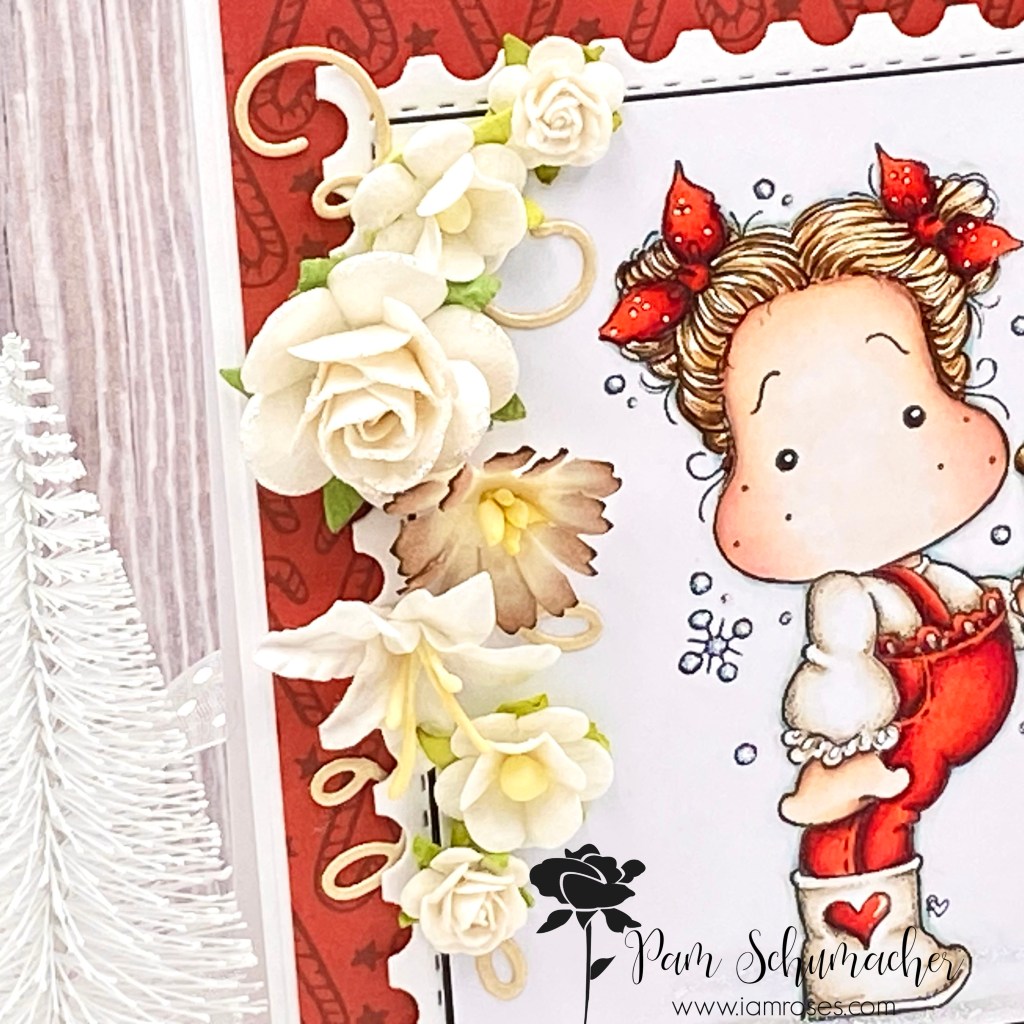
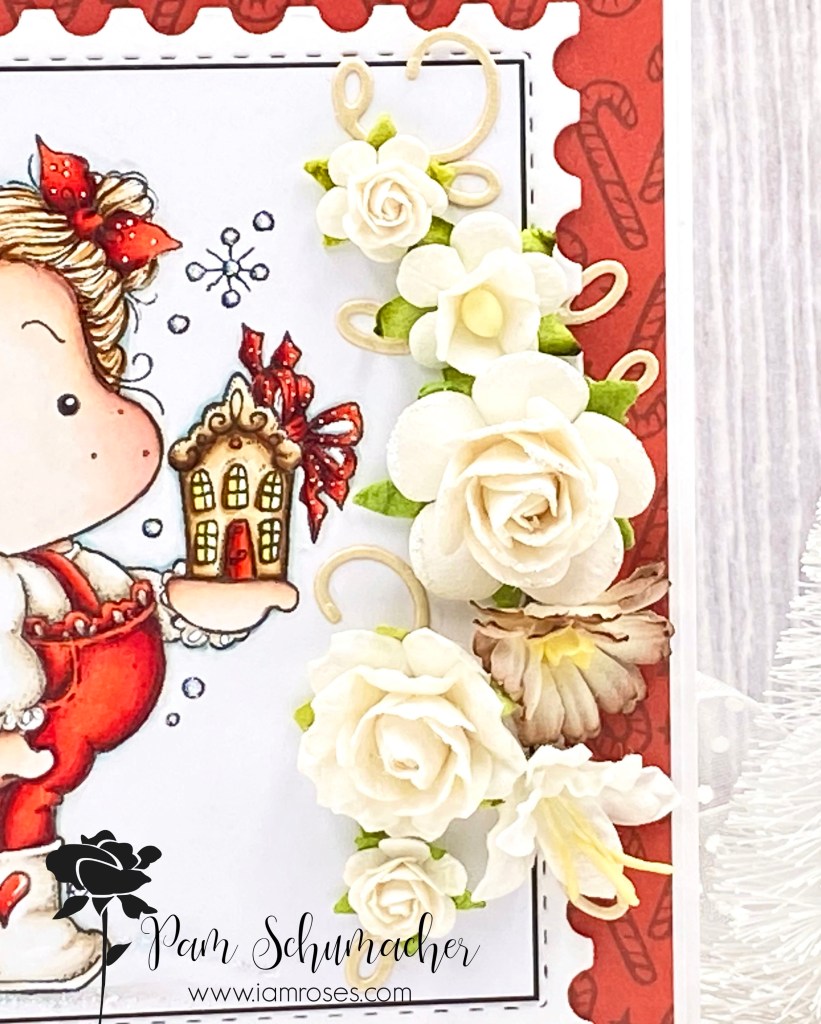
It’s so hard to believe that I am busy making Christmas cards again!
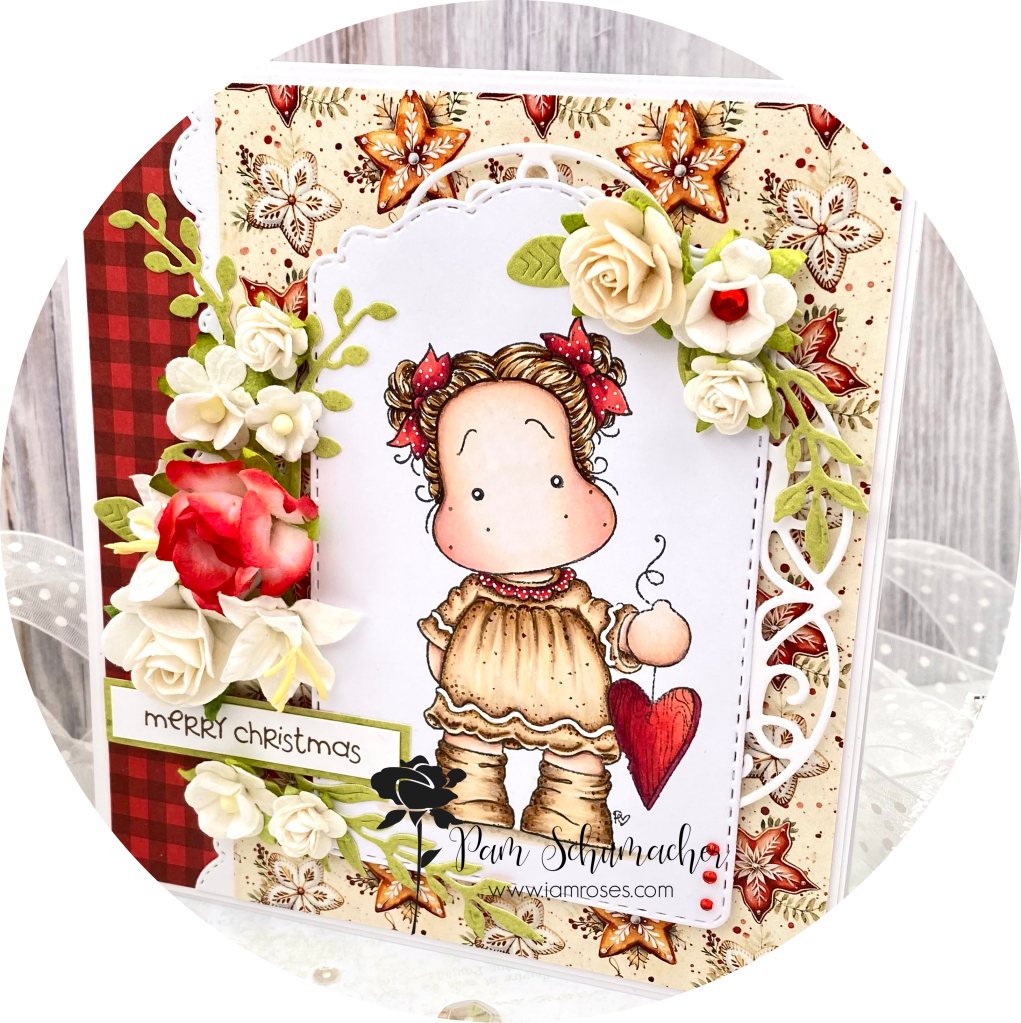
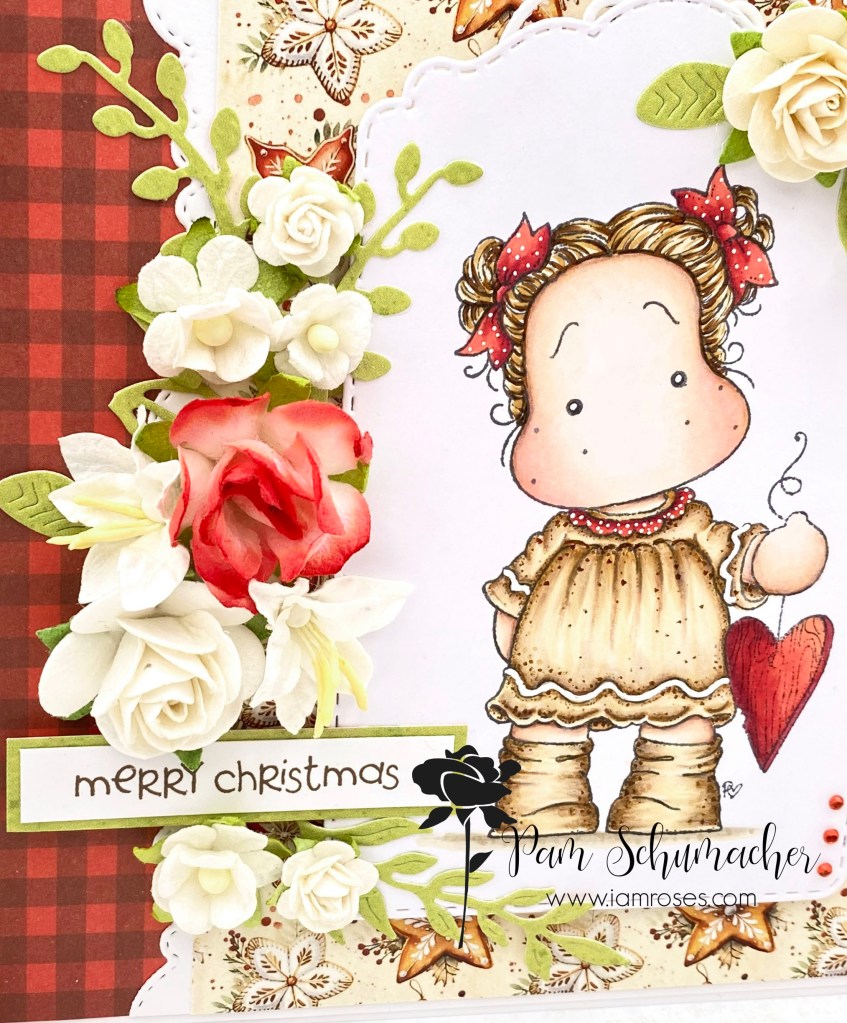
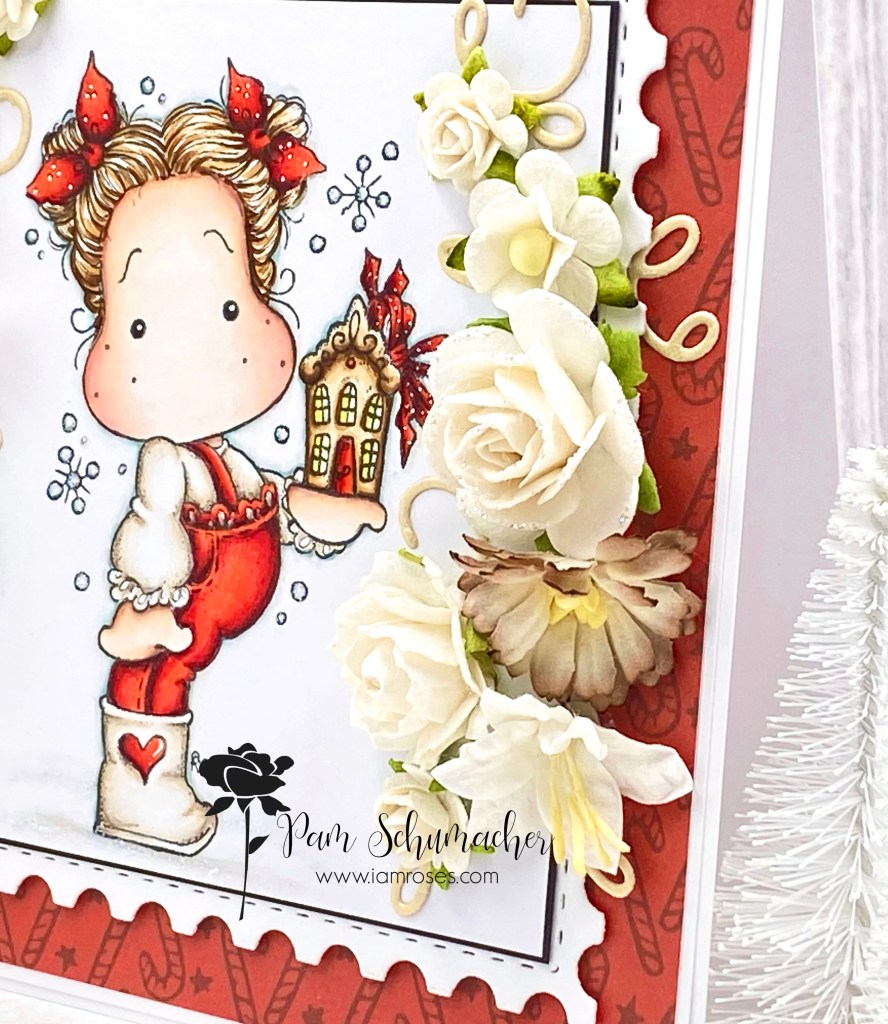
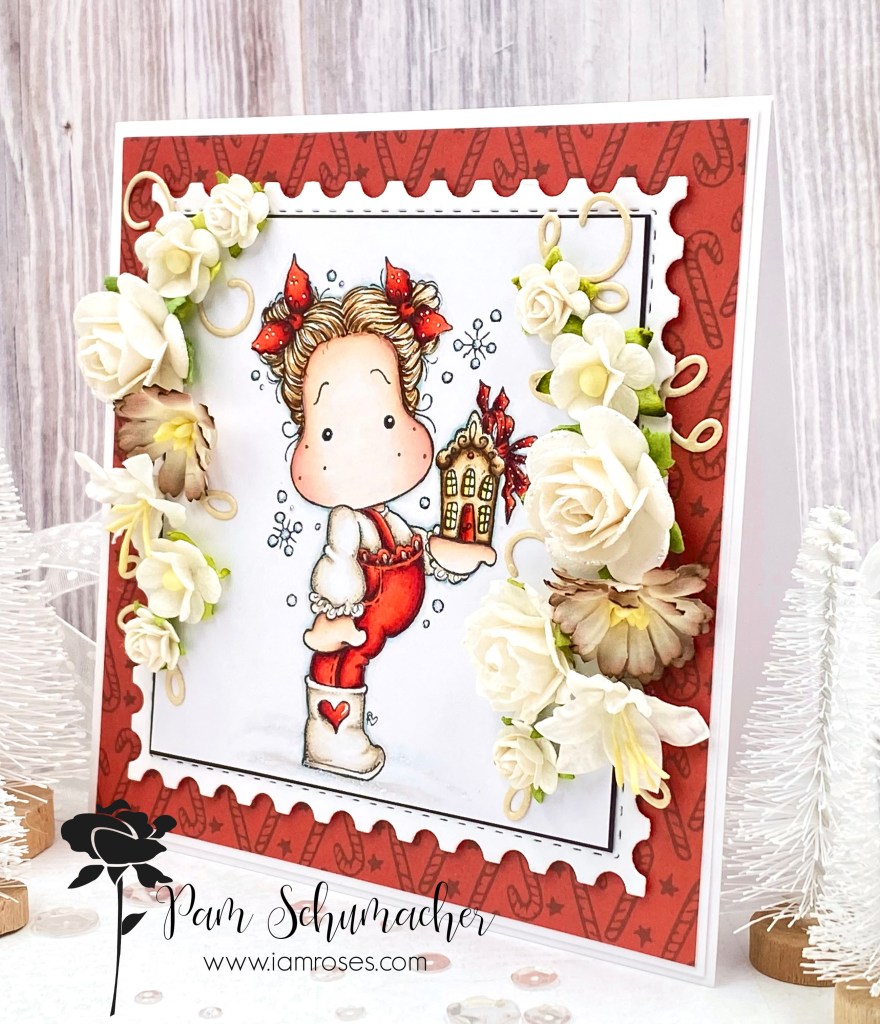
My design team project for I Am Roses today features this little sweetheart from Magnolia Stamps called ‘Gingerbread House Tilda’. She was super fun to create with!
I stamped this gorgeous image on X-Press It Blending Card with Memento Tuxedo Black Ink and colored her with the following markers.
It’s hard to see in the photos, but I added some Stardust Stickles to the edges of the large white roses for a little sparkle.
As always, you can find an abundance of gorgeous flowers for sale here.
Remember to join in the fun and enter your I Am Roses creations in the I Am Roses Challenge Blog. Amazing prizes are available! We would love to see your creations.
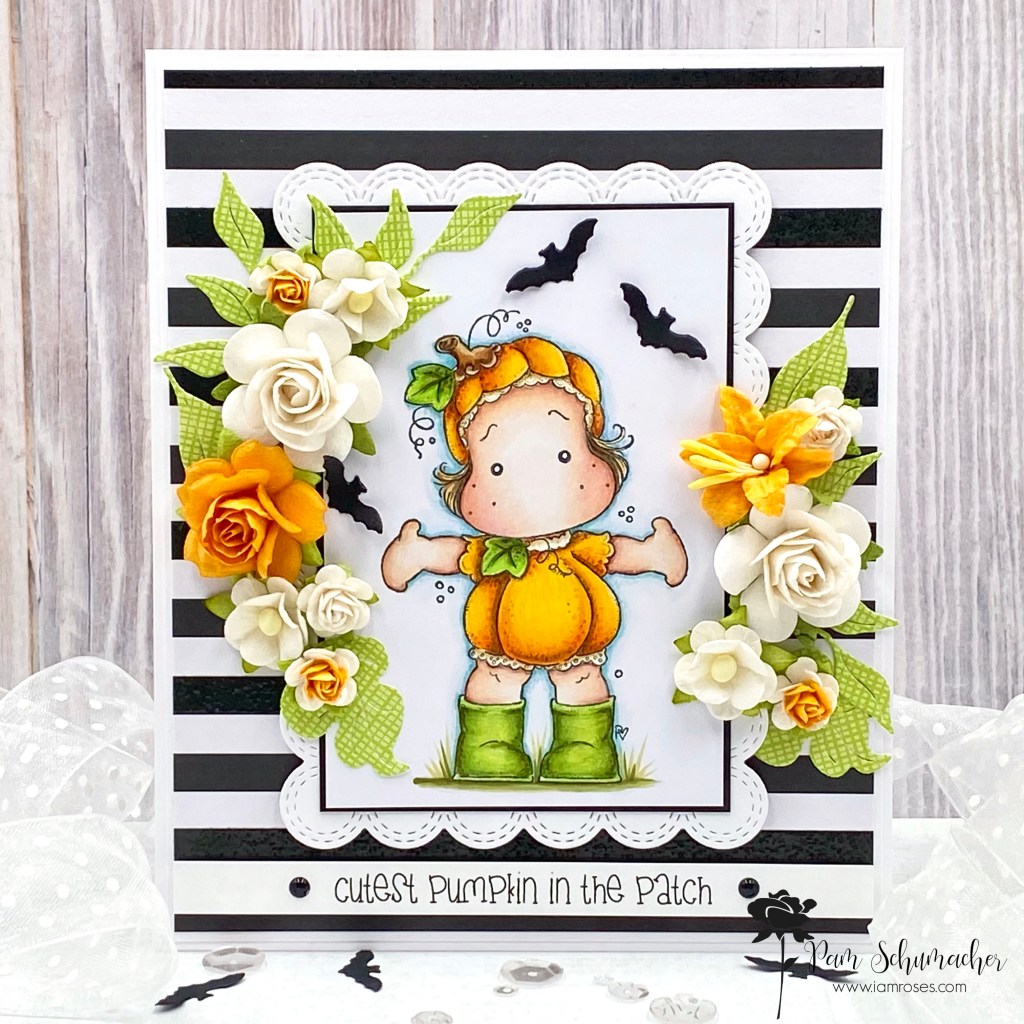
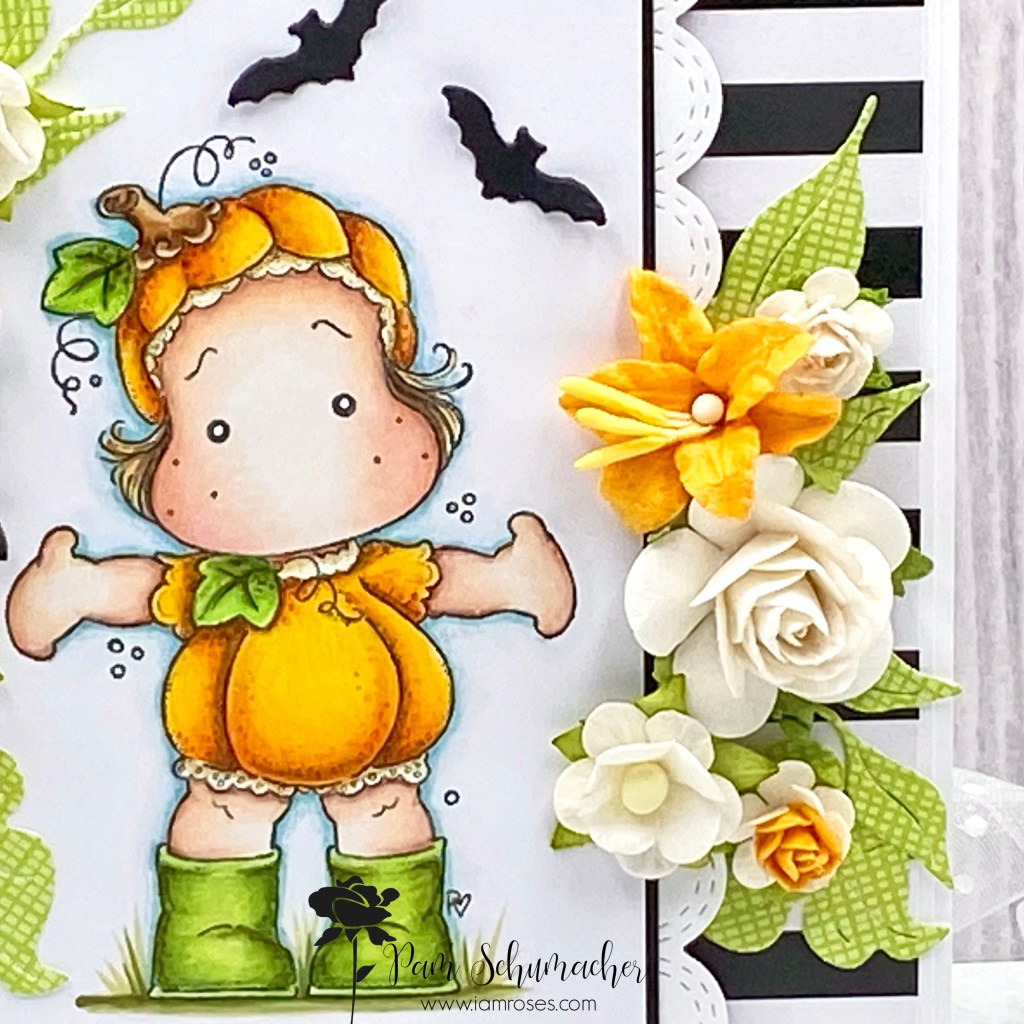
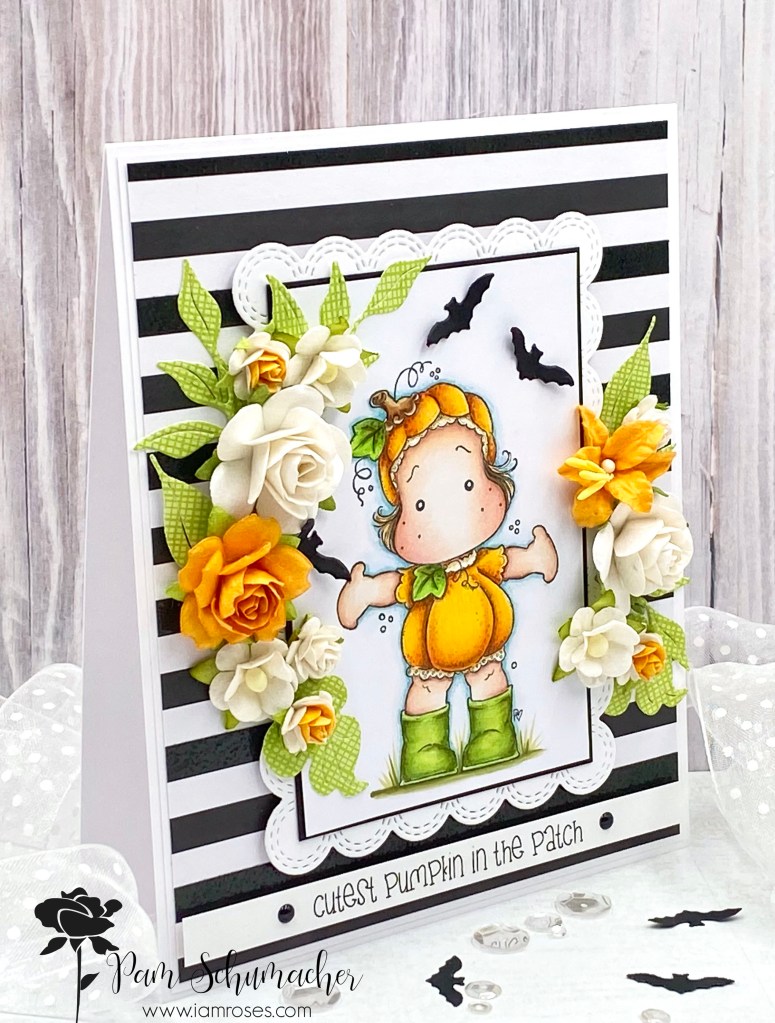
Are you ready for all the little trick or treaters on Halloween?
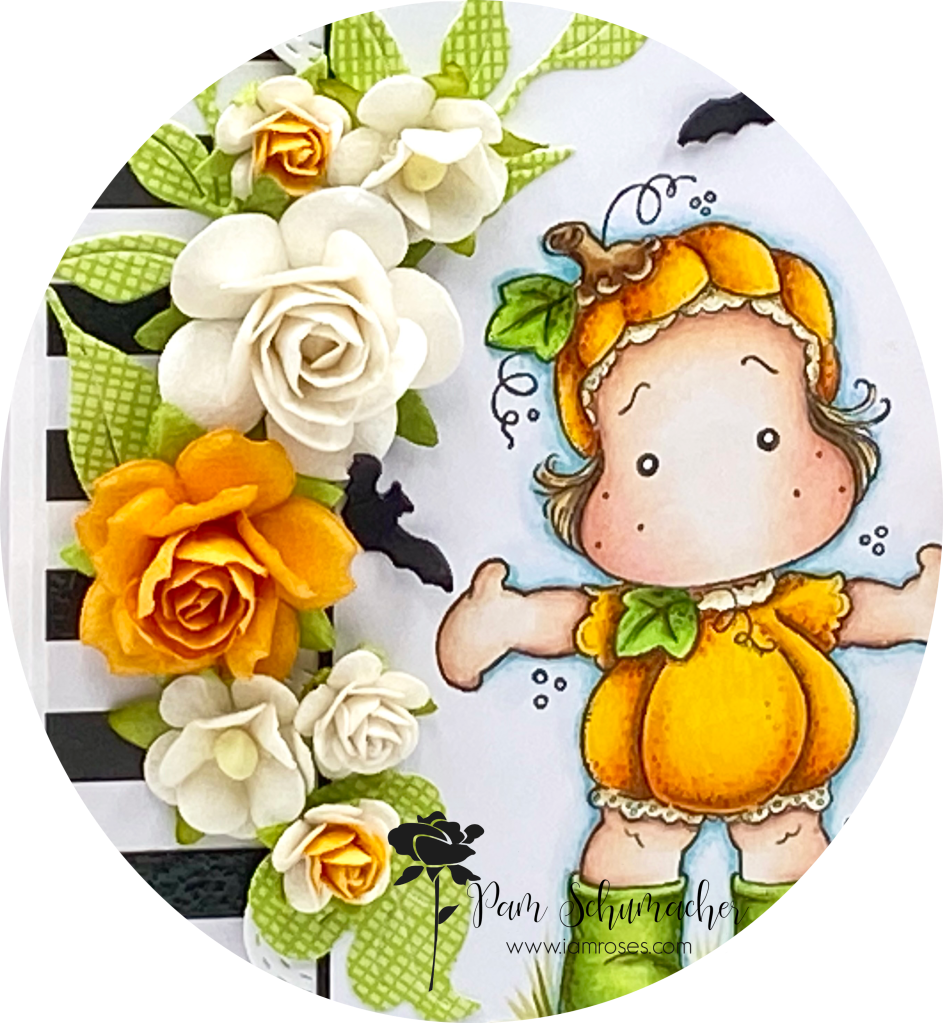
My design team project for I Am Roses today features this adorable pumpkin cutie from Magnolia Stamps. She is part of the ‘You are my Pumpkin Art Stamp Sheet’.
I stamped this little sweetheart on X-Press It Blending Card with Memento Tuxedo Black Ink and colored her with the following markers.
As always, you can find an abundance of gorgeous flowers for sale here.
Remember to join in the fun and enter your I Am Roses creations in the I Am Roses Challenge Blog. Amazing prizes are available! We would love to see your creations.
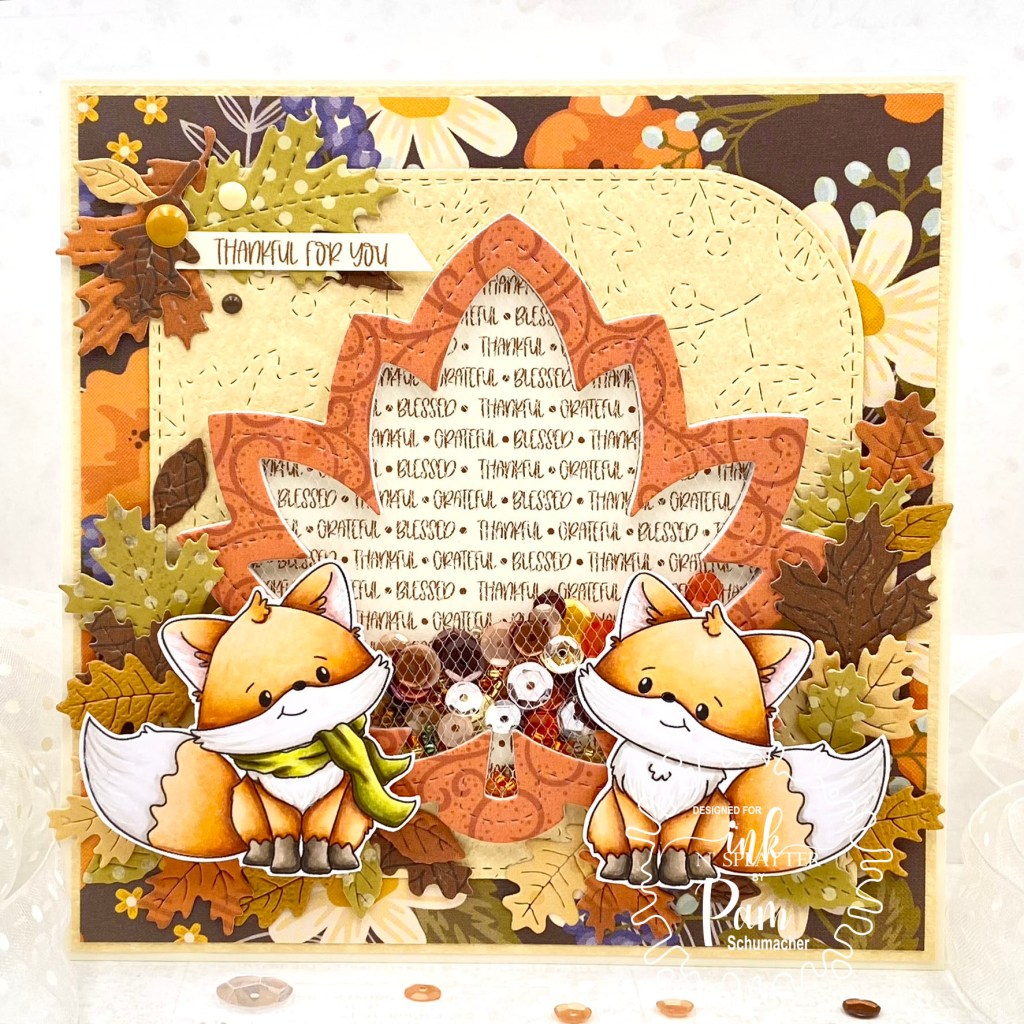
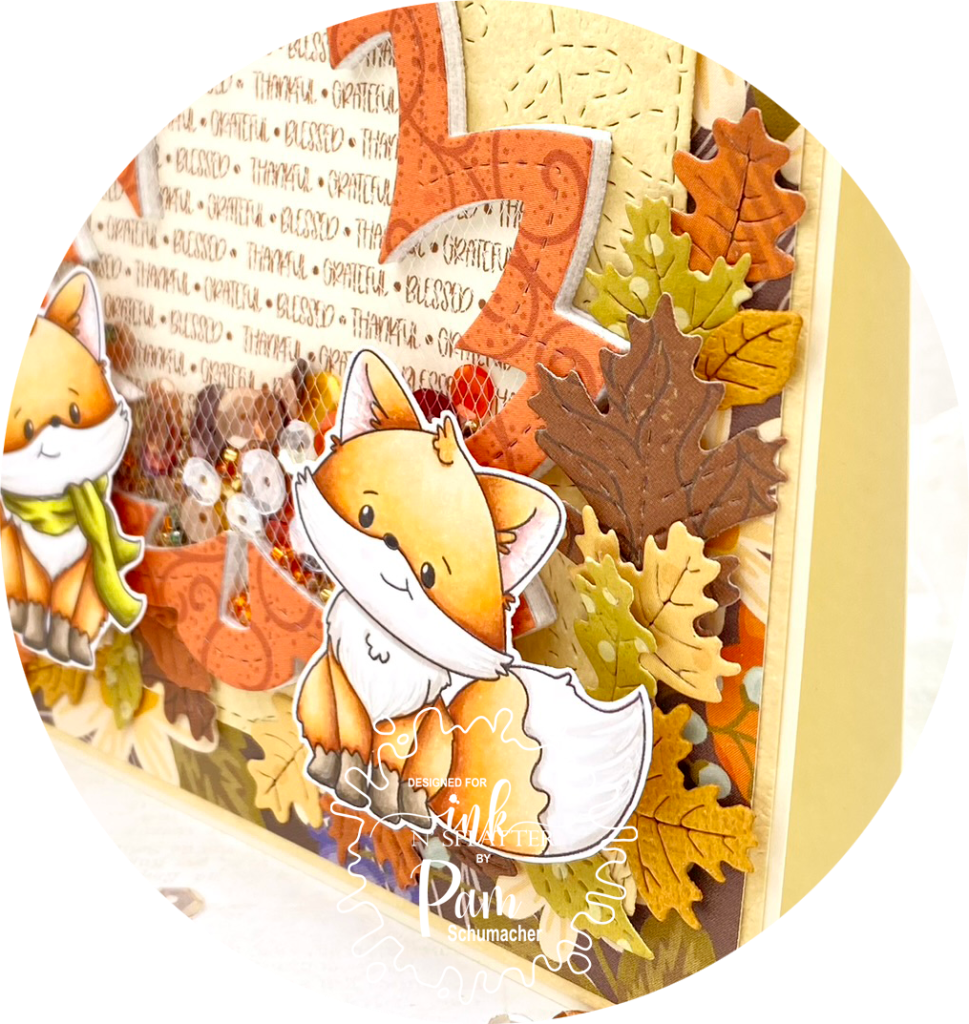
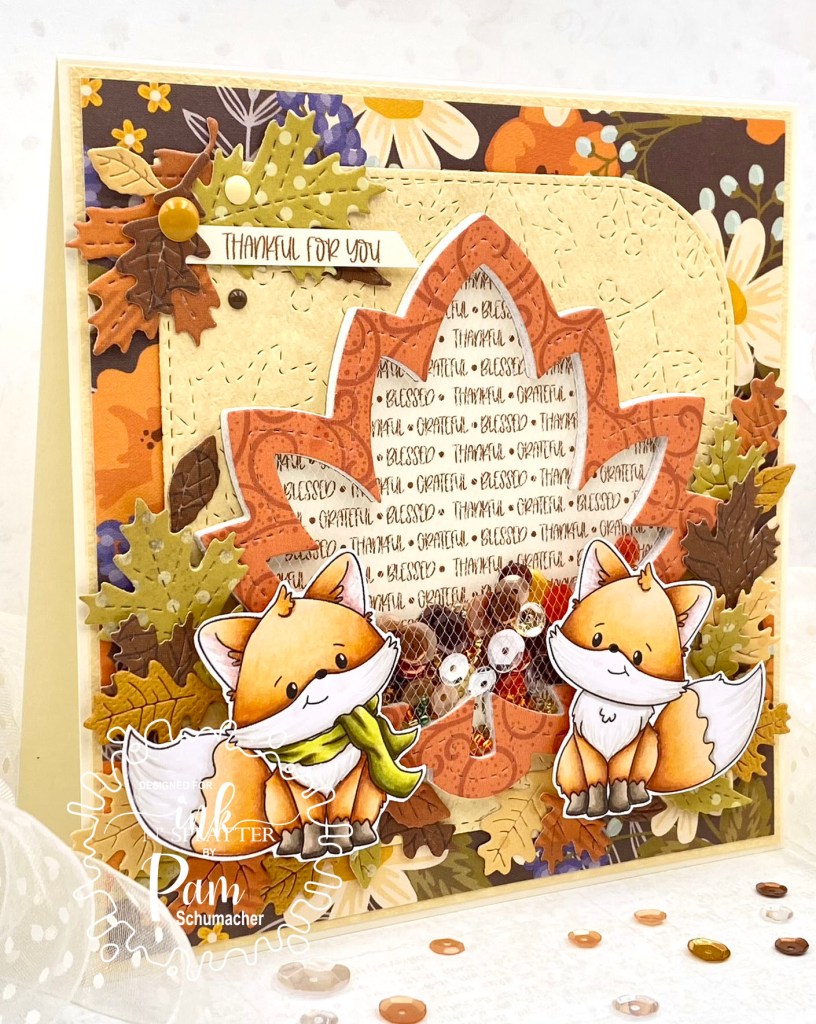
I chose a fall theme card that features these super adorable little foxes from the Happy Fall Foxes Stamp Set. I couldn’t resist…just look at those sweet faces and big fluffy tails!!
I stamped these little sweet little furballs on X-Press It Blending Card with Memento Tuxedo Black Ink and colored them with the following markers.
I started with a 5×5 card base with the top two layers being 1/8″ smaller each layer.
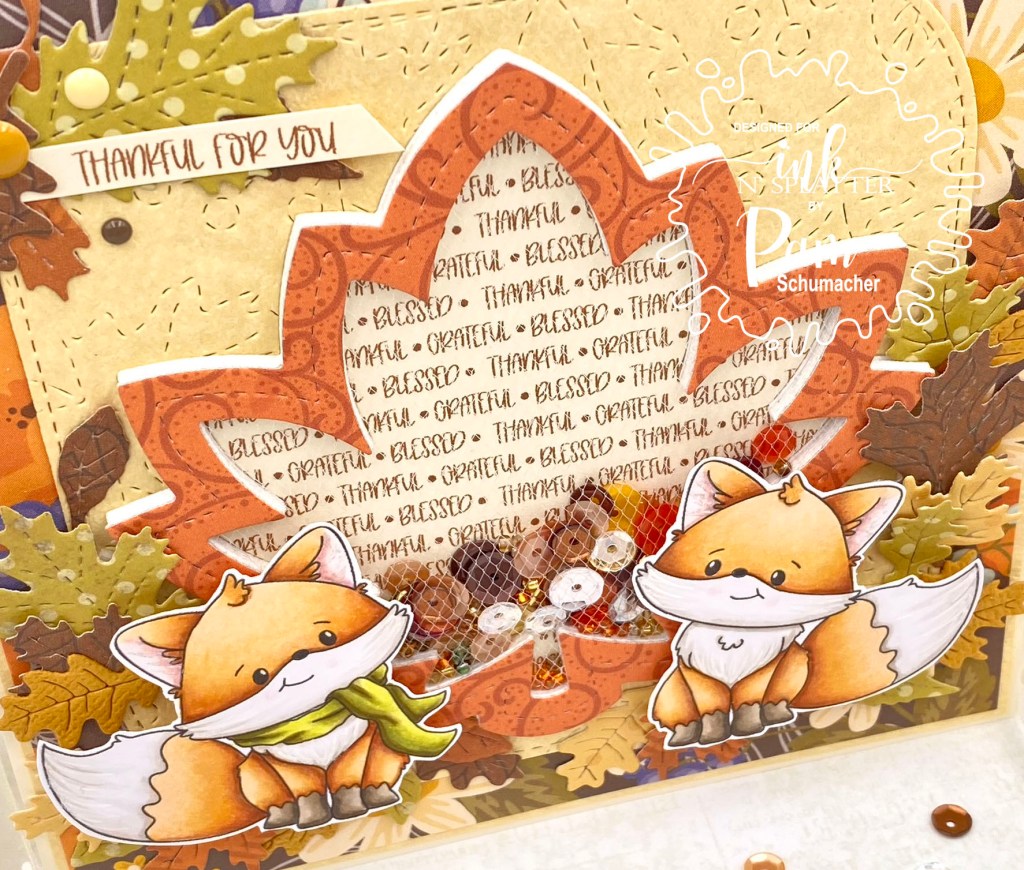
To create the shaker element I die cut the leaf shape once out of the orange print paper, the word paper, and 5 times out of thick white card stock. When you cut this die it gives you a frame and a plain leaf from the center. I used the inside portion of the leaf frame die for the background of the shaker frame.
I attached the white tulle to the back of the orange leaf frame with double sided scor-tape and then attached the first white frame with more scor-tape. The remaining 4 white frames were glued to the tulle ‘sandwich’ one layer at a time. I then added my shaker bits on top of the word print leaf and carefully glued the orange frame stack to the card front making sure that it was lined up perfectly. I used white tulle for the shaker front instead of acetate so I didn’t have a glare on the front.
The dies used on my card:
Concord & 9th – Stitched Leaves Card Front Die Lawn Fawn – Stitched Maple Leaf Frame Lawn Fawn – Stitched Leaves Spellbinders – Mini Fall Blooms
As always you can find an abundance of Ink n’Splatter products for sale here.