Hello crafty peeps!
Today is another sewing project from craft dies.
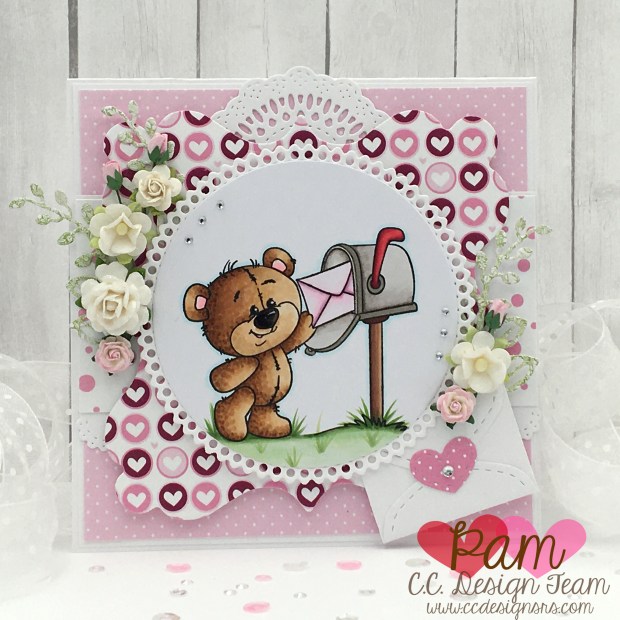
For my design team project for C.C. Designs I decided to make little wrist purses for my granddaughters. This little purse features the super cute Make A Bunny die set, and is for my granddaughter Adeline.
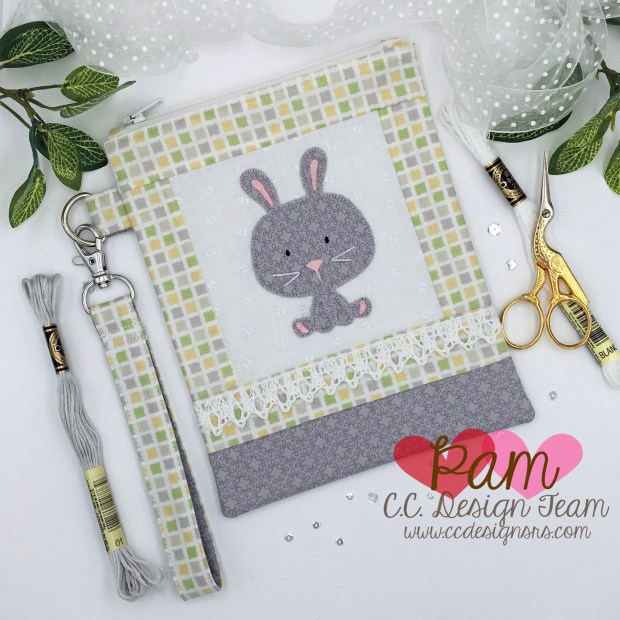
I took a few design elements from a pattern, but adjusted the rest to what I thought would be easier for smaller children.
I ironed Heat and Bond to the back side of the quilting fabric, and then using the die the same way you would paper, I sent it through my die cutting machine. Heat and Bond is a double sided adhesive so it worked perfectly the iron all the pieces together. Once all the pieces were ironed on I used embroidery floss and a fine needle to stitch the pieces to the white backing using the blanket stitch.

As always, there is an abundance of inspiration to be found in the store here.
Thank you so very much for stopping by!
Crafty Hugs – Pam xx