wishing you a warm and beachy kind of day

Hello everyone!

It’s time for another challenge at All Dressed Up Stamps! My goodness the last month went by way too fast!

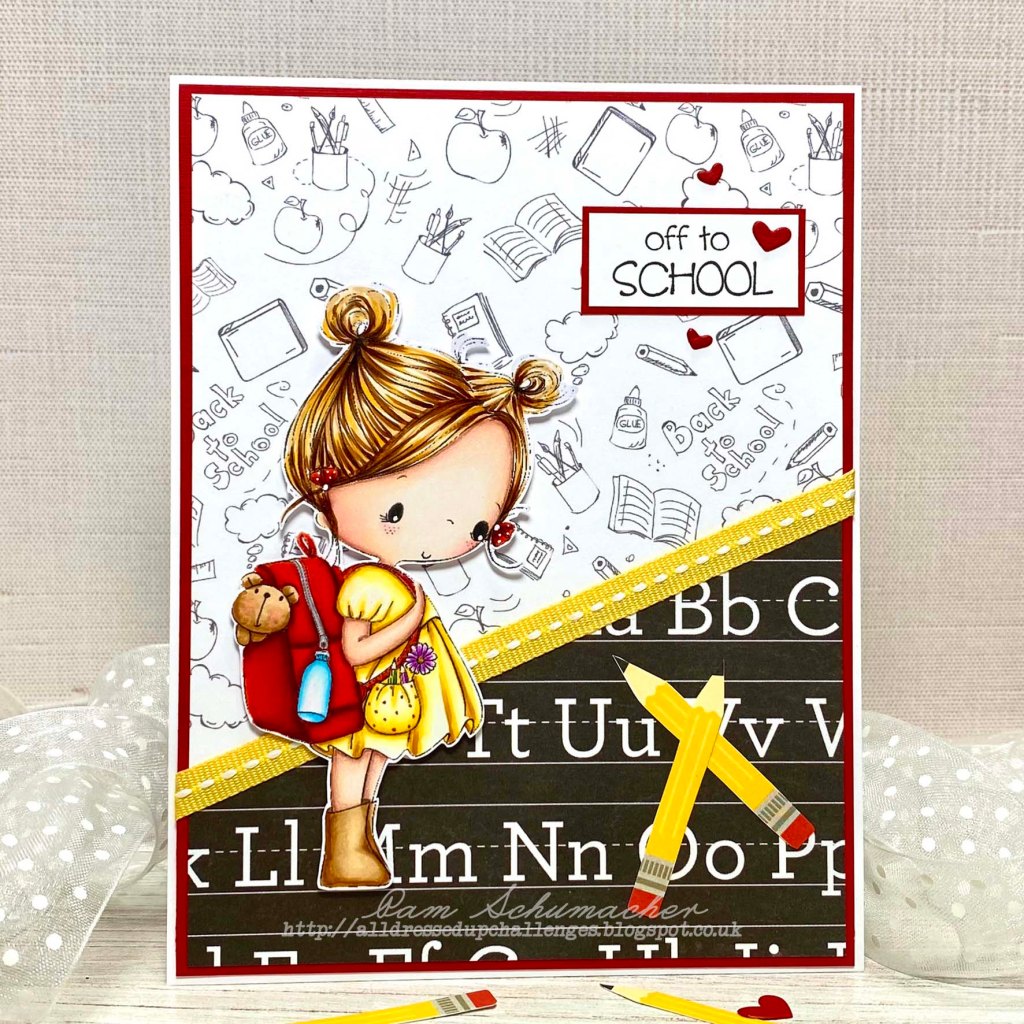
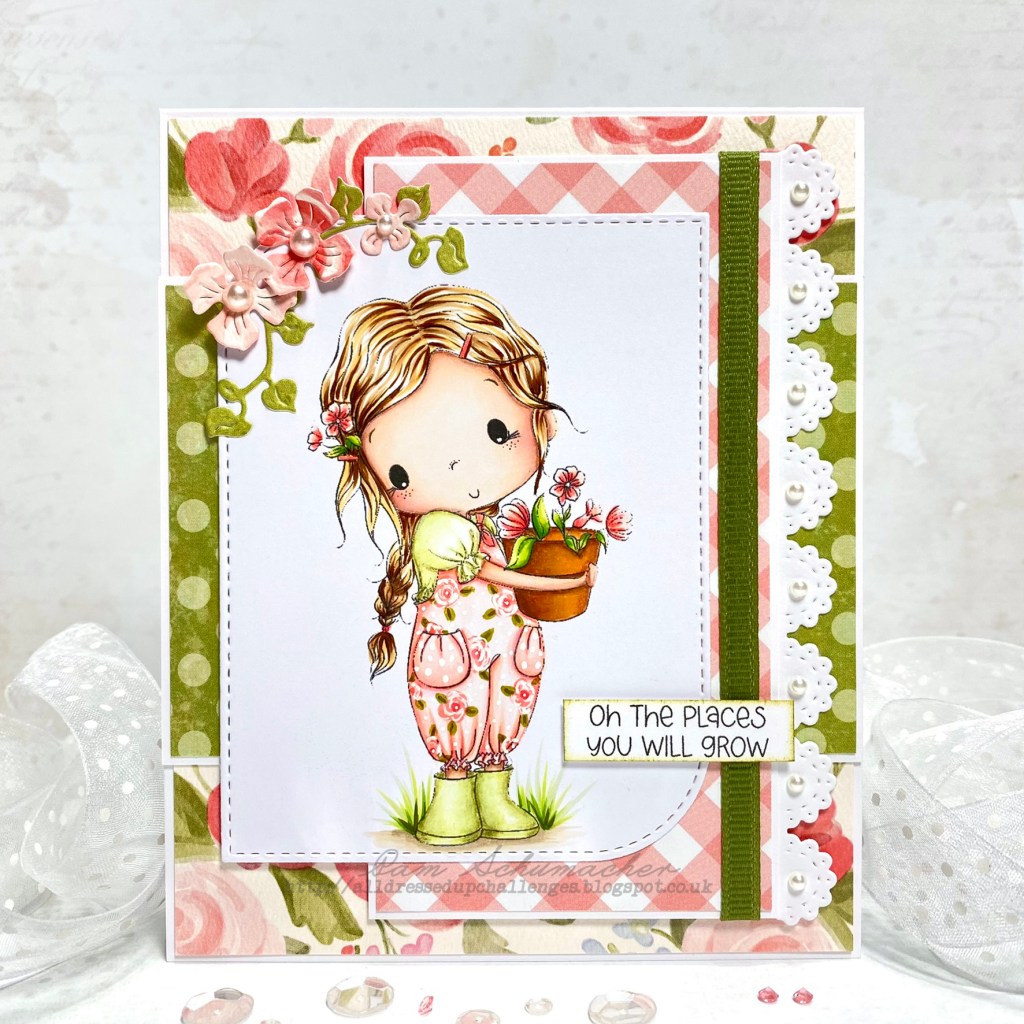
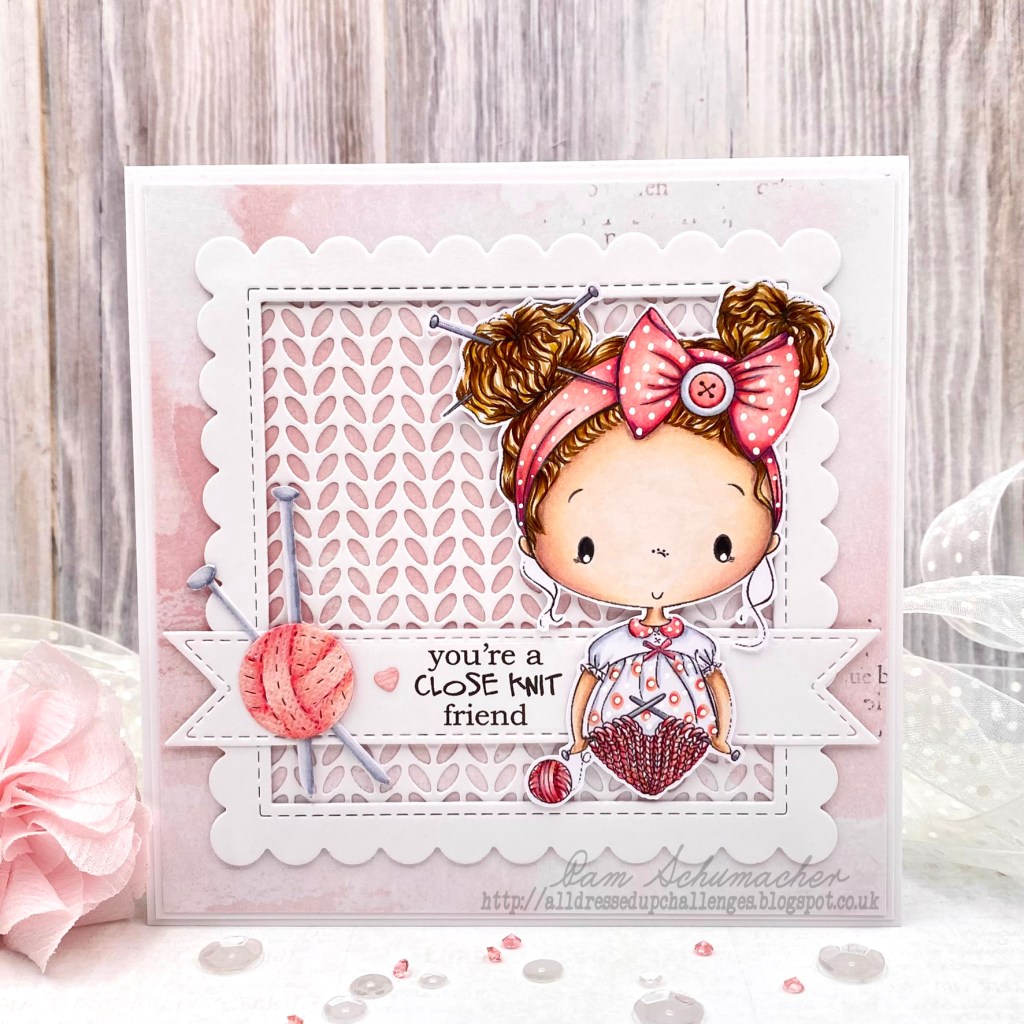
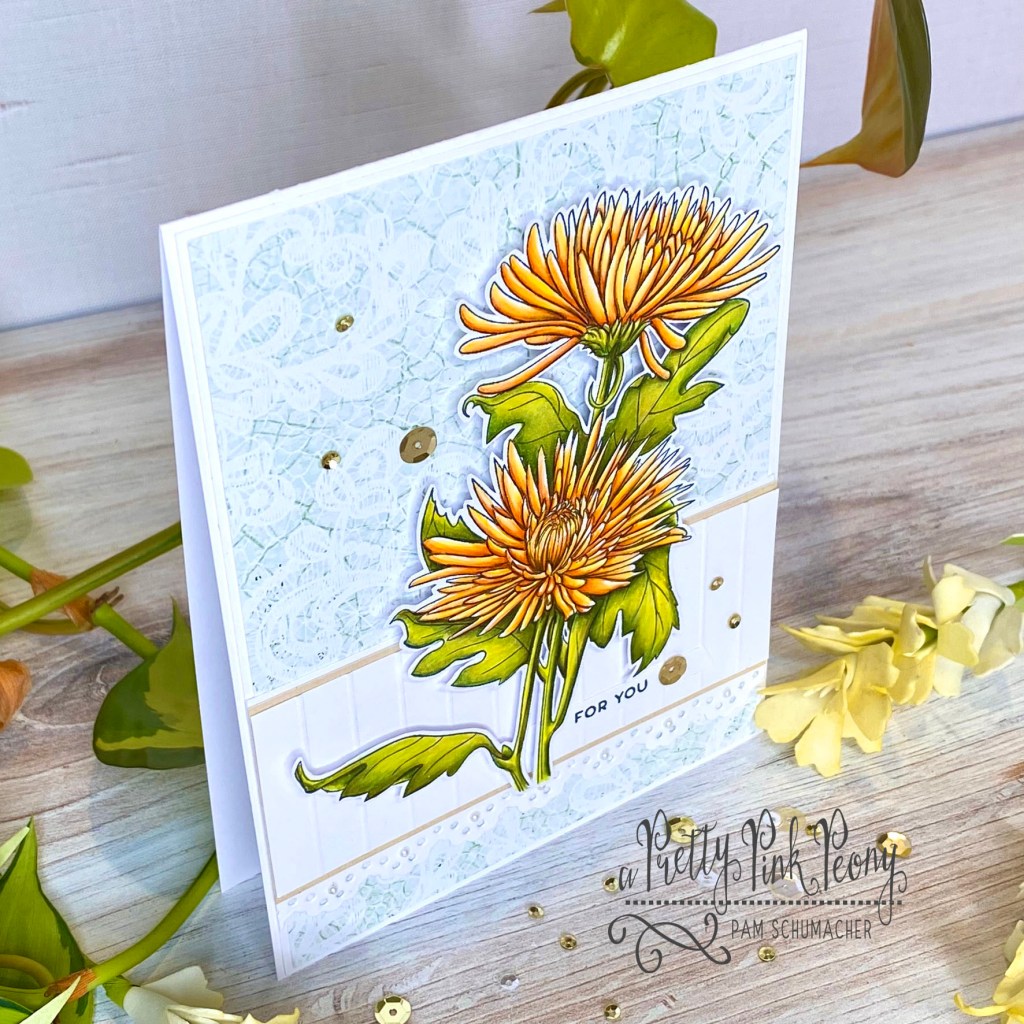
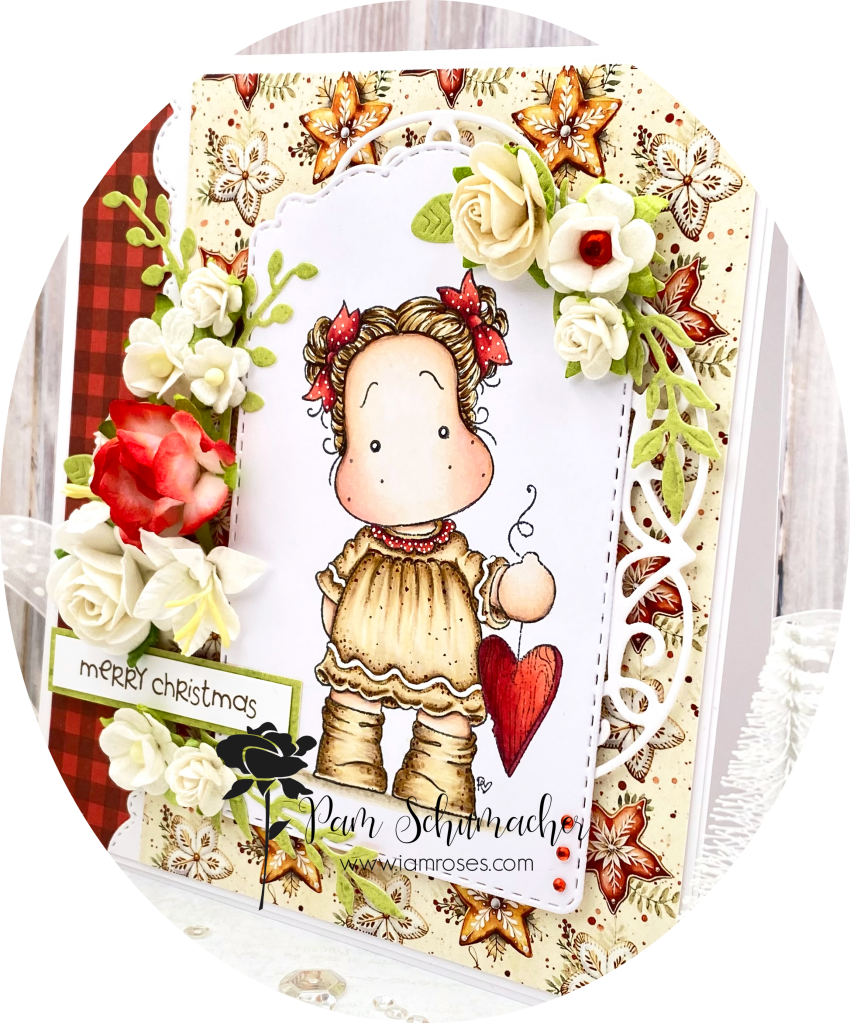
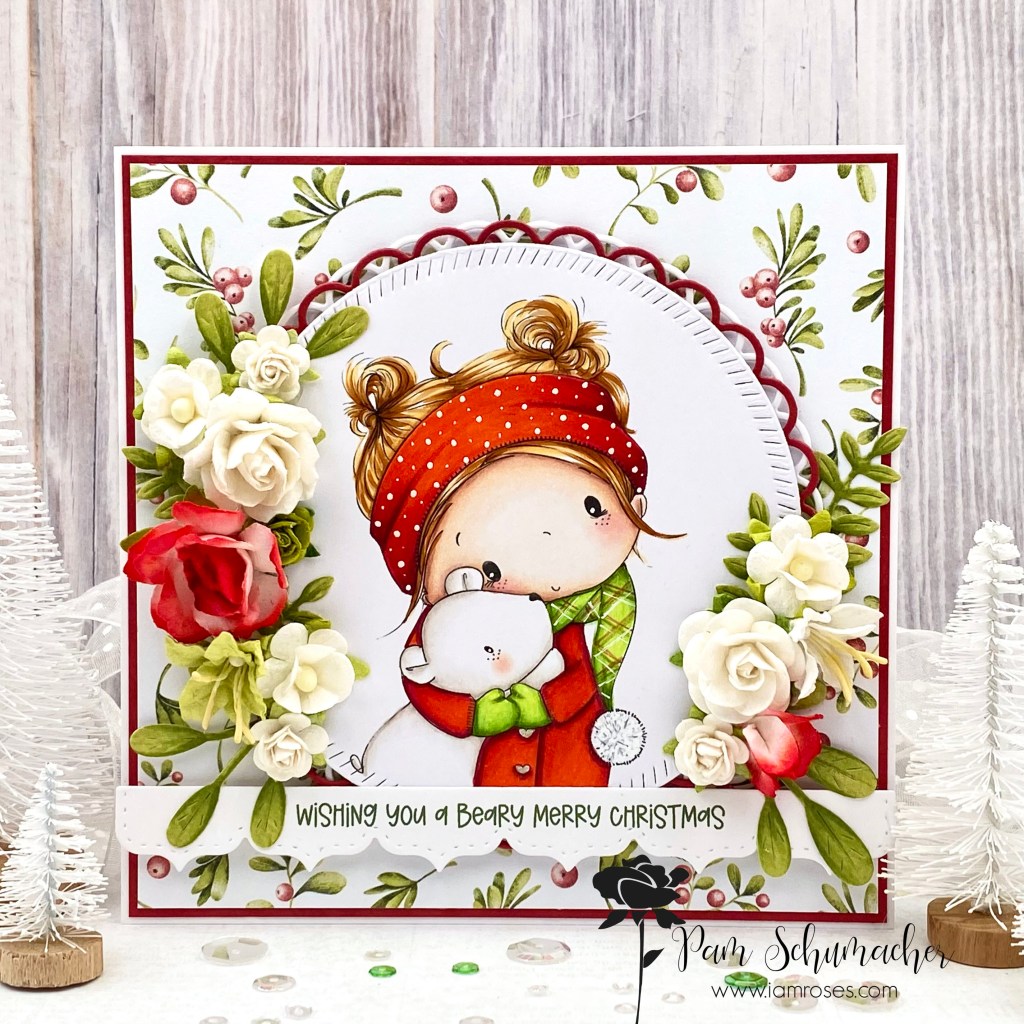
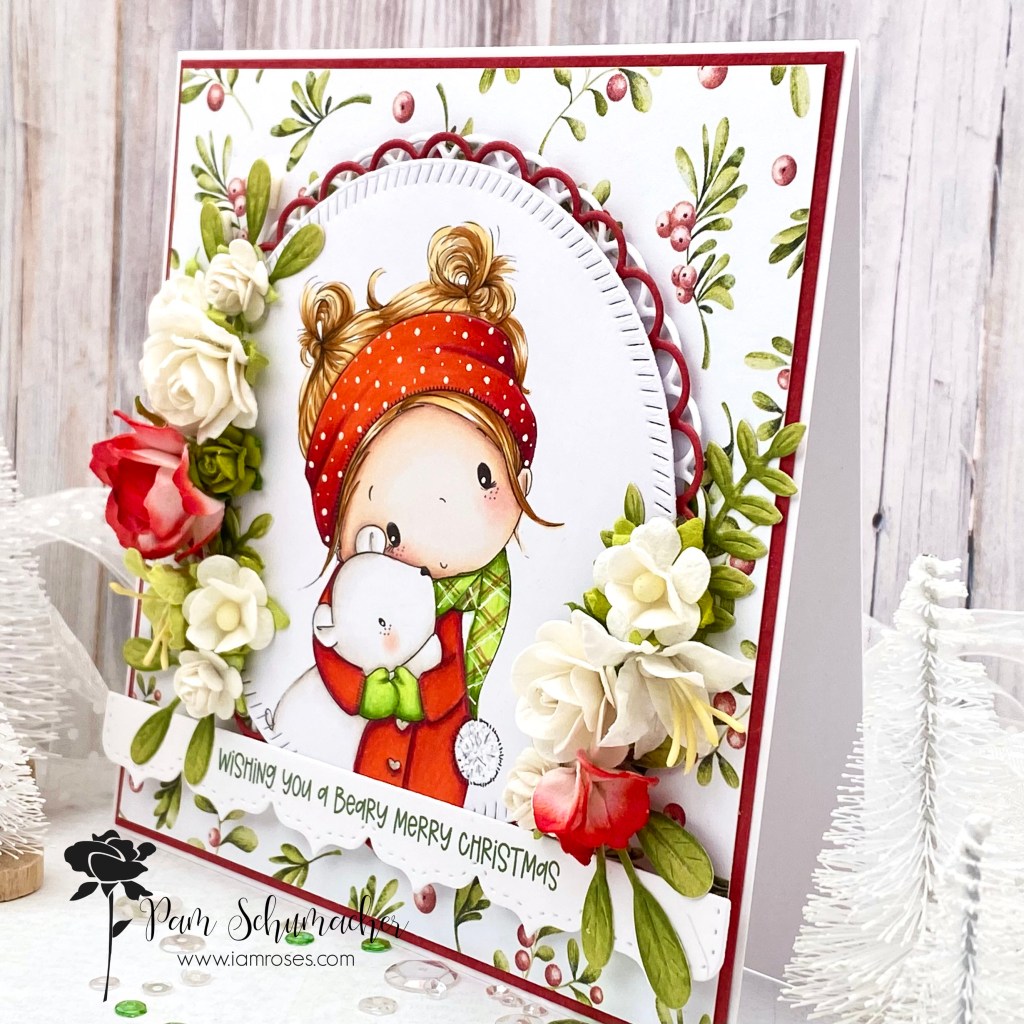
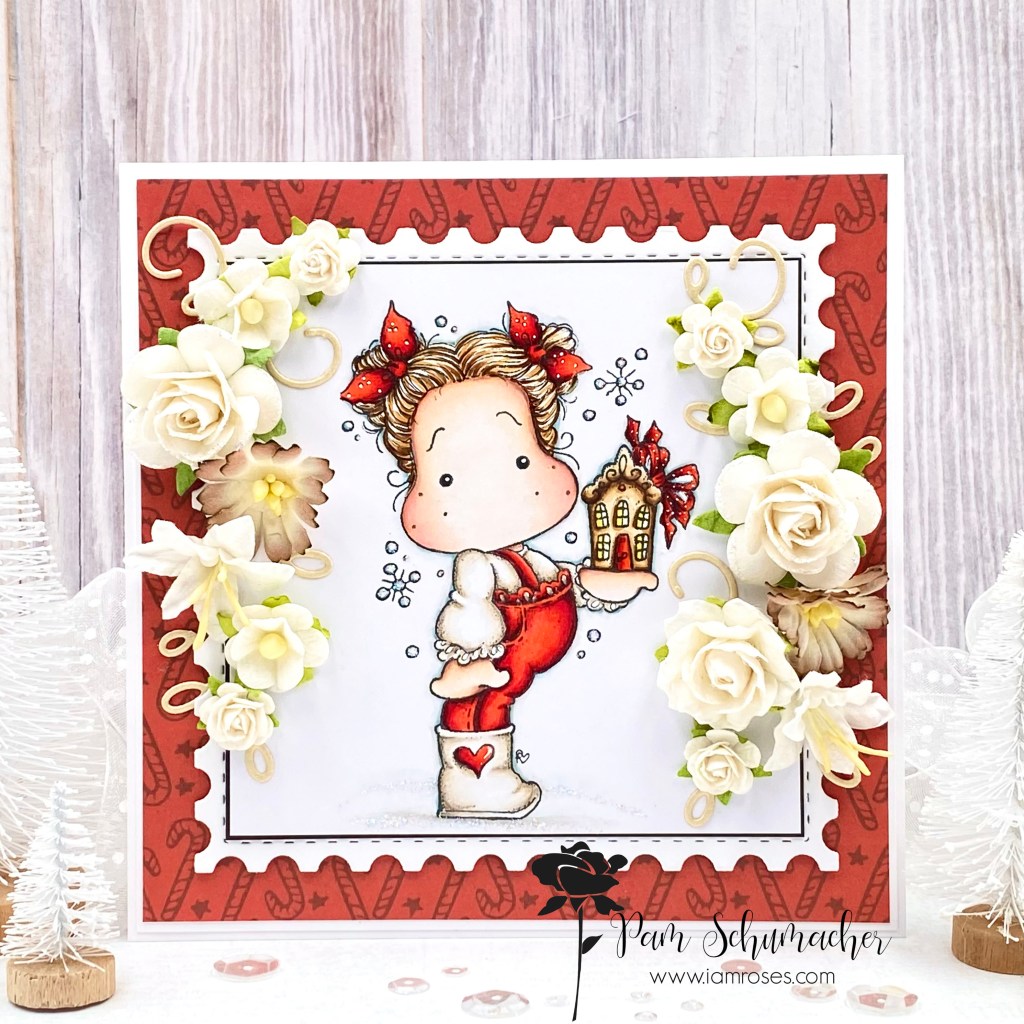
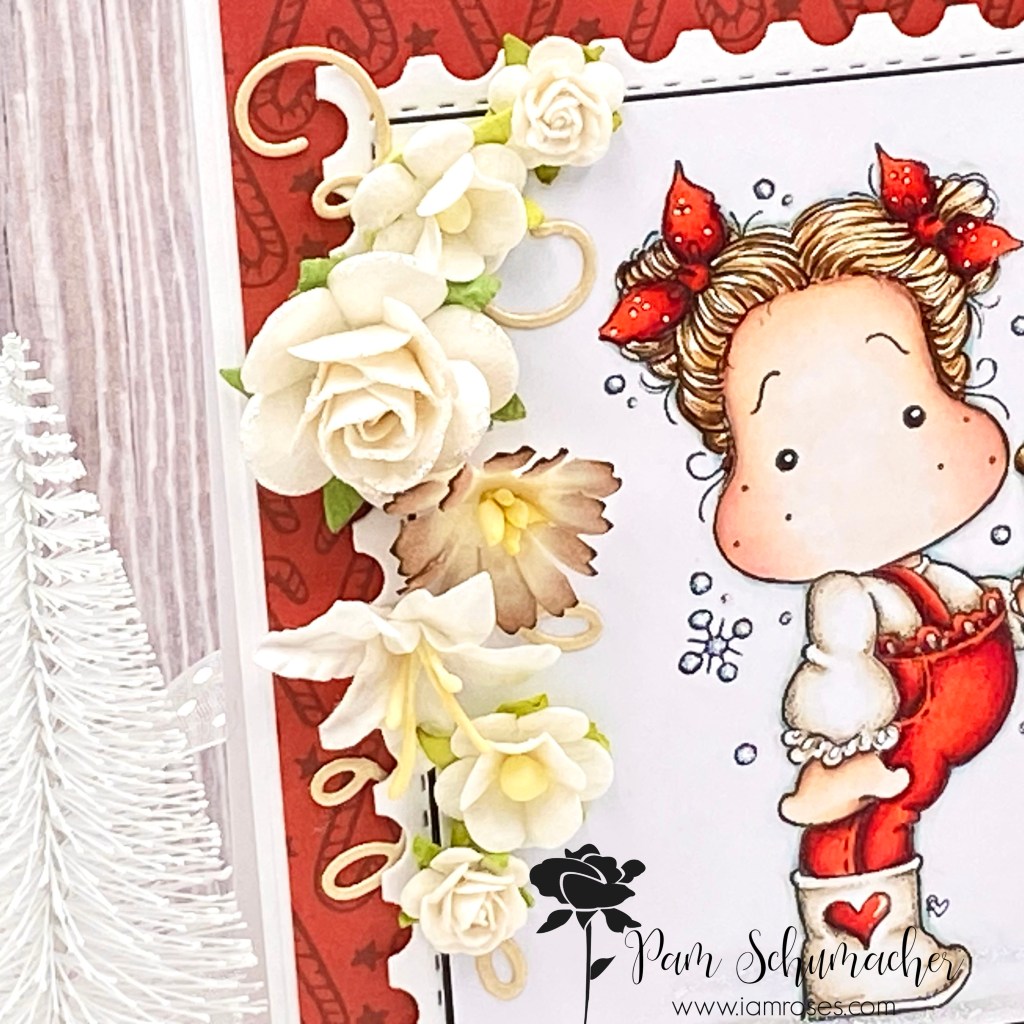
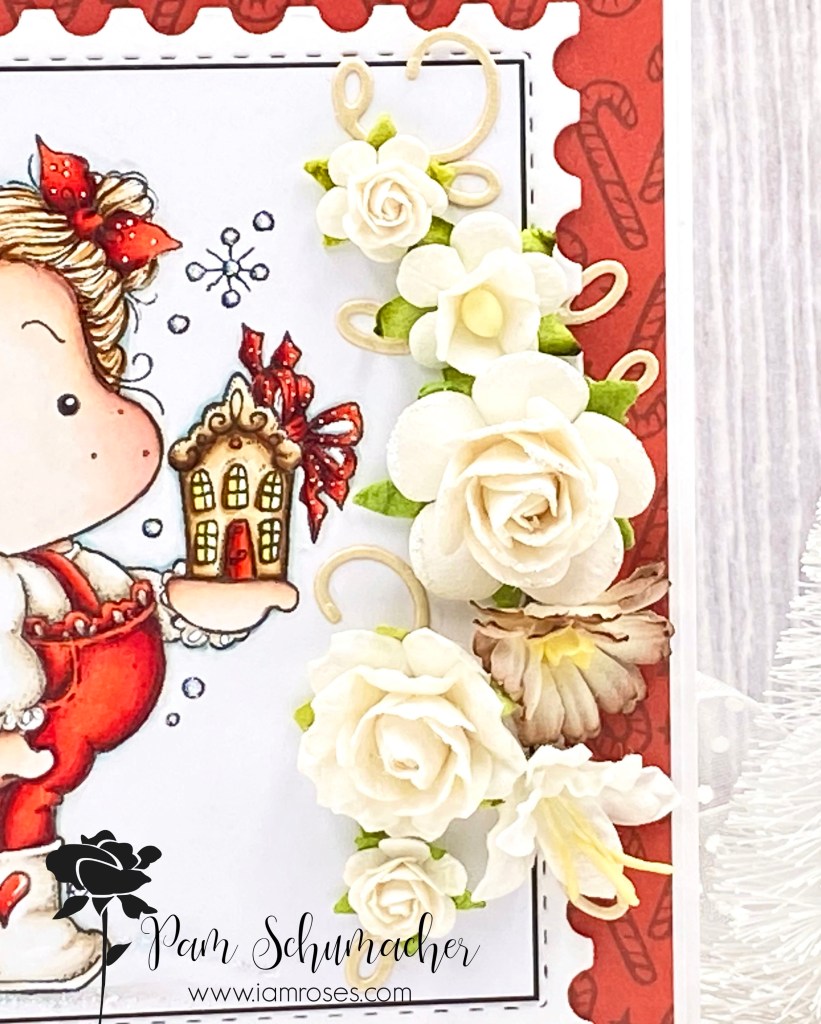
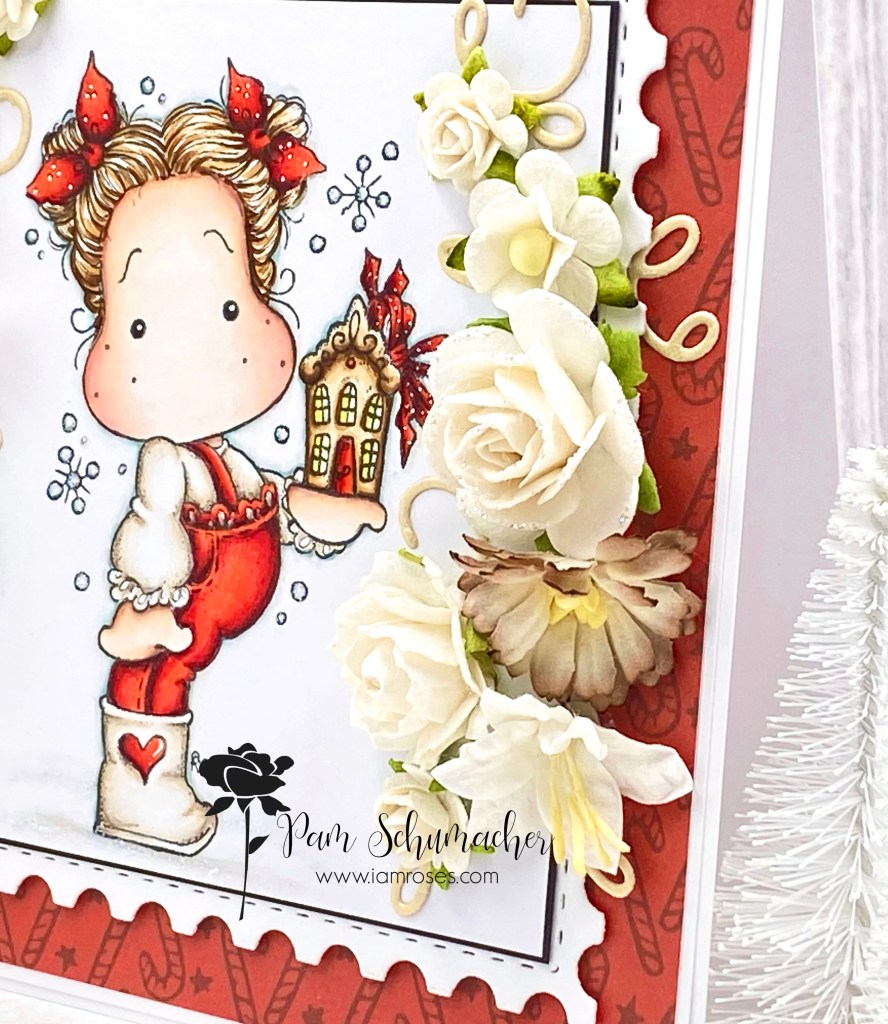
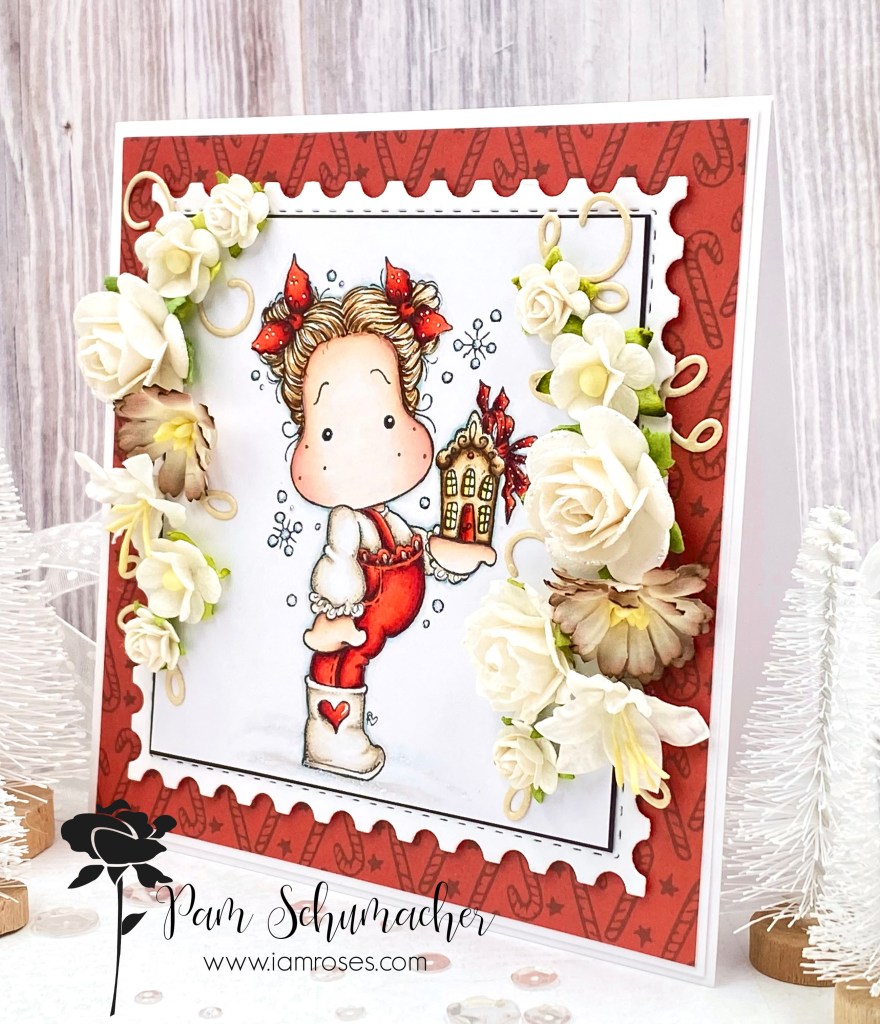
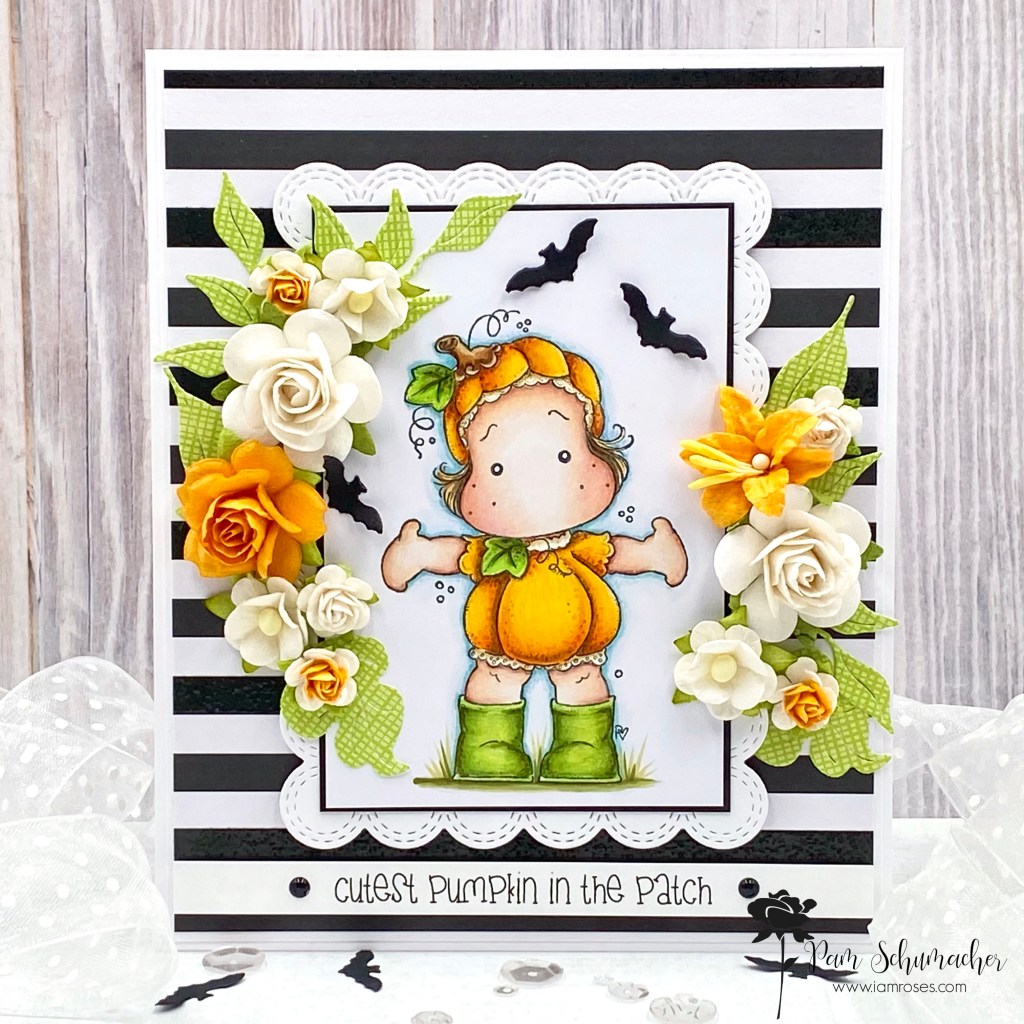
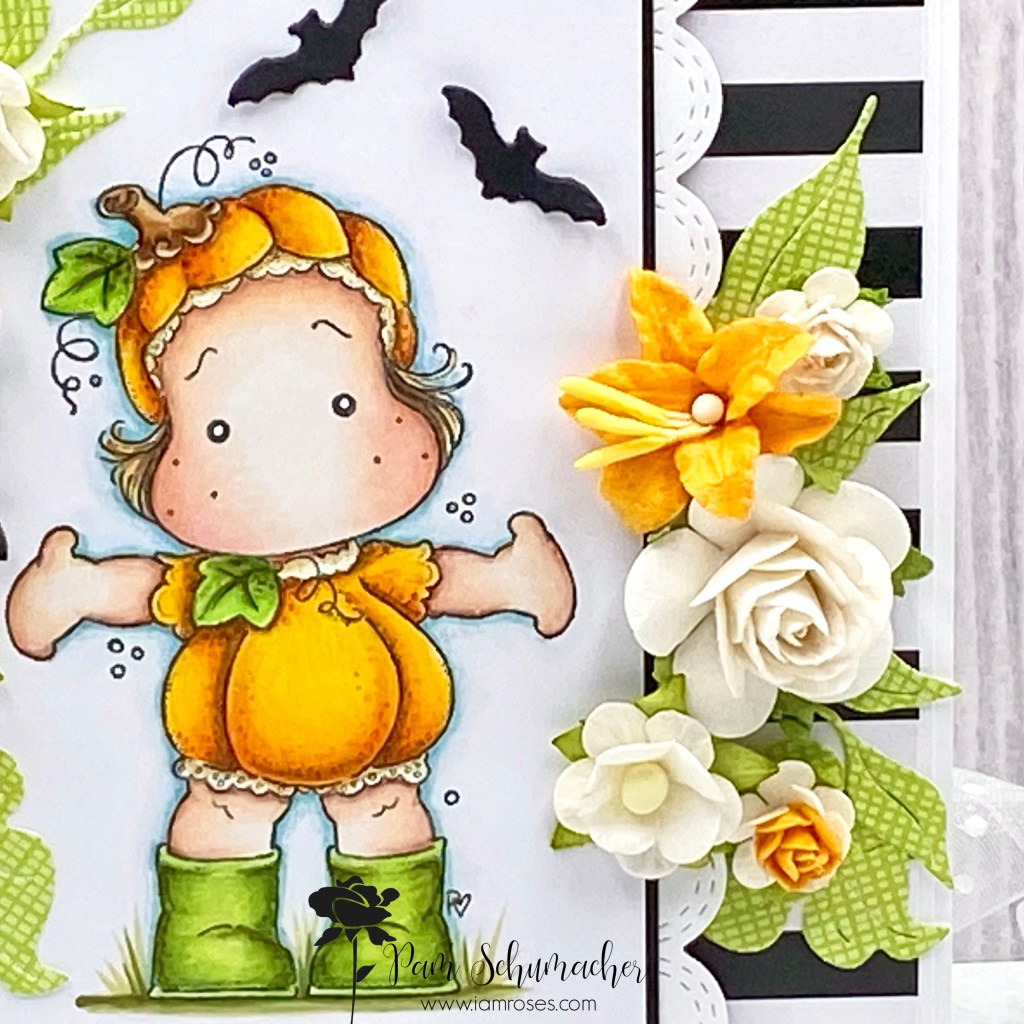
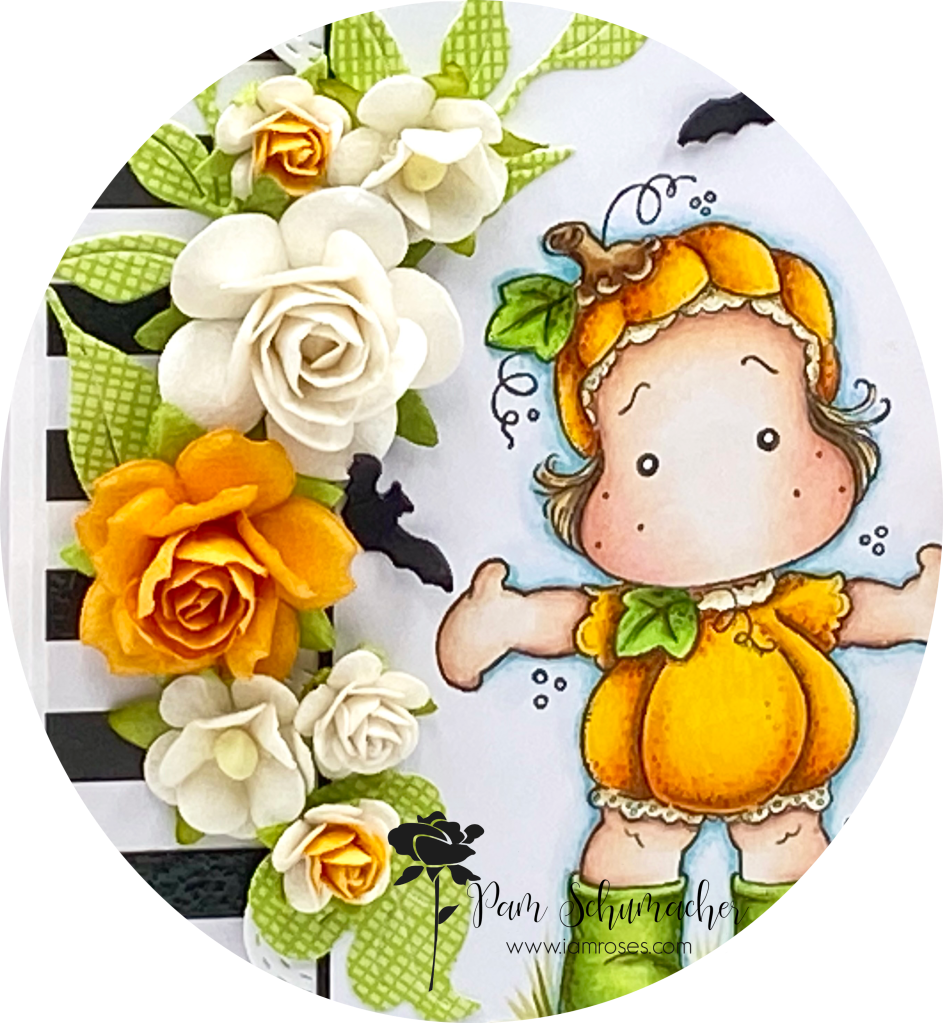
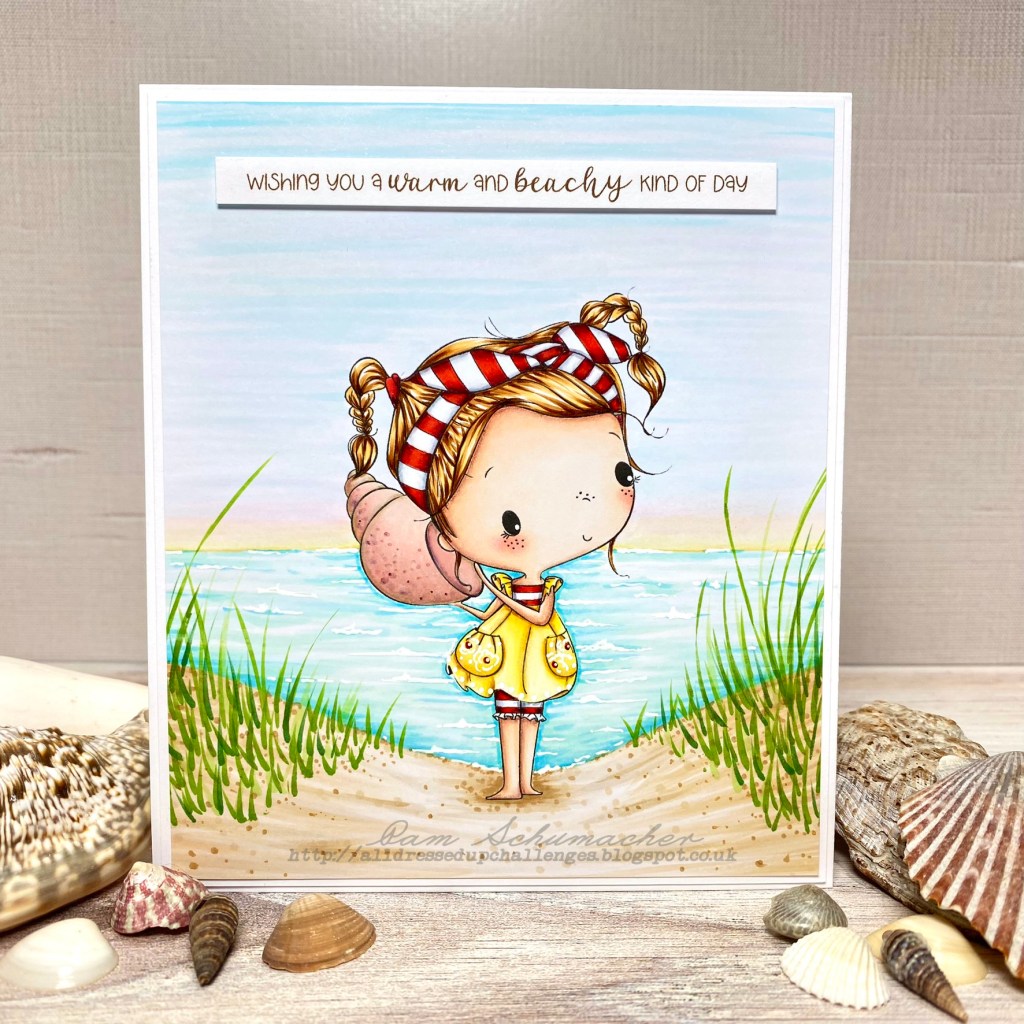
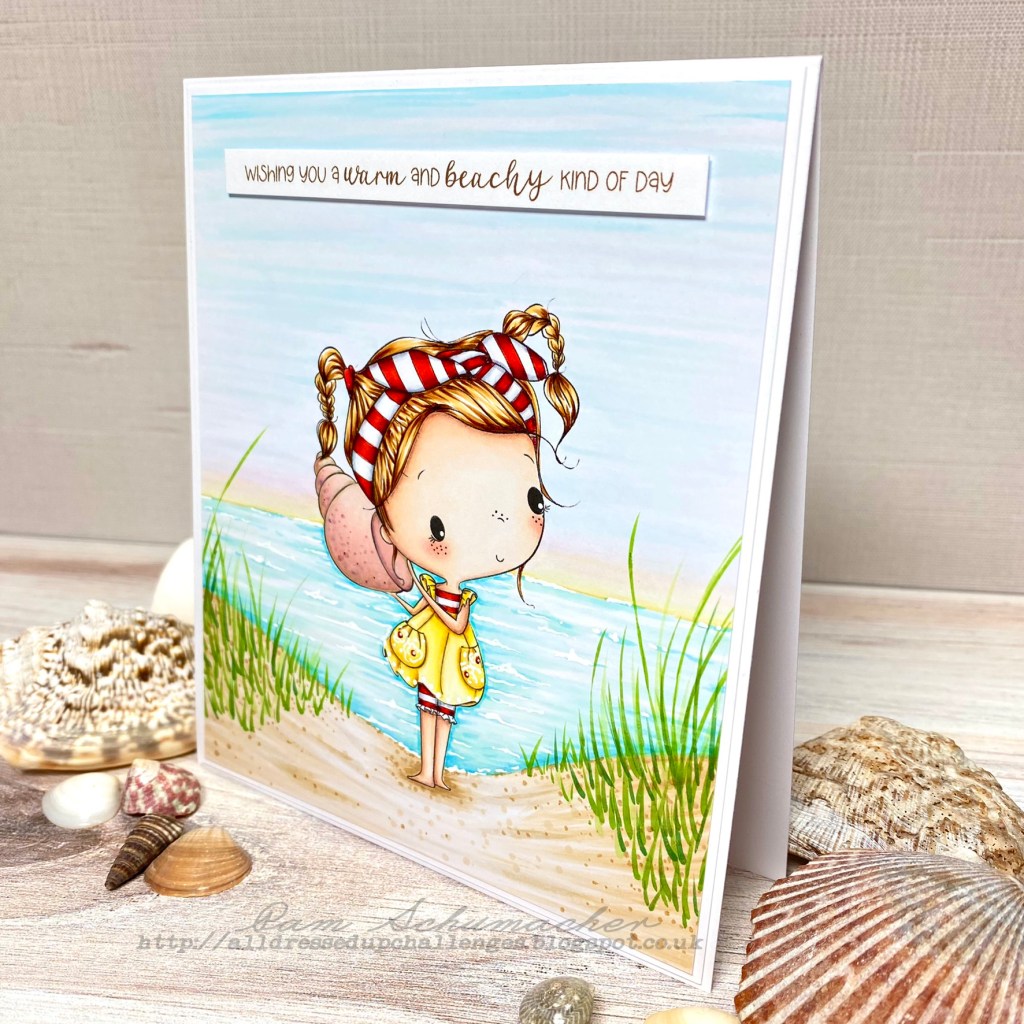
Since summer is almost over I thought I would try to squeeze in some summer theme projects. My card today was created using the sweet image called Seashells.


I printed this little cutie on X-Press It Blending Card and colored her with the following markers.

~Copics~
Skin: E13, E11, E21, E00, E000, E0000, R20, R30, R00
Hair: E51, E55, E57, YR21
Shell: E43, E41, R30, R01, R00, R000, RV95, RV99
Yellows: YR23, Y35, Y15, Y13, Y11, Y00
Greens: G28, YG67, YG17, YG13
Water: BG45, BG02, B02, BG11, BG10, B000, B00
Sky: Y00, Y000, YR31, YR30, YR000, RV000, R0000, BG01, B91, B0000, BG0000
Sand: E31, E30, E41, E40
Reds: R89, R46, R27, R24, R22
Grays: C3, C1, C00, Colorless Blender
White Gel Pen


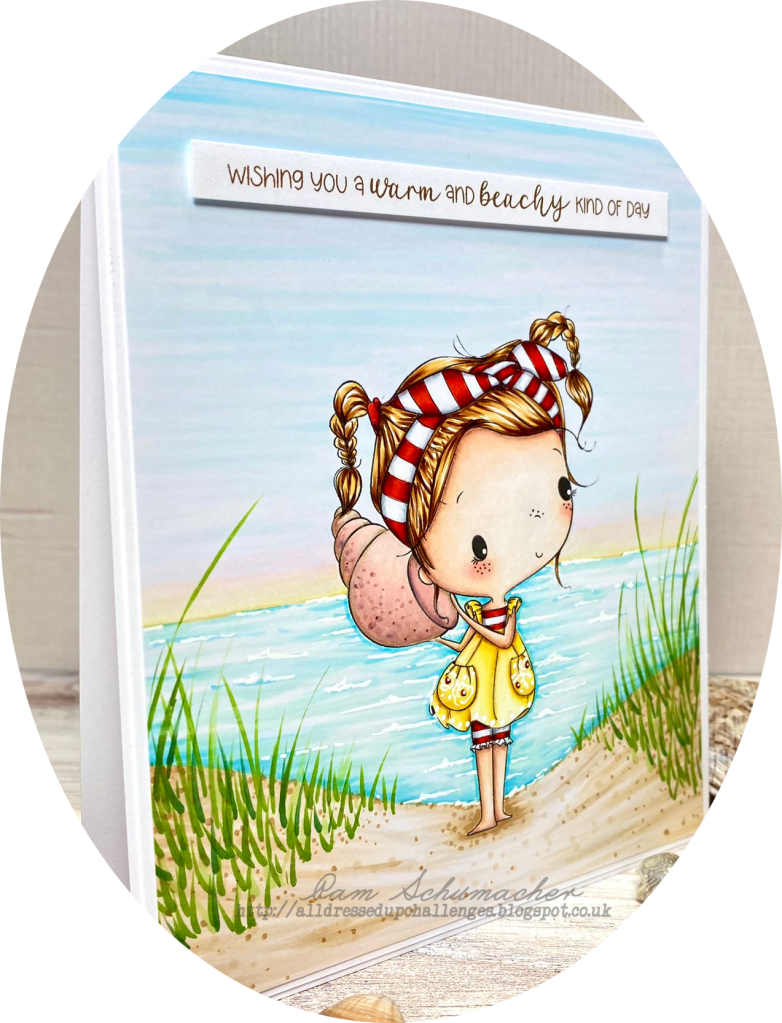
It’s not often that I color a complete background, but this cutie needed to be at the beach…lol!


As always, you can find an abundance of gorgeous inspiration images for sale here.

Remember to join in the fun and enter your All Dressed Up projects in the All Dressed Up Challenge Blog. We would love to see your creations.

Thanks for visiting today!

Crafty Hugs ~ Pam xx

You can also follow me on Instagram or my facebook page!

off to SCHOOL

Hello again!

It’s time for another new release at All Dressed Up Stamps and oh my gosh are the images ever adorable!!

My card today features the adorable image called Back to School Girl. Seems this little girl couldn’t wait to get back to school!


I printed this little cutie on X-Press It Blending Card and colored her with the following markers.

~Copics~
Skin: E04. E11, E21, E00, E000, E0000, R20, R30, R00
Hair: E57, E37, E55, YR24, YR21, E50
Yellow: YR23, Y15, Y11, Y00, Y0000
Red: R59, R46, R29, R27, R24, R08
Blue: B02, B01, B000, B0000
Bear & Boots: E35, E33, E31, E30, E50
Purple: V05, V01, V000
Green: YG17, YG01
White Gel Pen

It took me a little bit to figure out the perfect paper and the right design for this darling image. I ended up using paper from Bella Blvd, Echo Park and digital paper. The pencils were fussy cut from the paper I chose.

As always, you can find an abundance of gorgeous inspiration images for sale here.

Remember to join in the fun and enter your All Dressed Up projects in the All Dressed Up Challenge Blog. We would love to see your creations.

Thanks for visiting today!

Crafty Hugs ~ Pam xx

You can also follow me on Instagram or my facebook page!

oh the places you will grow

Hi friends!

I’ve joined in with the All Dressed Up Stamps Facebook Design Team for the September challenge. The months theme is ‘Layers or Clean and Simple’. I struggle with the ‘Clean and Simple’ theme designs, so layers it is!

My card today was created with this ever so adorable cutie from All Dressed Up Stamps called Potted Plants. I couldn’t resist giving her cute gardening clothes with flowers on them…and they are the perfect color…PINK!!

I printed this little sweetheart on X-Press It Blending Card and colored her with the following markers.

~Copics~
Skin: E04, E11, E21, E00, E000, E0000, R20, R30, R00
Hair: E57, E33, E31, E50, YR21
Flower Pot: E37, E99, E97, Y15, YR27
Greens: YG95, G20, YG11
Blush Pink: R02, R00, R0000
Flowers: R35, R14, R02, R000
Leaves: YG17, YG03, YG21
Grass: YG97, YG17, YG03, YG21
Dirt: E43, E42, E41
Fine details added with colored pencils
White Gel Pen

Picking this image to create with was a very easy choice for me as I love growing plants and flowers. The dies are from La-La Land Crafts, My Favorite Things, and Magnolia.

As always, you can find an abundance of gorgeous inspiration images for sale here.

Remember to join in the fun and enter your All Dressed Up projects in our Facebook group challenge or the All Dressed Up Challenge Blog. We would love to see your creations.

Thanks for visiting today!

Crafty Hugs ~ Pam xx

You can also follow me on Instagram or my facebook page!

you’re a close knit friend

Hello friends!

I’m finally back after some much needed time off…and I’m excited to say I will be designing for All Dressed Up Stamps once again!!

Today I am sharing this super adorable image from All Dressed Up Stamps called ‘Love to Knit‘. I am a knitter at heart, and this seriously makes me want to start a new sweater for winter!!

I printed this sweetheart at a height of 3.5″ on X-Press It Blending card and colored her with the following markers.

~Copics~
Skin: E04, E11, E21, E00, E000, E0000, R20, R30, R00
Hair: E57, E55, 31, E30, YR23
Pinks: RV14, R43, R32, R20, RV10
Grays: C4, C3, C1, C0, Colorless Blender
White Gel Pen
Fine details added with Prismacolor Colored Pencils


I was lucky enough to find a few knit theme dies in my stash. The knit stitch die worked perfect for the background and how adorable is that little ball of yarn? The knitting needles are a cut file from the Silhouette Online Store. I created the sentiment on my computer.


As always, you can find an abundance of gorgeous inspiration images for sale here.

Remember to join in the fun and enter your All Dressed Up projects in the All Dressed Up Challenge Blog. We would love to see your creations.

Thanks for visiting today!

Crafty Hugs ~ Pam xx

You can also follow me on Instagram or my facebook page!

For you

Hello friends!

I’m back again today with another project using gorgeous Altenew products.

My card features the beautiful clear stamp set called Paint-A-Flower: Spider Mums.

I had a hard time choosing a color for these beauties! I always seem to reach for the pinks…oops!!


I stamped these beautiful flowers on X-Press It Blending Card and colored them with Copic Markers and Prismacolor Pencils.

I used the pretty border die called Creative Edges: Scalloped Scallops Die Set as the base for the bottom band. I added a layer of gold card stock as the second layer, carefully measuring just above the detail from the scallop side to where I wanted it from the top edge. For the top layer I used a slightly smaller piece of white cardstock scored in the middle, and then every 3/8″ in both directions.


A few tiny white pearls from my stash were added to the scallop detail. Lastly, I added a few gorgeous Altenew’s Satin Gold Sequins to my card. The sparkle is the perfect final touch.

Thank you so much for visiting today!

Crafty Hugs – Pam xx

You can also follow me on Instagram or my facebook page!

You make my heart smile

Hello and welcome!

I am back today after a little break away from crafting. I have been working on setting up some more crafty space to work in. Hoping it will be done soon.

Imagine how excited I was when Altenew asked if I would be interested in working on a collaborated post with them. I have always loved their beautiful products, so of course I said yes…how exciting!!!

For today’s project I focused on these gorgeous flowers from the Craft-A-Flower: Cistus Layering Die Set. The extra greenery is from the die set called Leaf Mix Die Set.

All the flower and leaf pieces were die cut from watercolor paper and then colored with Altenew Watercolor 36 Pan Set. Once these pieces were dry, I added some accents with gold craft paint.


I knew I wanted the flowers to be dimensional so I only glued them in the center portion. This would allow me to bend and curl the layers of petals.

I stamped the stripe background with the stamp set called Pinstripe Stamp Set. The eye catching shape I used for the sentiment base is from the Labels & Tags 2 Die Set. This piece was ink splattered with the same watercolor paints and gold craft paint that I used above.

The sentiment is from the Bold Bouquet Stamp Set. I also used the matching Bold Bouquet Die Set.

The black lacy border is from the Creative Edges: Scalloped Scallops Die Set.

I really love how this project turned out!!

Thank you so much for visiting today!

Crafty Hugs – Pam xx

You can also follow me on Instagram or my facebook page!

Merry Christmas

Hello friends!

I am back today with my final project as a design team member for I Am Roses. I have decided to take some time and just craft for fun for a while.

My card today features a little cutie from Magnolia Stamps. She is part of the Pop Up Box called ‘Gingerbread ‘ from 2022.

This little gingerbread cutie was stamped on X-Press It Blending Card with Memento Tuxedo Black Ink and was colored with the following markers.

~Copics~
Skin: E04, E11, E21, E00, E000, E0000, R20, R30, R00
Hair: E57, E55, E30
Browns: E55, E33, E31, E30
Reds: R39, R37, R35, R32
White Gel Pen


The gorgeous I Am Roses flowers I used on my card are:

R22-78/D – Puffy Roses (1-1/4”or3cm) Mixed Red- White
S10-15 – Size 5/8″ or 1.5 cm – Small Achillea Cottage – WHITE
R2-15 – Mini 1/4″ or 1 cm White Paper Open Roses
LY3-15 – White Small Lily Paper Flowers
R6-15 – Size 1″ or 2.5 cm White Open Roses Paper Flowers
S10/xs-15 – Mini Achillea Cottage – WHITE
R3-147 – Size 3/4″ or 2cm Yellow Cream Open Roses


I trimmed and cut portions of die cuts so they are just peeking out the top and the right side of the main image piece. It adds just a little bit of something extra to the card.


To make the red balance out on both sides I needed a small amount of red in the flowers above her , however I didn’t have any smaller flowers that were a soft red. To accomplish this I removed the yellow stamen out of the center of the little white flower and glued in a red sticky back gem…just the right amount of red!

As always, you can find an abundance of gorgeous flowers for sale here.

Remember to join in the fun and enter your I Am Roses creations in the I Am Roses Challenge Blog. Amazing prizes are available!  We would love to see your creations.

Thanks for visiting today!

Crafty Hugs – Pam xx

You can also follow me on Instagram or my facebook page!

Wishing you a Beary Merry Christmas

Hello and welcome everyone!

My design team project for I Am Roses today features this super sweet digital stamp from All Dressed Up Stamps called Christmas Bear Hugs.

Before printing I brought the image into Photoshop and removed the print in her headband so I could create my own pattern.

I printed this adorable image on X-Press It Blending Card and colored it with the following markers.

~Copics~
Skin: E04, E11, E21, E00, E000, E0000, R20, R30, R00
Hair: E53, E99, YR21
Reds: R59, R46, R29, R27, R08, R05
Greens: YG17, YG03, YG01
Grays: W3, W1, W0, W00
White Gel Pen

The gorgeous I Am Roses flowers I used on my card are:

R3-15 – Size 3/4″ or 2cm White Open Roses
LY3-15 – White Small Lily Paper Flowers
S10-15 – White Small Craft Paper Flowers
R2-839 – Mini 1/4″ or 1cm Mixed All Green – White Open Roses  
R2-15 – Mini 1/4″ or 1 cm White Paper Open Roses 
LY3-161 – Soft Green Mini Lily Crafts Paper Flowers
R5-15 – Indian Jasmine (1″or2.5cm) White Paper Flowers

When it came to arranging the flowers I decided I didn’t want the large red flower quite so big, so I took the bottom row of petals off and glued the green leaves back on. For the right side I used that row of red petals that I removed, and glued them together to appear like a small flower bud.

As always, you can find an abundance of gorgeous flowers for sale here.

Remember to join in the fun and enter your I Am Roses creations in the I Am Roses Challenge Blog. Amazing prizes are available!  We would love to see your creations.

Thanks for visiting today!

Crafty Hugs – Pam xx

You can also follow me on Instagram or my facebook page!

Gingerbread Christmas

Hello and welcome!

It’s so hard to believe that I am busy making Christmas cards again!

My design team project for I Am Roses today features this little sweetheart from Magnolia Stamps called ‘Gingerbread House Tilda’. She was super fun to create with!

I stamped this gorgeous image on X-Press It Blending Card with Memento Tuxedo Black Ink and colored her with the following markers.

~Copics~
Skin: E04, E11, E21, E00, E000, E0000, R20, R30, R00
Hair: E57, E55, E31, E30
Reds: R89, R46, R27, R24, R14
Tans: E42, E41, E40
House: E57, E55, E31, E30, Y15, Y11, Y00
Shadows: BG72, BG70, Colorless Blender
Fine details were added with Prismacolor Colored Pencils


The gorgeous I Am Roses flowers I used on my card are:

R2-15 -Mini 1/4″ or 1 cm White Paper Open Roses
S10-15 – White Small Craft Paper Flowers
R6-15 – Size 1″ or 2.5 cm White Open Roses Paper Flowers
D2A-827 – Small 1″ Fussy Daisy Mixed Earthy Brown
R22-15 – Puffy Roses (1-1/4” or3 cm) White Paper Flowers
R5-15 – Indian Jasmine (1″or2.5cm) White Paper Flowers
LY3-15 – White Small Lily Paper Flowers


It’s hard to see in the photos, but I added some Stardust Stickles to the edges of the large white roses for a little sparkle.

As always, you can find an abundance of gorgeous flowers for sale here.

Remember to join in the fun and enter your I Am Roses creations in the I Am Roses Challenge Blog. Amazing prizes are available!  We would love to see your creations.

Thanks for visiting today!

Crafty Hugs – Pam xx

You can also follow me on Instagram or my facebook page!

Cutest pumpkin in the patch

Hi friends!

Are you ready for all the little trick or treaters on Halloween?

My design team project for I Am Roses today features this adorable pumpkin cutie from Magnolia Stamps. She is part of the ‘You are my Pumpkin Art Stamp Sheet’.

I stamped this little sweetheart on X-Press It Blending Card with Memento Tuxedo Black Ink and colored her with the following markers.

~Copics~
Skin: E04, E11, E21, E00, E000, E0000, R20, R30, R00
Hair: E44, E42
Pumpkin Stem: E57, E55, E35, E31
Green: YG97, YG67, YG63, YG61, YG03
Orange: YR18, YR15, YR12, Y35
Cream: Y32, E31

The gorgeous I Am Roses flowers I used on my card are:

R2-15 -Mini 1/4″ or 1 cm White Paper Open Roses
S10-15 – White Small Craft Paper Flowers
R6-15 – Size 1″ or 2.5 cm White Open Roses Paper Flowers
R5-210 – Indian Jasmine (1″or 2.5cm) Mixed Fall Tone Flowers
R2-48 – Mini 1/4″ or 1cm Mixed All Yellow Open Roses
LY3-405 – Tangerine Mini Lily Paper Flowers

As always, you can find an abundance of gorgeous flowers for sale here.

Remember to join in the fun and enter your I Am Roses creations in the I Am Roses Challenge Blog. Amazing prizes are available!  We would love to see your creations.

Thanks for visiting today!

Crafty Hugs – Pam xx

You can also follow me on Instagram or my facebook page!